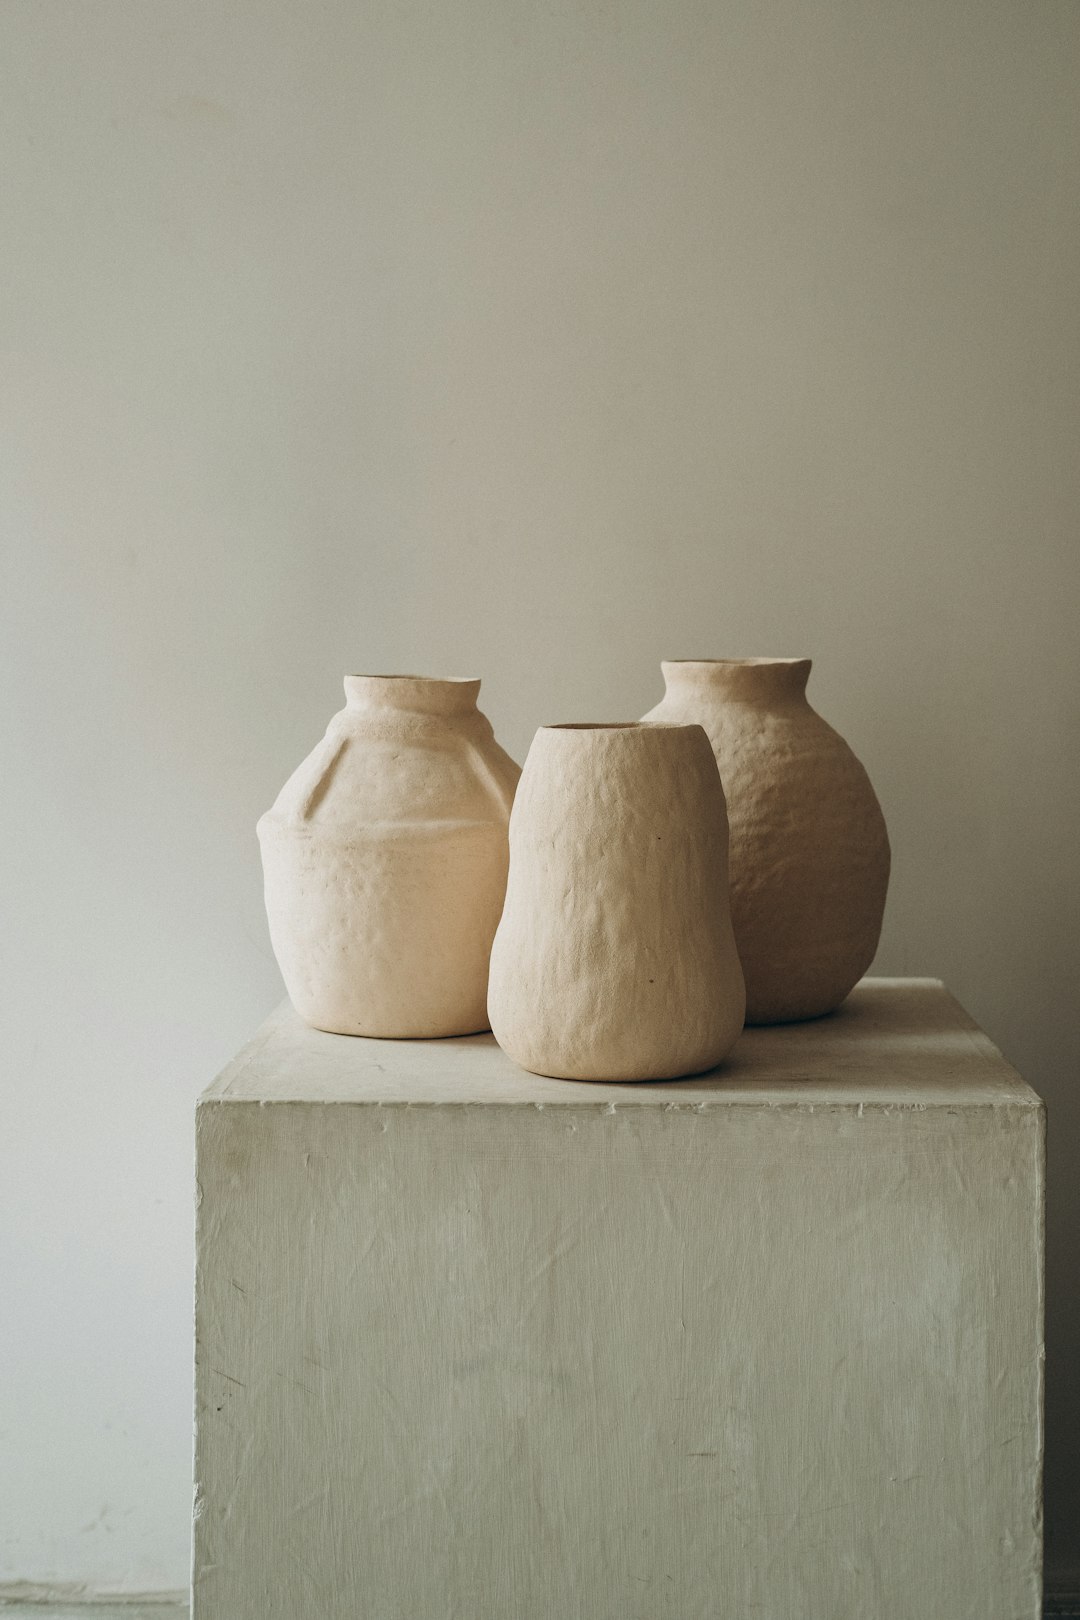
Discover the art of creating a ceramic fountain, a serene addition to any home or garden. Did you know that the earliest fountains, dating back to 3000 B.C., were not only sources of water but also central pieces in the gardens of ancient civilizations? This guide will walk you through the process of crafting your own ceramic fountain, blending historical elegance with modern DIY spirit.

Before starting your fountain project, it's crucial to gather all the necessary materials and tools. This ensures a smooth and uninterrupted workflow. You'll need a variety of materials, including a water pump, tubing, a basin or container to hold your fountain, and waterproof sealant. For the sculpting and assembly part, materials such as cement, stones, tiles, or any other decorative elements you wish to include in your design are essential. The tools required might include a drill, pliers, a silicone sealant gun, and safety gear like gloves and goggles. Make sure to have a clear plan or design in mind to determine the exact materials and quantities needed.

Once you have all your materials and tools ready, the next step is to start sculpting and assembling your fountain. Begin by deciding on the placement of the water pump, as this will dictate the overall design and structure of your fountain. If you're using cement or a similar material for construction, shape it according to your design, allowing for the necessary tubing and wiring to pass through. Assemble the base and main structure of the fountain, ensuring stability and support. Add decorative elements such as stones, tiles, or sculptures to enhance the aesthetic appeal of your fountain. Remember to allow adequate drying and curing time for any adhesives or cement used in the assembly process.

Once your fountain sculpture and assembly are complete, the next crucial step is waterproofing, followed by adding the finishing touches. Waterproofing is essential to ensure the longevity of your fountain and to prevent water from seeping into unwanted areas, which could potentially damage the structure over time. Begin by applying a waterproof sealant over the entire surface of your fountain. Make sure to cover all nooks and crannies to create a watertight barrier. Depending on the materials used in the construction of your fountain, you might need a specific type of sealant, so it's important to do your research or consult with a professional.

After the sealant has dried completely, which can take anywhere from 24 to 48 hours depending on the product used, you can move on to adding the finishing touches. This can include painting, adding decorative stones, tiles, or even attaching lighting fixtures for a dramatic nighttime effect. When choosing paint, ensure it's suitable for outdoor use and compatible with the sealant to avoid any chemical reactions that could damage the surface. If you're adding decorative elements like stones or tiles, you may need to use a waterproof adhesive or grout to secure them in place. Remember, the finishing touches not only add to the aesthetic appeal of your fountain but can also contribute to its functionality and durability.

After your fountain has been sculpted, assembled, waterproofed, and given its finishing touches, the next crucial step is installing the water pump and completing the final setup. Begin by carefully selecting a pump that matches the size and water flow requirements of your fountain. Ensure that the pump is fully submerged in water before connecting it to a power source to prevent it from running dry and getting damaged. Next, adjust the pump's flow rate according to the desired water movement in your fountain. Use flexible tubing to connect the pump to the fountain's water outlet, making sure there are no leaks and that the water flows smoothly. Finally, fill the fountain with enough water to cover the pump, plug in the power, and enjoy the serene ambiance created by your newly crafted fountain. Remember to regularly check the water level and pump functionality to maintain the fountain's beauty and performance.
Immerse yourself in architecture’s most boundary-pushing ideas—where innovative home improvements meet visionary urban developments. Discover new building techniques, materials, and creative concepts that are redefining how we shape our spaces on a global scale.