

When it comes to protecting your tile surfaces, sealing grout is a crucial step—but it only works if your grout is thoroughly cleaned beforehand. Residue from installation, dirt, and soap scum can prevent sealers from penetrating properly, leading to poor adhesion and reduced protection. In this guide, you’ll discover how to clean your grout effectively before sealing, with clear diagnostics for different grout and tile types, safety precautions, and step-by-step instructions. if you are dealing with cement-based sanded grout or epoxy grout, glazed porcelain or natural stone tiles, we’ve got you covered. Let’s dive in and ensure your grout sealing project succeeds from the very start.
Before You Start
Before sealing grout, it’s important to identify your grout type and tile material to choose the right cleaning method and sealer. Cement-based grout typically requires cleaning and sealing, while epoxy grout usually does not need sealing due to its inherent water resistance. You’ll learn how to use pH-neutral cleaners, avoid acid-sensitive tiles, and remove stubborn grout haze or soap films that can interfere with sealer adhesion. This guide also covers safety checks, product label interpretation—such as dwell times and dilution instructions—and troubleshooting common issues like haze removal and sealer residue. By following these steps, you’ll prepare your grout perfectly for sealing and maximize the life and beauty of your tiled surfaces.
Tile Type and Haze Safety Check
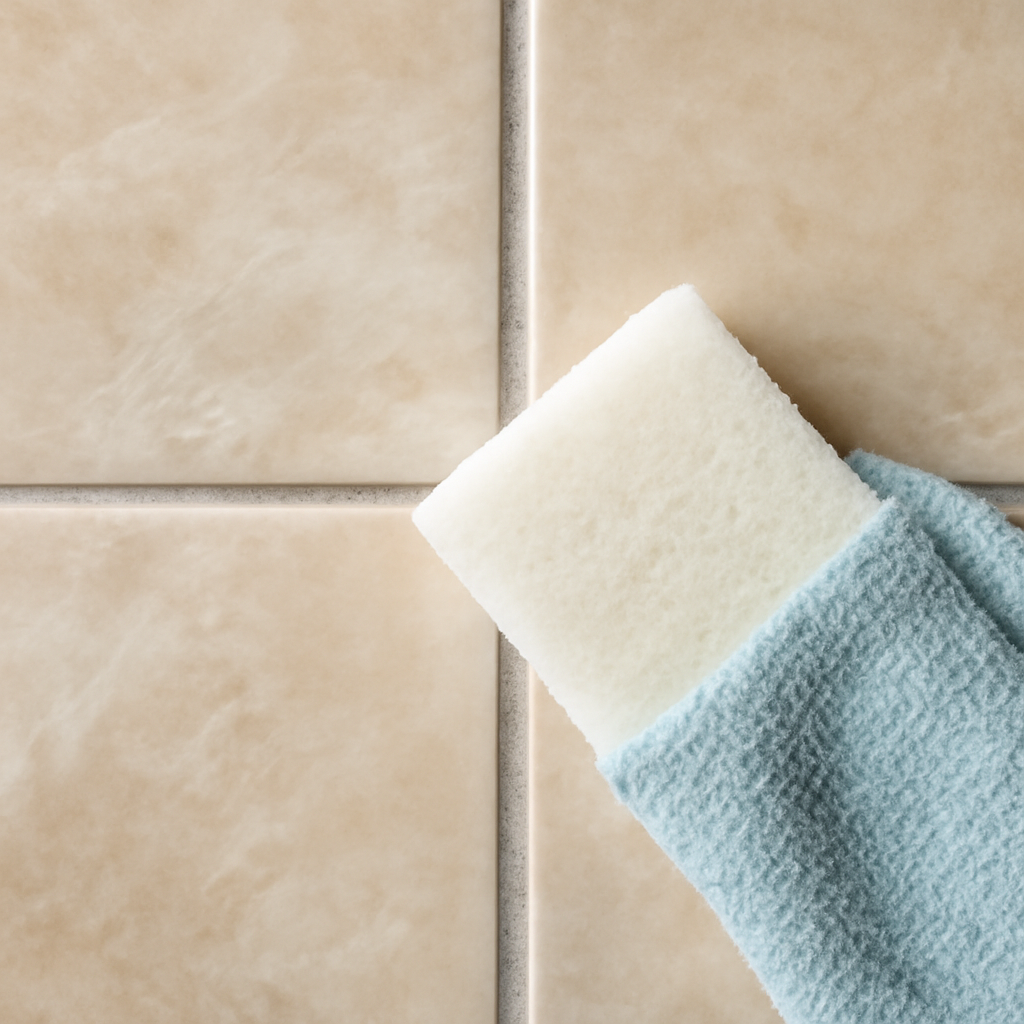
Start by identifying the surface: glazed porcelain and glazed ceramic tile usually tolerate grout-haze remover better than natural stone, cement tile, terrazzo, or unglazed porous tile. Do a small spot test, follow the product label dilution and dwell time, and avoid acidic cleaners on marble, travertine, limestone, cement tile, or other acid-sensitive surfaces unless the label specifically says it is safe. Do not seal grout until haze and cleaner residue are removed and the floor is fully dry.
- Fresh cement haze: use clean water changes, a damp grout sponge, then buff with microfiber.
- Dried cement haze: use a tile-safe grout haze remover and non-scratch white scrub pad.
- Epoxy haze: use an epoxy-grout haze remover; standard acidic cement haze removers may not work.
- Sealer residue or streaks: check the sealer label for re-emulsifying or residue removal directions.
⚠️ Safety First
- Always wear protective gloves and eye protection when handling cleaners and sealers.
- Work in a well-ventilated area to avoid inhaling fumes.
- Do not mix different cleaning chemicals; this can cause dangerous reactions.
- Keep cleaning and sealing products out of reach of children and pets.
- Follow all manufacturer instructions and warnings on product labels precisely.
🛠 What You'll Need for How To Clean Grout Before Sealing
Materials
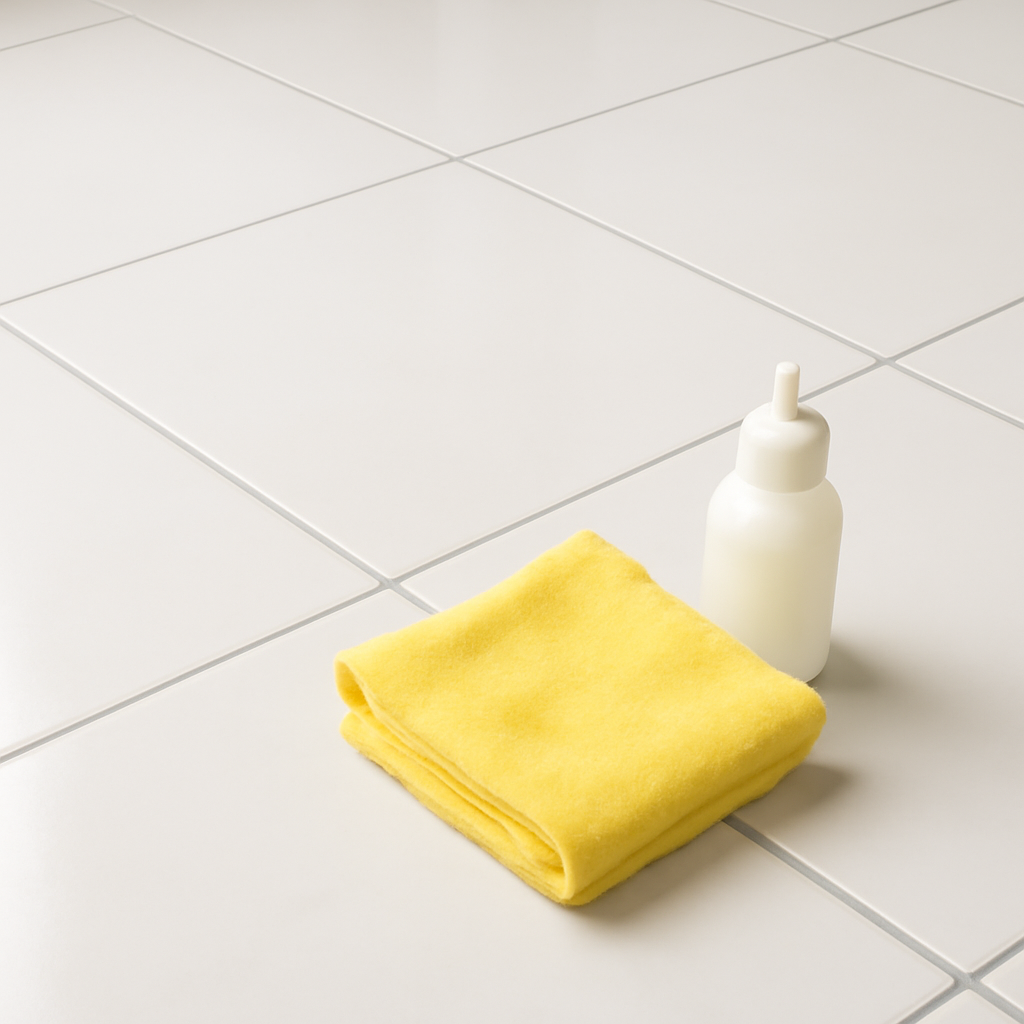
- pH-neutral tile cleaner — safe for most tile and grout, removes dirt without damage
- Grout haze remover — specialized product to eliminate cement residue after grouting
- Penetrating grout sealer — designed for cement-based grout, repels moisture and stains
- Warm water — for rinsing and diluting cleaners
- White microfiber cloths — lint-free, ideal for wiping and buffing
- Bucket — for mixing cleaning solutions and rinsing tools
- Protective gloves — to protect your skin from chemicals
Tools
- Soft nylon grout brush — scrubs grout lines gently without scratching tiles
- Spray bottle — for even application of cleaning solutions
- Rubber squeegee — helps remove excess water and cleaner
- Small toothbrush — for detailed cleaning in tight grout spaces
- Fan or dehumidifier — speeds drying time before sealing
- Close-up camera or smartphone — to document before/after and identify problem areas
Step-by-Step Instructions
Step 1 Diagnose Your Grout and Tile Type ~20 min
Identify whether your grout is cement-based (sanded or unsanded) or epoxy. Cement-based grout generally needs sealing; epoxy grout usually does not. Also, determine your tile type: glazed porcelain/ceramic tiles tolerate pH-neutral cleaners well, while natural stone or unglazed tiles may be acid-sensitive and require special cleaners. Use a close-up photo to help identify grout texture and tile finish.
💡 Pro Tip: If unsure, test a small inconspicuous area with water and cleaner to check for sensitivity.
Step 2 Safety Check and Prepare Work Area ~15 min
Wear protective gloves and ensure good ventilation. Remove any furniture or rugs from the area. Read all product labels carefully, noting dilution ratios, dwell times, and rinse instructions. Avoid mixing cleaners. Prepare warm water and cleaning solutions as directed.
Step 3 Remove Surface Dirt and Debris ~10 min
Sweep or vacuum the tiled area to remove loose dirt and dust. This prevents scratching and improves cleaner effectiveness.
Step 4 Apply pH-Neutral Cleaner and Scrub Grout ~40 min
Spray pH-neutral tile cleaner evenly on grout lines and let it dwell for 5–10 minutes as per product instructions. Use a soft nylon grout brush or toothbrush to scrub grout gently, focusing on stained or dirty areas. Avoid harsh scrubbing that can damage grout.
💡 Pro Tip: For acid-sensitive tiles (natural stone), avoid acidic cleaners like vinegar. Use grout haze remover if cement residue is present.
Step 5 Rinse Thoroughly and Remove Residue ~20 min
Rinse the area with warm water using a clean microfiber cloth or squeegee to remove all cleaner and loosened dirt. Repeat rinsing until water runs clear, preventing sealer adhesion issues caused by residue or soap films.
Step 6 Dry Grout Completely Before Sealing ~60 min
Allow grout to dry fully—typically 24–48 hours depending on humidity and ventilation. Use fans or a dehumidifier to speed drying. Sealing wet grout can trap moisture, causing sealer failure and mold growth.
💡 Pro Tip: Test dryness by pressing a white cloth on grout; no moisture transfer means ready to seal.
Step 7 Inspect and Troubleshoot Before Sealing ~30 min
Check for any lingering haze, soap film, or residue. Use grout haze remover or mild abrasive if needed. Refer to troubleshooting tips for fresh cement haze, dried cement haze, epoxy haze, and soap/hard-water film removal. Ensure grout is clean and free of contaminants for best sealer adhesion.
Common Mistakes to Avoid
- Using acid on marble, travertine, limestone, cement tile, or other acid-sensitive surfaces without a label-approved spot test.
- Scrubbing with colored, metal, or abrasive pads that can scratch tile or stain grout.
- Letting haze remover dry on the tile instead of rinsing and buffing in small sections.
- Sealing grout before haze, cleaner residue, and moisture are fully gone.
💡 Pro Tips & Expert Advice
- Test your cleaner and sealer on a small, hidden area first to prevent damage.
- Use a penetrating grout sealer designed for cement-based grout—not surface sealers—to avoid hazing and peeling.
- Remove sealer residue promptly with a grout haze remover or recommended solvent to prevent hazing on tiles.
- Document the process with photos to track progress and identify persistent stains or haze.
- For natural stone tiles, avoid acidic or abrasive cleaners to protect the surface.
- Maintain grout regularly by cleaning with a pH-neutral cleaner to extend sealant life.
Frequently Asked Questions
- Q: Can I seal epoxy grout?
- A: Epoxy grout is generally water-resistant and does not require sealing.
- Q: How long should grout dry before sealing?
- A: Allow grout to dry completely—typically 24 to 48 hours—before applying sealer.
- Q: What if I see haze after sealing?
- A: Haze usually comes from sealer residue left on tiles; remove it promptly with grout haze remover or recommended solvents.
- Q: Can I use vinegar to clean grout before sealing?
- A: Vinegar is acidic and can damage natural stone or unglazed tiles; use pH-neutral cleaners instead.
- Q: How do I know if grout is clean enough to seal?
- A: The grout should be free of dirt, soap film, and haze; a white cloth test and visual inspection help confirm cleanliness.
Properly cleaning your grout before sealing is the foundation of a successful grout protection project. By diagnosing your grout and tile type, using the right cleaning products, following safety guidelines, and thoroughly removing dirt and residue, you ensure that your penetrating grout sealer adheres well and performs optimally. Remember to allow sufficient drying time and address any haze or residue before sealing. With these expert, practical steps, you’ll enhance your tile’s appearance and durability, making your investment last for years. Take your time, follow the guide carefully, and enjoy the fresh, protected look of your grout!
Sources & Product Label Checks
Use these focused references and product-label checks before removing grout haze. Confirm the residue type, tile type, acid sensitivity, dilution, dwell time, rinse steps, and whether an epoxy-specific remover is required.
Sources & Product Label Checks
- Cement-based grout needs product-specific sealing decisions: TCNA consumer guidance points homeowners back to grout and sealer manufacturer directions because grout type and installation conditions affect maintenance. Identify whether the joint is epoxy or cement-based before buying sealer, then match the label to sanded or unsanded grout and the floor location. Source: Tile Council of North America
- Moisture control is part of grout maintenance: EPA mold guidance emphasizes drying wet areas and correcting moisture problems instead of treating surface cleaning as the only fix. Do not seal over damp grout or recurring leaks; let the floor dry fully and address water intrusion before applying penetrating sealer. Source: U.S. Environmental Protection Agency
- Dense porcelain needs a light sealer application: MAPEI technical guidance treats dense surfaces such as porcelain as surfaces that may accept only a thin coat of penetrating sealer. Apply sealer sparingly on porcelain-adjacent grout, keep it on the grout lines, and wipe residue before it dries into streaks or haze. Source: MAPEI
- Penetrating sealer labels still control the job: CUSTOM describes TileLab Grout & Tile Sealer as a penetrating sealer for grout and tile stain resistance. Use the product label to confirm cement grout compatibility, cure time, coverage, ventilation, cleanup, and porcelain spot-test instructions. Source: CUSTOM Building Products
On Architecture Adrenaline
- How To Clean Grout Without Damaging Tile: Read the full guide
- How To Remove Grout Haze From Ceramic Tile: Read the full guide
- How To Remove Grout Haze From Tile: Read the full guide
- How To Seal Grout In Kitchen Tile Floor: Read the full guide
Authoritative Planning References
- Tile Council of North America Consumer Resources - Use TCNA consumer guidance as a tile-system reference point, then follow the grout and sealer manufacturer labels for the exact product on site.
- EPA Mold Cleanup Guidance - Moisture control matters around bathroom floors, showers, and grout joints because persistent dampness can support mold growth.
- MAPEI Applying Sealers Technical Bulletin - Manufacturer guidance for applying penetrating sealers sparingly on dense porcelain and wiping residues during installation.
- CUSTOM TileLab Grout & Tile Sealer - Manufacturer product page for a penetrating grout and tile sealer; always verify current label directions before use.
Shopping Shortlist
For grout-haze cleanup, prioritize tile-safe haze remover, non-scratch white scrub pads, microfiber buffing cloths, pH-neutral cleaner, and epoxy-haze remover only when the residue is epoxy based.
Haze remover
Grout haze remover for ceramic and porcelain tile
Use a label-approved haze remover for cement-based grout residue on glazed ceramic or porcelain tile.
Check tile-type compatibility, acid warnings, dilution, dwell time, and required rinse/buff steps.
Scrub pads
Non-scratch white scrub pads
White non-scratch pads help loosen haze without colored pad transfer or metal abrasion.
Check tile-type compatibility, acid warnings, dilution, dwell time, and required rinse/buff steps.
Buffing cloths
Microfiber cloths for buffing grout haze
Clean microfiber cloths are essential for final buffing before residue dries again.
Check tile-type compatibility, acid warnings, dilution, dwell time, and required rinse/buff steps.
Neutral cleaner
pH-neutral tile and grout cleaner
Use after haze removal and rinsing for safer routine maintenance.
Check tile-type compatibility, acid warnings, dilution, dwell time, and required rinse/buff steps.
