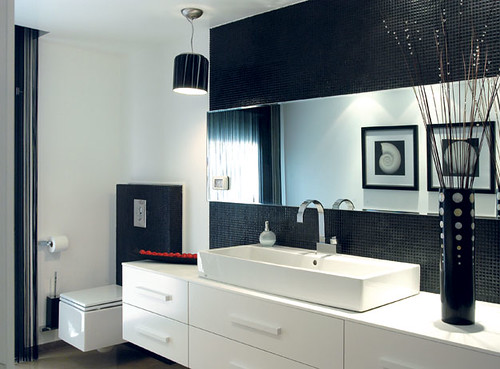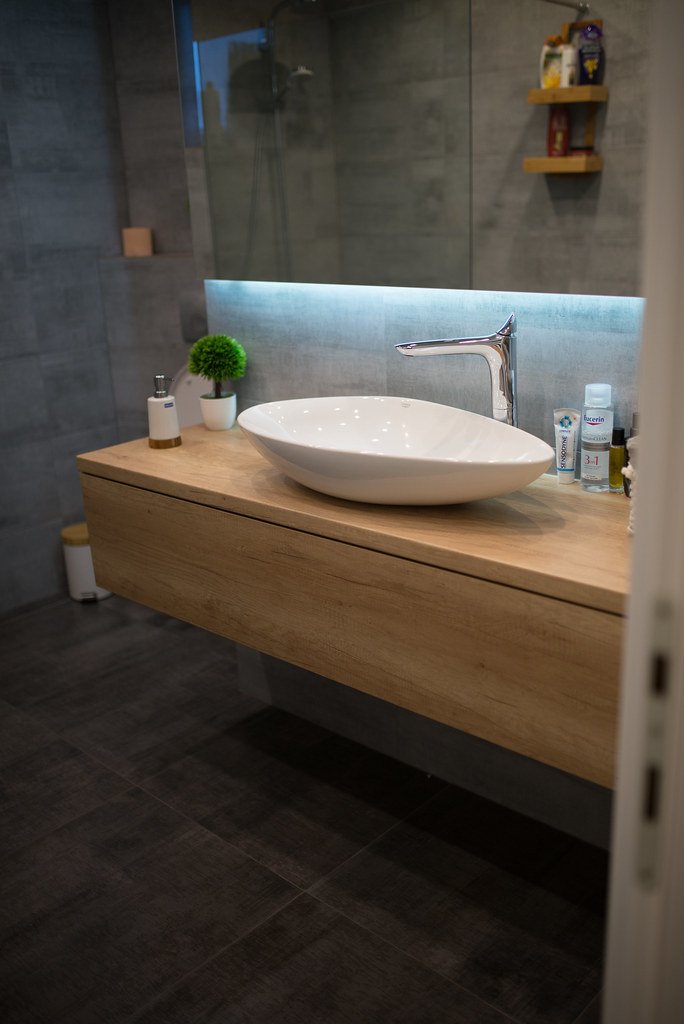

Cleaning tile bathroom walls might seem straightforward, but achieving a deep, lasting shine requires the right approach. You want your tiles to look fresh without damaging grout or finishes. This guide walks you through each stage, from selecting materials and tools to applying proven techniques that remove grime, soap scum, and mildew effectively. Whether you're a homeowner maintaining your space or a remodeler prepping for a project, these expert tips will elevate your bathroom’s look and feel.
Before You Start
Bathroom tile walls endure constant exposure to moisture, soap residues, and bacteria, making regular cleaning essential. Effective cleaning not only enhances visual appeal but prevents mold buildup and prolongs tile life. This guide focuses on practical, easy-to-follow steps using accessible materials and tools. You'll learn how to identify the right cleaning agents for your tile type, prepare your workspace, and execute a thorough cleaning process. Additionally, styling takeaways will help you maintain the fresh look you achieve. The goal is to empower you with knowledge and confidence to keep your bathroom walls pristine and inviting.
⚠️ Safety First
- Wear protective gloves and, if sensitive, goggles to avoid irritation from cleaning agents.
- Ensure adequate ventilation while cleaning to prevent inhalation of fumes.
- Use a sturdy step ladder and maintain three points of contact when reaching high tiles.
- Keep cleaning solutions out of reach of children and pets.
- Do not mix bleach with vinegar or hydrogen peroxide to avoid toxic gases.
🛠 What You'll Need for How To Clean Tile Bathroom Walls
Materials
- White vinegar — natural, effective for soap scum and mildew removal
- Baking soda — gentle abrasive to lift stains and brighten grout
- pH-neutral tile cleaner — safe for delicate or sealed tiles
- Hydrogen peroxide — for stubborn grout discoloration and mold
- Microfiber cloths — lint-free wiping and polishing
- Spray bottles — for easy application of liquids
- Warm water — for rinsing and diluting cleaning agents
Tools
- Soft-bristle scrub brush — scrubs grout without damage
- Grout cleaning brush — targets grout lines precisely
- Squeegee — removes excess water and prevents streaks
- Bucket — for mixing cleaning solutions
- Protective gloves — safeguard skin from irritants
- Step ladder — reach high bathroom walls safely
Step-by-Step Instructions
Step 1 Prepare Your Cleaning Solution ~10 min
Mix 1 cup of white vinegar with 1 cup of warm water in a spray bottle. For delicate or sealed tiles, substitute vinegar with a pH-neutral tile cleaner to avoid damage. Label your bottles clearly. This solution helps break down soap scum and mildew effectively.
Step 2 Clear and Protect the Area ~10 min
Remove any items from the bathroom walls and floor near the tiles. Wear protective gloves to shield your skin from cleaning agents. Use a step ladder to safely access higher tiles. Lay down old towels or mats to catch drips and prevent slips.
Step 3 Spray and Soak Tiles ~15 min
Generously spray the vinegar-water solution onto the tile walls, focusing on grout lines and areas with visible buildup. Allow the solution to sit for 10–15 minutes to penetrate grime and mildew.
Step 4 Scrub Grout and Tiles ~30 min
Using a soft-bristle scrub brush or grout brush, gently scrub the tile surfaces and grout lines in circular motions. For tough stains, sprinkle baking soda onto grout before scrubbing to increase abrasion. Avoid excessive force to prevent grout damage.
Step 5 Rinse Thoroughly ~15 min
Rinse the walls with warm water using a clean microfiber cloth or a sponge to remove residue from cleaning agents. Repeat rinsing until tiles feel clean and residue-free. Use a squeegee to remove excess water and prevent streaks.
Step 6 Treat Stubborn Grout Stains ~20 min
If grout discoloration persists, apply hydrogen peroxide directly to the grout lines. Let it sit for 5–10 minutes, then scrub lightly and rinse thoroughly. This helps eliminate mold and deep stains safely.
Step 7 Dry and Polish ~10 min
Dry the tile walls completely with a clean microfiber cloth to prevent water spots and mildew regrowth. For added shine, buff tiles gently with a dry cloth. Maintain regular drying after showers to prolong cleanliness.
💡 Pro Tips & Expert Advice
- Always test cleaning solutions on a small inconspicuous tile area before full application.
- Use a squeegee daily after showers to reduce soap scum buildup and simplify deep cleans.
- Seal grout lines annually to protect against stains and moisture penetration.
- Ventilate the bathroom well during and after cleaning to speed drying and reduce mold risk.
- For natural stone tiles, avoid acidic cleaners like vinegar; opt for pH-neutral products instead.
Frequently Asked Questions
- Q: How often should I clean my tile bathroom walls?
- A: Ideally, clean tile walls every 1–2 weeks to prevent buildup of soap scum and mildew.
- Q: Can I use bleach to clean tile walls?
- A: Bleach can be used cautiously on grout stains but avoid frequent use as it can degrade grout and discolor tiles.
- Q: What if my grout is severely stained?
- A: Consider professional grout cleaning or re-grouting if stains do not respond to hydrogen peroxide and scrubbing.
- Q: Are natural cleaning solutions effective for tile walls?
- A: Yes, vinegar and baking soda are effective for routine cleaning and mild stains but avoid acidic solutions on natural stone tiles.
- Q: How do I prevent mold on tile walls?
- A: Ensure proper bathroom ventilation, dry walls after use, and clean regularly to discourage mold growth.
Cleaning your tile bathroom walls need not be a daunting task. With the right materials, tools, and techniques outlined in this guide, you can restore your tiles’ brilliance and maintain a healthy, attractive bathroom environment. Regular care prevents buildup and damage, preserving your investment and enhancing your space’s style. Follow these steps consistently, adapt to your tile type, and enjoy the satisfaction of sparkling, fresh bathroom walls every day.
Design Deep Dives & Resources
Use these references to go deeper on layouts, materials, lighting, safety, and maintenance decisions that matter for this style.
Research-Backed Planning Notes
On Architecture Adrenaline
- How To Increase Natural Light In Your Home: Read the full guide
Authoritative Planning References
External Inspiration
Editor-Selected Amazon Finds
Use these shopping starting points to compare dimensions, weather ratings, and reviews before buying.
Dimmable LED task lighting
A practical starting point for improving visibility and mood.
Water-resistant organizer
Useful when the design also needs daily function.
Non-slip accent rug
Adds texture while keeping maintenance realistic.
Extra Visual Inspiration