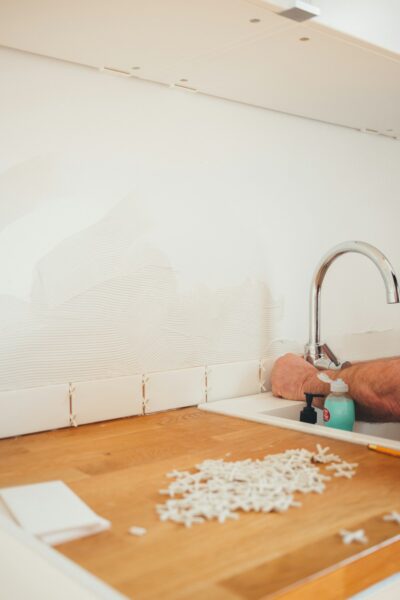
Ending a backsplash in a kitchen with open walls can be tricky. Without a natural stopping point, figuring out where and how to stop the tile can challenge even seasoned design enthusiasts. Thankfully, with a few smart design tricks, you can create a polished and cohesive finish tailored to your kitchen’s style.
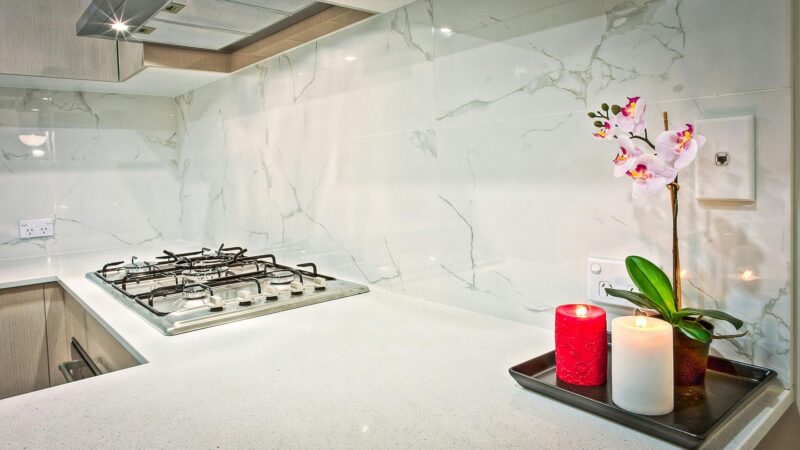
If your kitchen layout includes upper and lower cabinets, they’re often the best guide for where to end your backsplash. Aligning the tile with the edges of the base or upper cabinets provides a cohesive, balanced look. This creates strong visual lines and ensures that the backsplash doesn’t extend awkwardly into open wall space.
Pro tip: If you’re working in an open-concept layout, ending the backsplash flush with the lower cabinets creates a seamless transition into the dining or living space.
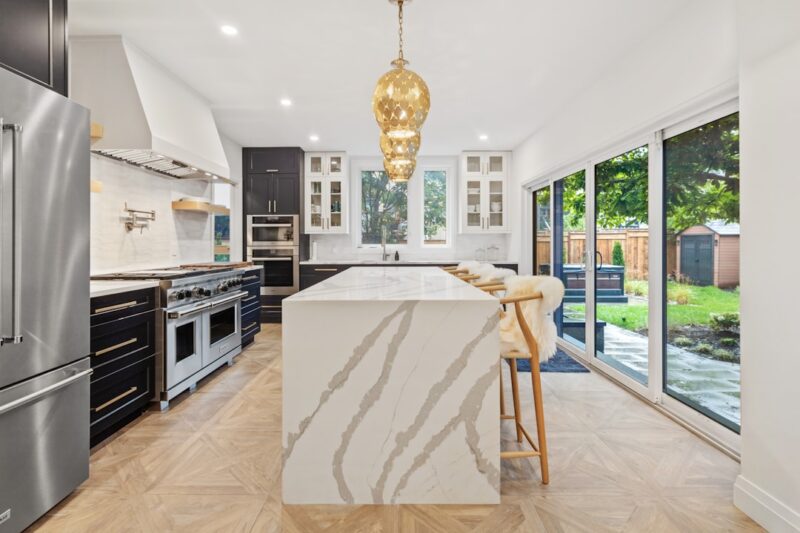
Nothing says “unfinished” like harsh tile edges. Using trim pieces or creating a clean edge is essential for a professional finish. Here are some effective ways to do this:
No matter which option you choose, edging transforms the backsplash into a thoughtful design element.
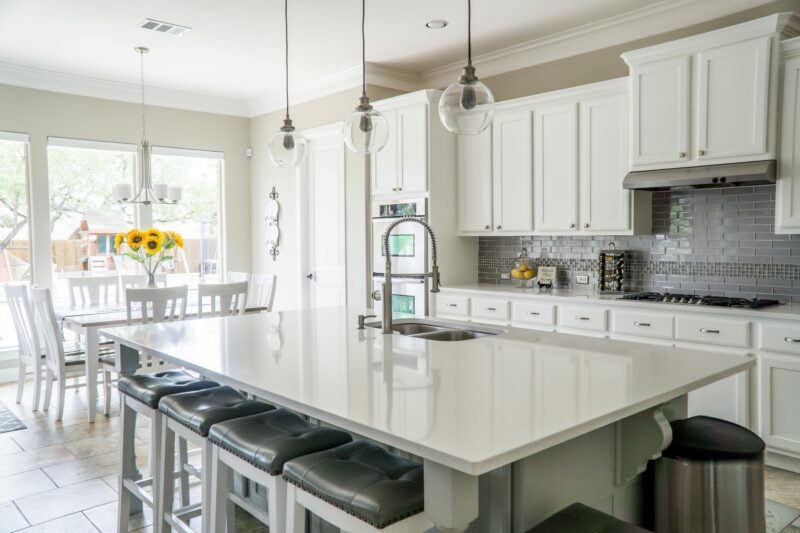
Deciding where to end horizontally can be as tricky as finishing vertically. Here are some guidelines to consider:
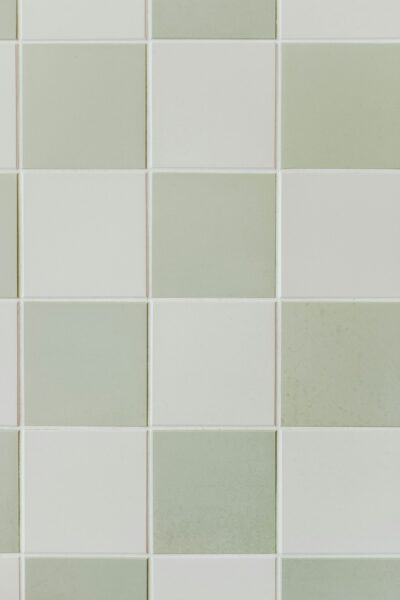
If a backsplash ends mid-wall, adding a design feature can prevent it from looking abrupt. Think about incorporating a border tile to frame the backsplash or using patterned tiles at the termination point for a decorative accent. These features soften the transition from tile to bare wall and add a layer of personality to your kitchen.
Adding practical components like a shelf at the top edge of the backsplash can transform this challenge into a design opportunity. A stylish shelf provides visual balance, wraps up the backsplash neatly, and adds extra kitchen storage for spices or decor. Bonus: The shelf can serve as a natural stopping point if the backsplash extends full-height.
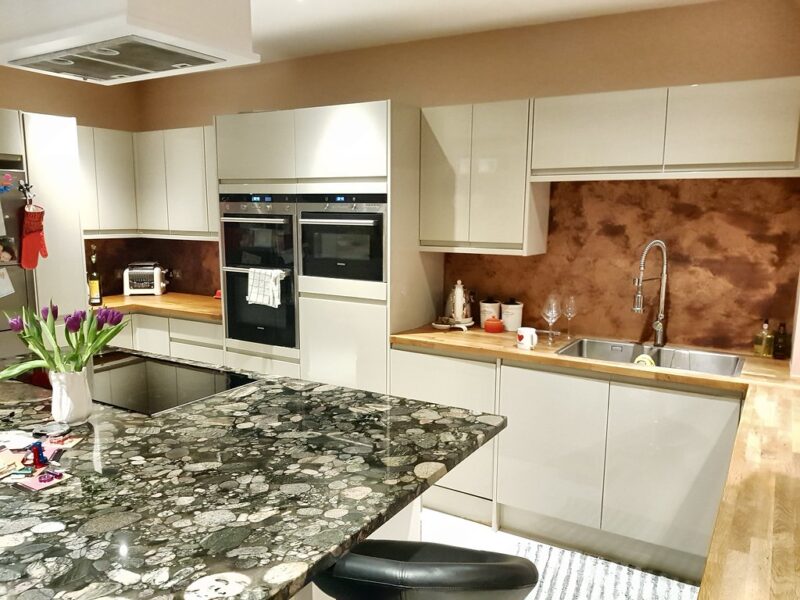
Here's a handy guide to help you pick the right trim solution:
| Edging Option | Best For | Style Impact |
|---|---|---|
| Bullnose Tile | Traditional or classic kitchens | Soft, rounded finish |
| Schluter Edging | Modern or industrial designs | Sleek and minimalist |
| Trim Pieces | Traditional kitchens or bold accents | Bold, polished edges |
In some kitchens, you may choose to install a backsplash solely behind the range for a budget-friendly design. If so, opt for eye-catching materials like mosaic tiles, metal panels, or stone slabs to define the area as a focal point while protecting the wall from food splashes.
Another pro tip: When the backsplash reaches a corner, such as transitioning onto a new wall, terminating it precisely at the corner creates a natural, unobtrusive stopping point.
When it comes to ending a backsplash on an open wall, the best method is one that aligns with your kitchen’s layout and your design preferences. Whether you lean toward crisp modern lines or softer traditional trims, these tips will help you achieve a look that’s not only practical but stunning.
Consider utilizing innovative solutions like a peel and stick brick backsplash to add character to your kitchen without the commitment of permanent installations.
What design challenges have you faced in crafting your dream kitchen? Share your experiences—or ask questions in the comments. We’d love to help!
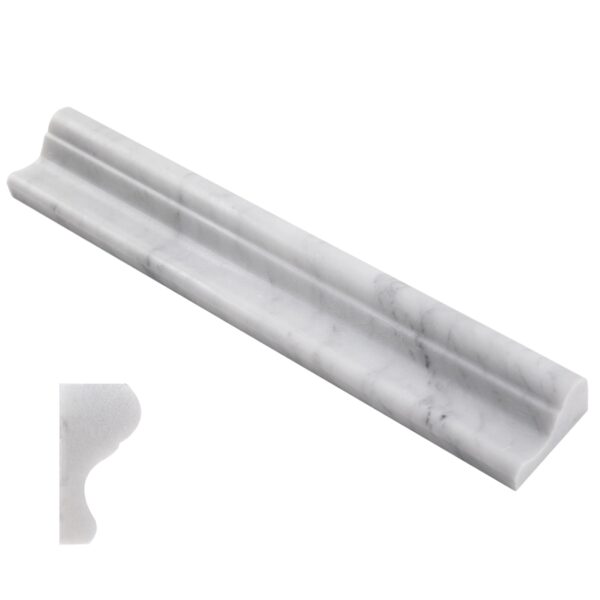
Elevate your space with the elegance of Carrara White Marble Chair Rail Molding. Perfect for adding a sophisticated touch to any room, this beautifully crafted piece features the classic veining of Carrara marble. Ideal for use in kitchens, bathrooms, or living areas, its polished finish adds a timeless charm. Easy to install and maintain, this molding is both a functional and aesthetic addition to your home decor.
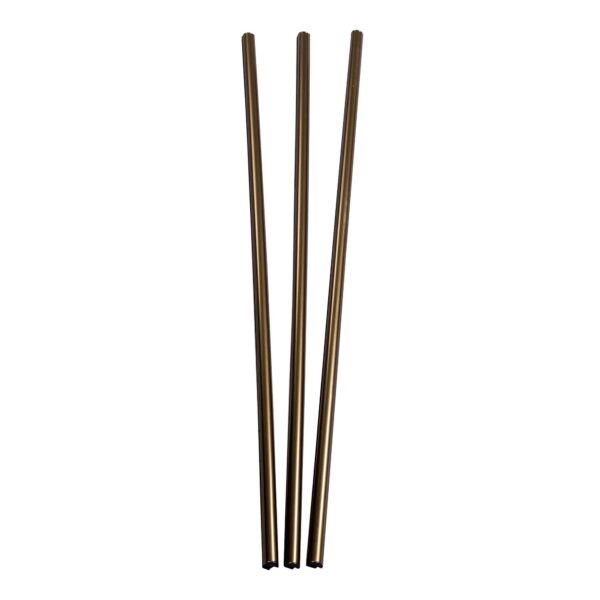
Sip sustainably with this elegant set of three bronze metal straws. Perfect for any occasion, these reusable straws are both eco-friendly and stylish, making them an ideal choice for reducing plastic waste. Crafted from high-quality stainless steel with a chic bronze finish, they add a touch of luxury to your favorite beverage. Easy to clean and portable, they're a must-have accessory for both home and on-the-go use. Enjoy your drinks with a conscience and a bit of flair!
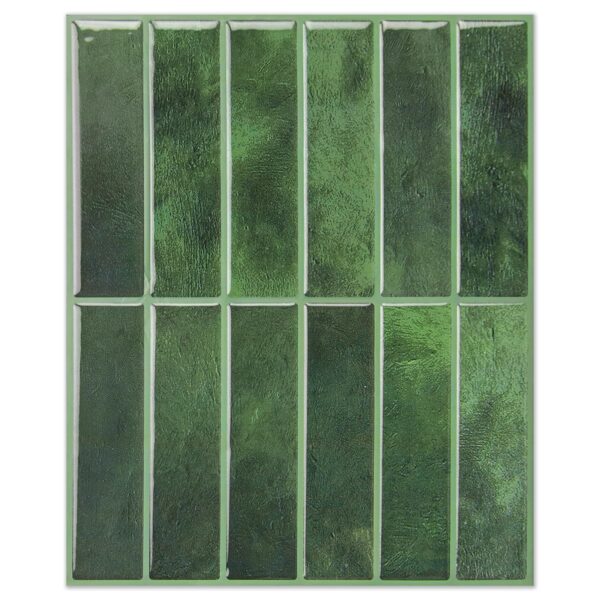
Add a touch of elegance to your space with these Emerald Green Glass Mosaic Tiles. Perfect for kitchens, bathrooms, or accent walls, these tiles create a striking visual appeal with their rich, deep green hue. The glossy finish catches the light, adding dimension and luxury to any interior. Easy to install and clean, these tiles are not only beautiful but also practical, transforming your home into a sophisticated sanctuary.
As you embark on your kitchen design adventure, remember that tackling an open wall with creative backsplash solutions can truly enhance your space's look and feel. We hope these tips inspire you to create a seamless and stylish transition in your home. If you enjoyed this article and want to stay in the loop with more design tips and inspiration, why not follow us on Pinterest for a beautiful board of ideas? For a peek behind the scenes and daily doses of creativity, join us on Instagram. We're also sharing exciting updates on X (formerly Twitter) and of course, you can always connect with us and our wonderful community on Facebook. We look forward to seeing your backsplash transformations and hearing your thoughts, so don't hesitate to reach out and share!
To neatly conclude a backsplash on an open wall, align the tiles to form a polished edge at a natural ending point like wall cabinetry, a soffit, or the base of a windowsill. When working with cabinetry, simply stop the tiling just beneath the cabinet for a tidy finish.
Finishing the edges of a backsplash can be effectively achieved by using caulk, tile trim pieces, or specialized edging. Caulking is the most affordable and straightforward technique for completing tile edges.
If there are no upper cabinets, consider finishing the backsplash with a shelf, even a shallow one. This provides a pleasing conclusion on walls lacking other natural endpoints, such as windows or cabinets.
1. Tile Trims: Accent tile trims are a popular choice for finishing a backsplash edge.
2. Metal Edges: Metal edges are increasingly favored for a sleek finish.
3. Glazed-Edge Tiles: Opt for tiles with a glazed edge for a seamless look.
4. Caulked Edge: Caulk the edges for a simple and cost-effective solution.
5. Bullnose Edge: Create your own bullnose edge for a customized finish.
6. Wooden Trim Edge: Use a wooden trim for a unique and warm touch.

Immerse yourself in architecture’s most boundary-pushing ideas—where innovative home improvements meet visionary urban developments. Discover new building techniques, materials, and creative concepts that are redefining how we shape our spaces on a global scale.