Promoting Freedom for Creative Architecture
Generic selectors
Exact matches only
Search in title
Search in content
Post Type Selectors

How to Install Stair Treads for a Stunning Staircase Makeover

Updating your home’s staircase is an excellent way to enhance both safety and visual appeal. This guide will walk you through the process of installing stair treads and risers, combining aesthetic improvements with practical advice to ensure stability and longevity.
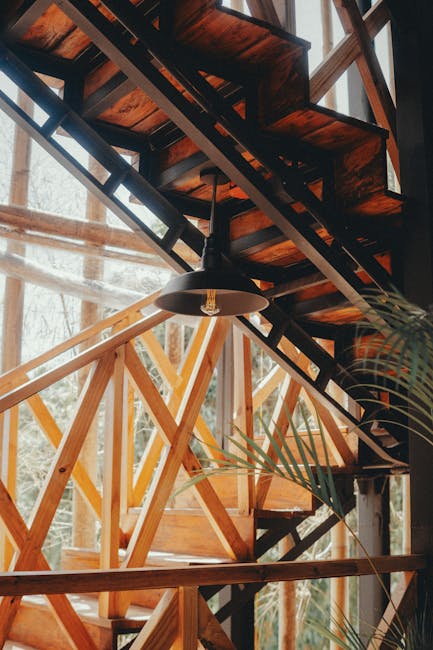
Wooden Stairs in a Building Interior

Materials Used

  • RetroRiser White Poplar Stair Risers
  • Coretec Stair Treads
  • Construction Adhesive
  • 18V Brad Nailer
  • Caulk & Nail Filler
  • Sherwin Williams Emerald Trim Enamel (paint)

Preparation

Start by thoroughly cleaning and vacuuming the stairs to create a suitable surface for installation. Proceed from the bottom of the stairs, ensuring proper placement of treads and risers—risers should sit on top of treads.
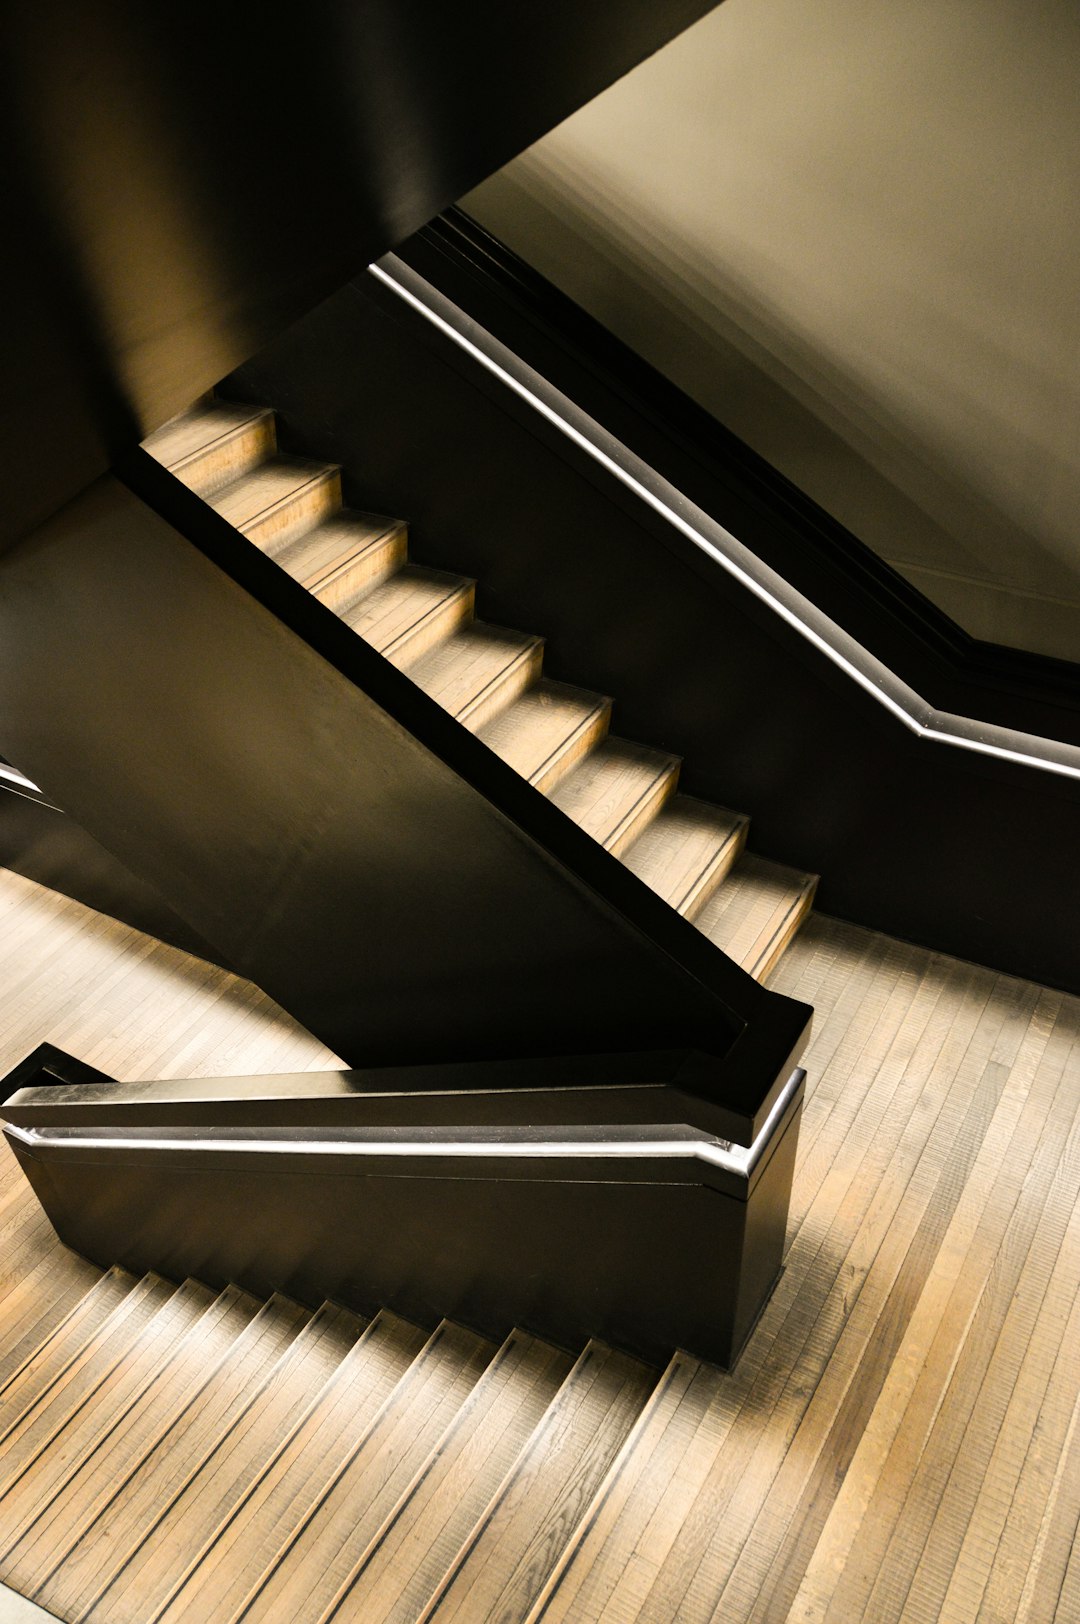
brown and black wooden stairs

Installation Process

The installation involves several steps for both the risers and treads:

  • Measure and cut risers and treads using a table saw. Ensuring precise measurements is crucial to avoid wasting materials.
  • Install RetroRiser risers from Home Depot, securing them with a brad nailer. Use a rotary tool for adjustments around obstacles like air vents.
  • For treads, apply glue during installation instead of nails to avoid visible holes. Weights or tape can be used to hold them in place while the adhesive sets.

Precision and Care

Careful measuring and cutting are essential, especially when dealing with limited materials. Here are some tips to help:
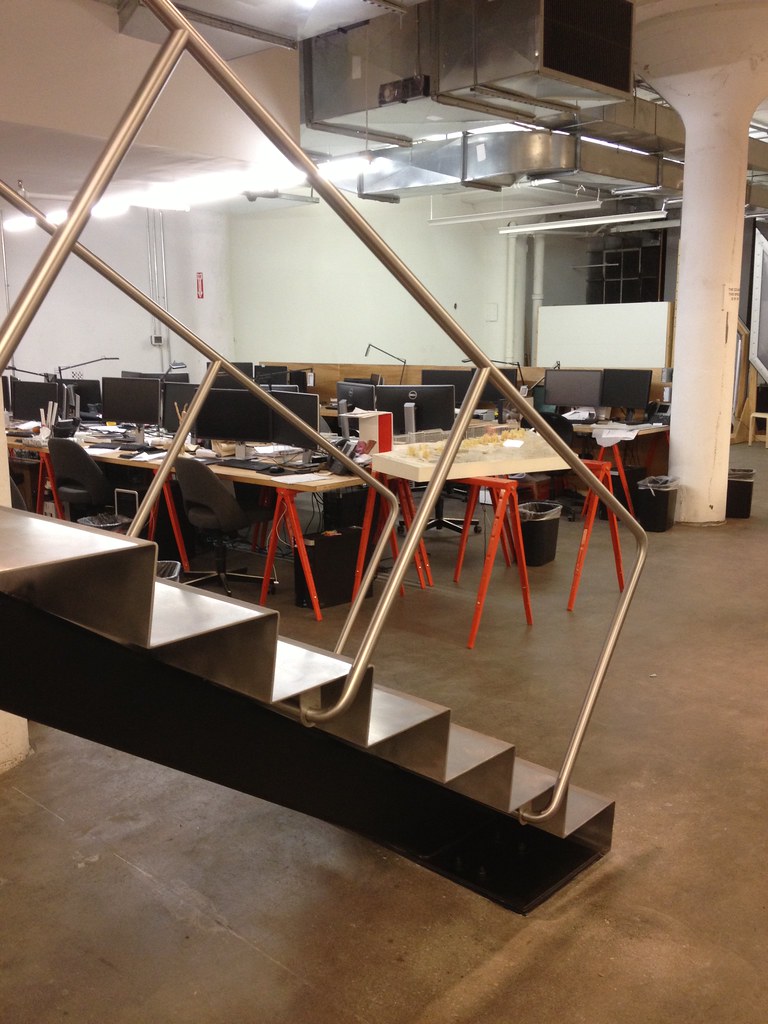
Blackened steel stair with stainless treads
"Blackened steel stair with stainless treads" by Caliper Studio is licensed under CC BY-NC-SA 2.0. View a copy of this license.
  • Label each tread and riser during the cutting phase to ensure correct placement during installation.
  • Use wood putty to fill any knots and sand surfaces smooth for a professional finish.

Finishing Touches

Once the treads and risers are securely installed, it's time to focus on the aesthetics:

  • Install stair nose transition pieces to match the flooring.
  • Caulk seams and fill nail holes using DryDex Wall Repair for better visibility.
  • Sand the risers in preparation for painting with Sherwin Williams Emerald Trim Enamel in Pure White.

Professional Stair Tread & Riser Installation - Complete Install Process

Table of Essential Tools and Their Uses

Tool Use
18V Brad Nailer Securing risers and treads
Table Saw Cutting risers and treads
Construction Adhesive Adhering treads to stairs
Rotary Tool Adjusting for tricky areas
Caulk & Nail Filler Finishing touch for seams and holes

Painting

After installation, sand the risers to create a smooth surface for painting. Apply Sherwin Williams Emerald Trim Enamel in Pure White to match your existing trim, enhancing the overall look of the staircase.

Continued Improvements

Consider additional updates such as adding decals to the risers for a personalized touch. These small changes can further enhance the beauty and uniqueness of your staircase.

The project was completed successfully with impressive results. The updated stairs are not only safer but also significantly more appealing, demonstrating that a home improvement project of this nature can be both effective and affordable.

With these detailed steps and careful consideration of materials and techniques, renovating your staircase can be a straightforward and rewarding DIY endeavor. Consider this guide a useful roadmap for transforming your stairway’s appearance and functionality.

Share this:

Be in the Know

Originally published: 

September 12, 2024

Category:
Tags:
, ,

Emily Johnson

Author
As a key contributor to Architecture Adrenaline, she brings a unique blend of creative vision and technical expertise, offering readers insightful analysis and sustainable design solutions.
see more from me

Leave a Reply

Your email address will not be published. Required fields are marked *

Exploring the most sophisticated spatial concepts from across the globe. Discover innovative building techniques and materials available, worldwide.

Terms & ConditionsPrivacy PolicyLogin