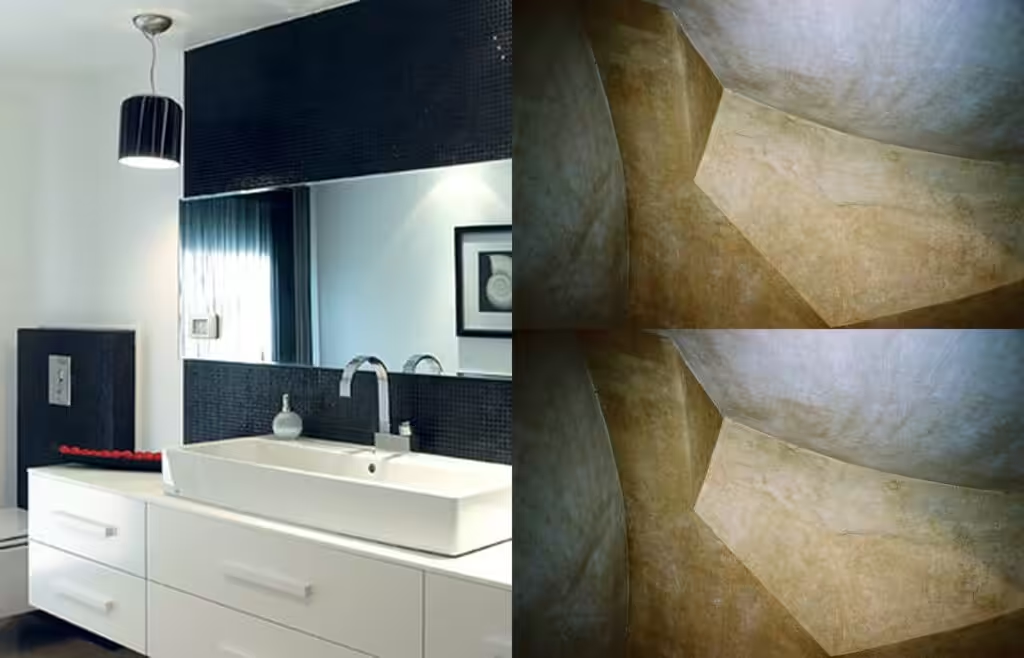
Painting a room can dramatically transform your living space, adding personality and freshness with just a few simple steps. Whether you're aiming to brighten up a tired wall or completely change the color scheme, knowing how to paint a room properly will save you time, money, and frustration. This guide is designed specifically for homeowners and DIY enthusiasts like you, providing clear, actionable instructions from start to finish. We'll cover everything from materials and tools to preparation, painting techniques, and cleanup, ensuring you get a smooth, professional-looking finish every time.
Before You Start
Before you start, it’s important to understand the overall process of painting a room. First, you’ll gather all necessary materials and tools. Next, prepare the room by cleaning walls, repairing imperfections, and protecting surfaces. Then, you’ll apply primer if needed and paint in even coats, allowing proper drying time between layers. Finally, you’ll clean up and inspect your work. Each stage requires attention to detail to avoid common pitfalls like uneven coverage or drips. By following this systematic approach, you’ll achieve a polished, long-lasting result that enhances your home’s ambiance.
⚠️ Safety First
- Wear a painter’s mask to avoid inhaling fumes and dust during sanding and painting.
- Ensure good ventilation by opening windows and using fans.
- Use a sturdy ladder and follow safe climbing practices when painting high walls or ceilings.
- Keep paint and materials out of reach of children and pets.
- Dispose of paint waste according to local regulations.
🛠 What You'll Need for How To Paint A Room
Materials
- Interior Latex Paint — durable, easy to clean, and low odor for walls and ceilings
- Primer — improves paint adhesion and covers stains or dark colors
- Painter’s Tape — protects trim, windows, and edges for clean lines
- Drop Cloths or Plastic Sheeting — safeguards floors and furniture from paint splatters
- Spackle or Joint Compound — fills holes and cracks for smooth surfaces
- Sandpaper (120-220 grit) — smooths patched areas and rough surfaces
- Cleaning Solution (mild detergent) — removes dirt and grease from walls before painting
Tools
- Paint Rollers (9-inch with medium nap) — covers large wall areas efficiently
- Angled Paint Brushes (2–3 inches) — ideal for cutting in edges and corners
- Paint Tray — holds paint for easy roller loading
- Putty Knife — applies spackle to holes and cracks
- Ladder or Step Stool — reaches high areas safely
- Painter’s Mask — protects against paint fumes and dust
- Stir Sticks — mixes paint thoroughly before application
Step-by-Step Instructions
Step 1 Prepare the Room ~45 min
Start by removing furniture or moving it to the center of the room and covering with drop cloths. Remove outlet and switch covers. Clean walls with a mild detergent solution to remove dirt, grease, and dust. Allow walls to dry completely before proceeding.
💡 Pro Tip: Use a vacuum or tack cloth to remove dust after cleaning to ensure paint adhesion.
Step 2 Repair and Sand Walls ~60 min
Inspect walls for holes, cracks, or dents. Apply spackle with a putty knife to fill imperfections. Once dry (usually 1-2 hours), sand patched areas smooth with 120-220 grit sandpaper. Wipe away dust with a damp cloth.
💡 Pro Tip: For deeper holes, apply spackle in layers, letting each dry before applying the next.
Step 3 Tape and Protect Surfaces ~30 min
Apply painter’s tape along trim, window frames, and baseboards to ensure clean paint lines. Lay drop cloths over floors and furniture. Double-check all surfaces are fully covered to avoid accidental splatters.
💡 Pro Tip: Press tape edges firmly to prevent paint bleed underneath.
Step 4 Prime the Walls ~90 min
If you’re painting over dark colors, stains, or raw drywall, apply a coat of primer using a roller for large areas and a brush for edges. Allow primer to dry fully according to manufacturer instructions (typically 2-4 hours).
💡 Pro Tip: Use a stain-blocking primer for walls with water marks or smoke damage.
Step 5 Cut In Around Edges ~45 min
Using an angled brush, paint a 2-3 inch border along taped edges, corners, and around trim. This 'cutting in' creates a clean edge for the roller to blend into.
💡 Pro Tip: Work steadily and avoid overloading your brush to prevent drips.
Step 6 Roll Paint on Walls ~90 min
Pour paint into a tray and load your roller evenly. Apply paint in a 'W' or 'M' pattern, then fill in the gaps with vertical strokes for even coverage. Work in sections about 4x4 feet. Apply a second coat after the first dries (usually 4 hours).
💡 Pro Tip: Maintain a wet edge to avoid lap marks and streaks.
Step 7 Remove Tape and Clean Up ~30 min
Once paint is dry to the touch (1-2 hours after final coat), carefully remove painter’s tape at a 45-degree angle. Clean brushes and rollers with warm soapy water if latex paint was used. Replace outlet covers and move furniture back once paint is fully cured (typically 24-48 hours).
💡 Pro Tip: Remove tape while paint is still slightly tacky to avoid peeling.
💡 Pro Tips & Expert Advice
- Use high-quality brushes and rollers for a smoother finish and less shedding.
- Maintain consistent paint thickness by not overloading your roller or brush.
- Ventilate the room well to speed drying and reduce fumes.
- Work in natural daylight when possible to see true paint colors and coverage.
- Keep a small brush handy for quick touch-ups after the paint dries.
Frequently Asked Questions
- Q: How many coats of paint do I need?
- A: Typically, two coats provide even coverage and durability. Primer counts as a base coat if applied.
- Q: Can I paint over wallpaper?
- A: It's best to remove wallpaper before painting. If removal isn’t possible, use a primer designed for wallpaper surfaces.
- Q: How long should I wait between coats?
- A: Wait 4 hours or as recommended by the paint manufacturer to ensure proper drying.
- Q: What paint finish is best for walls?
- A: Eggshell or satin finishes balance durability and appearance, hiding imperfections better than flat finishes.
- Q: How do I prevent paint from dripping?
- A: Avoid overloading your brush or roller, and apply paint in thin, even layers.
By following these clear, step-by-step instructions, you can confidently paint any room in your home and achieve professional-looking results. Proper preparation, quality materials, and patience during drying times are key to a smooth, long-lasting finish. Remember to take your time, work safely, and enjoy the process of transforming your space. With practice, painting a room will become a straightforward and rewarding DIY project that adds value and beauty to your home.
Design Deep Dives & Resources
Use these references to go deeper on layouts, materials, lighting, safety, and maintenance decisions that matter for this style.
Research-Backed Planning Notes
On Architecture Adrenaline
- How To Increase Natural Light In Your Home: Read the full guide
Authoritative Planning References
External Inspiration
Editor-Selected Amazon Finds
Use these shopping starting points to compare dimensions, weather ratings, and reviews before buying.
How To Paint A Room lighting
Start with lighting because it changes how every finish reads.
How To Paint A Room storage
Keeps the space functional instead of just photogenic.
How To Paint A Room decor
Use restraint and repeat materials already in the room.
Extra Visual Inspiration