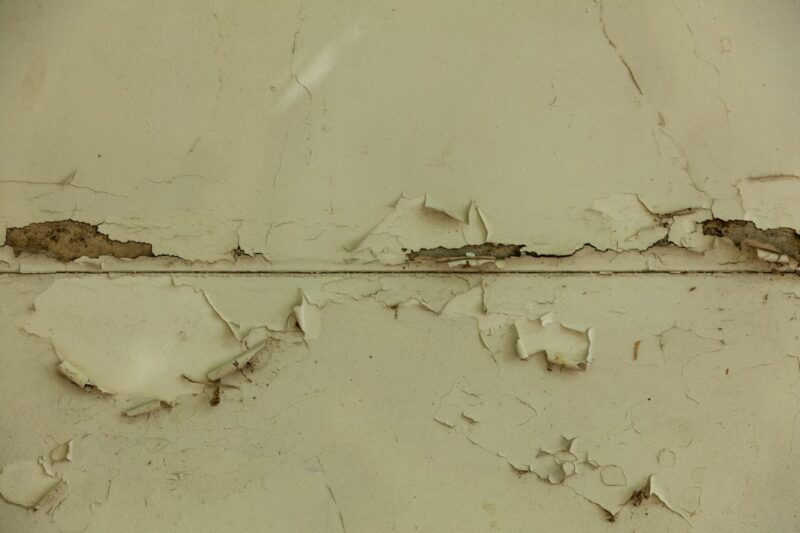
Noticing chipped paint on your walls can be frustrating, but fixing it properly can bring back that clean, polished look to your space. Let’s dive into the steps to tackle this common issue and ensure a smooth finish.
Before starting, assess the situation. Is the paint chipping in small areas, or is the peeling widespread? For isolated chips, you can focus on targeted touch-ups. However, if the peeling is excessive, it might be worth repainting the entire wall for consistency and to avoid future patches.
Gather the essentials before you begin:
Start by scraping away any flaking or loose paint using a scraper or putty knife. Hold the tool at an angle and gently lift the peeling paint. For particularly stubborn or old paint, you might wonder whether certain solvents can help with removal. For instance, you can explore whether denatured alcohol can effectively remove paint. Be mindful not to damage the wall surface.
Once the peeling paint is removed, sand the area with medium-grit sandpaper to even out the edges and create a smooth transition. Follow up with fine-grit sandpaper for a polished finish. Clean the surface with a damp cloth to remove sanding dust.
Fill any cracks, holes, or gouges with spackling compound. For larger repairs (over 3 inches), consider using a drywall patch. Let the compound dry completely, then sand it smooth for a seamless finish.
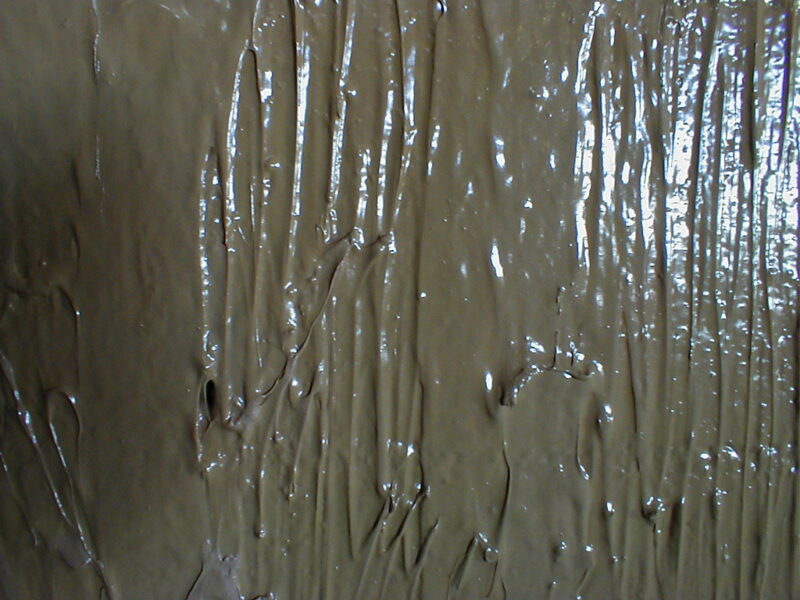
To ensure the paint adheres well and lasts longer, apply a primer before painting. A bonding primer works well for areas with exposed surfaces. Allow the primer to dry as recommended by the manufacturer.
Finally, apply high-quality paint in thin, even coats. For best results, use a small brush or roller to blend the new paint with the surrounding surface. Allow the first coat to dry before applying a second one, if needed. If repainting an entire wall, ensure consistent coverage for a flawless look.
| Approach | Best For | Advantages |
|---|---|---|
| Localized Fix | Small, isolated chips | Less time and material required |
| Repainting Entire Wall | Widespread peeling | Consistent and longer-lasting finish |
To prevent future chipping, inspect your painted surfaces regularly for signs of damage, ensure proper ventilation (especially in humid areas), and trim foliage near exterior walls to reduce moisture buildup. Choosing high-quality paint and applying a primer also enhances durability.
Have you tackled chipped paint before? Share your tips or questions in the comments below—I’d love to hear your thoughts!
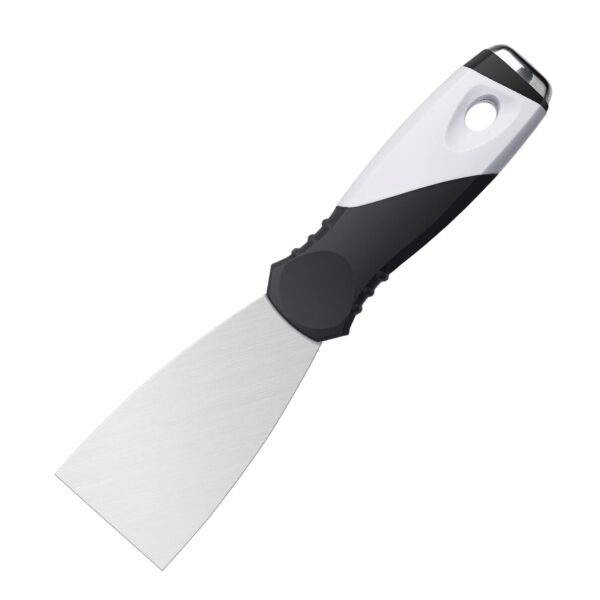
This durable stainless steel putty knife is perfect for all your home improvement needs. Featuring a rust-resistant blade, it ensures smooth application and easy cleanup. The ergonomic handle provides a comfortable grip, reducing hand fatigue during prolonged use. Ideal for scraping, plastering, and filling, this versatile tool is a must-have for DIY enthusiasts and professionals alike. Upgrade your toolkit today for flawless finishes!
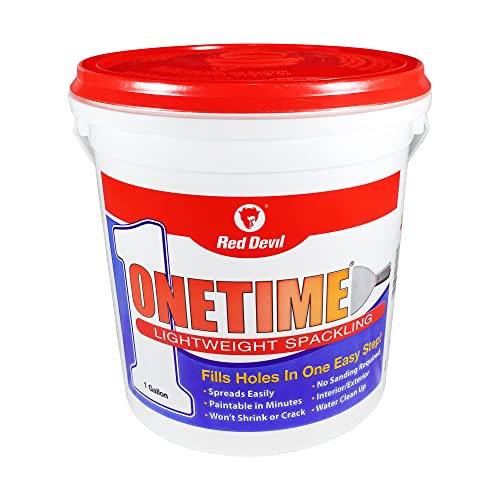
Effortlessly repair holes with Red Devil ONETIME Lightweight Spackling. This easy-to-use, no-sanding formula spreads smoothly and dries in minutes, allowing you to paint quickly without delay. Designed to prevent shrinking and cracking, it's ideal for both DIYers and professionals seeking a flawless finish. Plus, enjoy hassle-free cleanup with water. Transform your walls seamlessly with this reliable spackling solution.
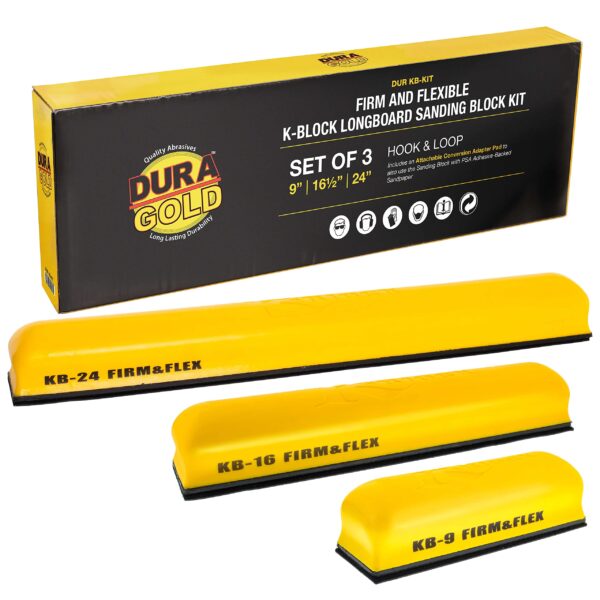
Upgrade your sanding experience with the Dura-Gold K-Block Longboard Sanding Block Kit. This versatile set includes three sizes: 9", 16-1/2", and 24", perfect for achieving smooth finishes effortlessly. The firm yet flexible design provides superior control, while the hook and loop system ensures quick sandpaper changes. Ideal for woodworking, automotive, and DIY projects, each block is crafted for durability and precision.
Painting directly over chipped or peeling paint is not recommended, as it will not address the root issue. The best approach is to remove the chipped paint, fill the surface with wood putty or latex filler, sand the area smooth, then prime and paint. This ensures a durable and aesthetically pleasing result.
Addressing chipped paint on wood surfaces can significantly enhance their appearance and protection. By repairing chips with filler and applying a fresh coat of paint, you protect the wood from moisture and further damage, prolonging its lifespan and improving aesthetics.
When painting over chipped paint without proper preparation, issues such as poor adhesion, continued peeling, and uneven surfaces can arise. Skipping steps like sanding and priming can lead to a non-durable finish and necessitate future repairs.
Begin by removing loose paint and cleaning the area. Fill depressions with wood putty or latex filler, sand smooth once dry, and apply a primer. Finally, paint the area to blend with the surrounding surface, completing the repair.
As you embark on your painting adventure, remember that your walls will thank you for the tender loving care! If you've found this guide helpful and want to explore more tips to brighten up your home, be sure to check out our curated inspirations on Pinterest, where you can create your own mood boards. We love seeing your progress, so don't forget to share your newly refreshed spaces with us over on Instagram. For more day-to-day advice and lively discussions, connect with us on X (formerly Twitter). And, if you’re in the mood for some community support or just want to say hi, stop by our Facebook page. We’re excited to see the transformations you create and are always here to cheer you on!

Immerse yourself in architecture’s most boundary-pushing ideas—where innovative home improvements meet visionary urban developments. Discover new building techniques, materials, and creative concepts that are redefining how we shape our spaces on a global scale.