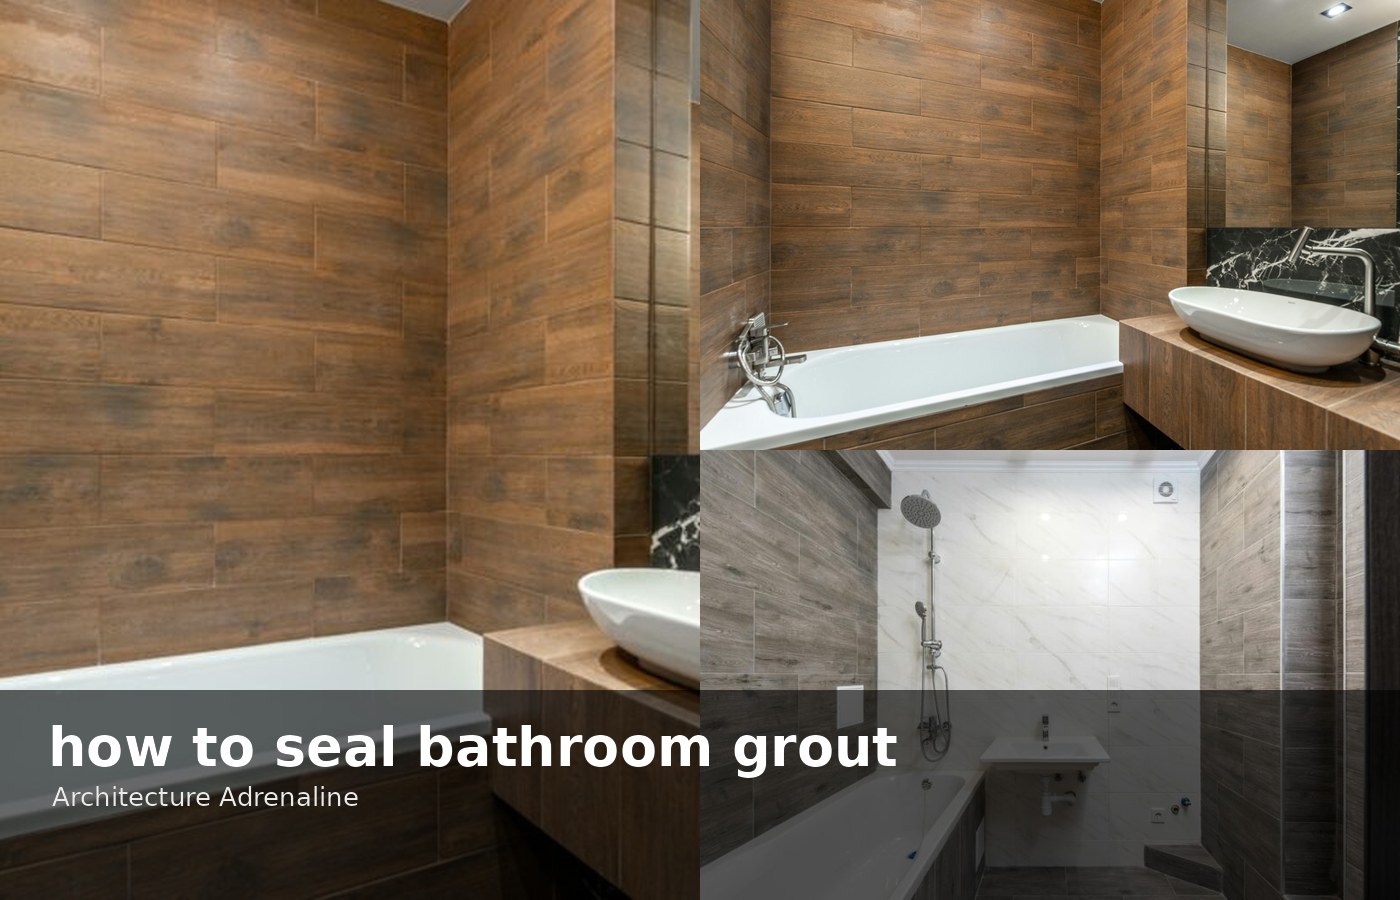
Every bathroom grout line is vulnerable to water damage, mold, and discoloration over time. Sealing your bathroom grout properly is a simple yet highly effective way to extend the life and appearance of your tiled surfaces. In this guide, you’ll learn how to seal bathroom grout step-by-step, using the right materials and tools. Whether you're a homeowner aiming for a DIY upgrade or a remodeler seeking expert tips, you'll find practical advice and styling insights to keep your bathroom looking fresh and protected.
Before You Start
Sealing grout acts as a barrier, preventing moisture and dirt from penetrating porous grout lines. This reduces mold growth and stains, keeping your bathroom cleaner and healthier. The process involves cleaning and drying the grout, applying the sealant evenly, and allowing proper curing time. Choosing the right sealant—penetrating or membrane-forming—depends on your grout type and bathroom conditions. This guide covers all you need to know, including preparation, application, drying times, and maintenance tips to ensure your grout stays sealed and your bathroom looks pristine.
⚠️ Safety First
- Always wear rubber gloves when handling grout sealers to protect your skin.
- Use sealants in well-ventilated areas to avoid inhaling fumes.
- Keep sealants away from children and pets.
- Follow all manufacturer instructions and warnings on product labels.
🛠 What You'll Need for How To Seal Bathroom Grout
Materials
- Grout Cleaner — removes dirt, soap scum, and mildew before sealing
- Grout Sealer — protects grout from moisture and stains (choose penetrating or membrane-forming)
- Painter’s Tape — protects adjacent tiles and fixtures from sealant
- Clean Cloths or Rags — for wiping excess sealant and cleaning surfaces
Tools
- Small Paintbrush or Foam Brush — applies sealant precisely along grout lines
- Sponge — smooths sealant and cleans excess
- Spray Bottle — helps with grout cleaning and rinsing
- Rubber Gloves — protects your hands during application
- Ventilation Fan or Open Window — ensures proper air circulation during drying
Step-by-Step Instructions
Step 1 Clean the Grout Thoroughly ~60 min
Start by scrubbing the grout lines with a grout cleaner and a stiff brush or sponge. Remove soap scum, mildew, and dirt to ensure the sealer adheres properly. Rinse well with water and allow the grout to dry completely—this can take up to 24 hours depending on ventilation.
💡 Pro Tip: Use a spray bottle with a 50/50 water and white vinegar solution for natural cleaning if you prefer chemical-free methods.
Step 2 Protect Surrounding Tiles ~10 min
Apply painter’s tape along the edges of the grout lines to prevent sealant from getting on your tiles or fixtures. This ensures a clean, professional finish.
Step 3 Apply the Grout Sealer ~45 min
Using a small paintbrush or foam brush, apply the grout sealer directly onto the grout lines. Work in small sections, ensuring full coverage. Avoid pooling sealant on tiles.
💡 Pro Tip: Apply thin, even coats to prevent sticky residue. If using a spray sealer, mask off tiles carefully and use light, sweeping motions.
Step 4 Remove Excess Sealant ~15 min
After applying sealant, wipe off any excess from tile surfaces with a clean, dry cloth before it dries. This keeps your tiles clean and shiny.
Step 5 Allow the Sealer to Cure ~1440 min
Let the sealer dry completely according to the manufacturer’s instructions—usually 24 to 48 hours. Ensure good ventilation during this time. Avoid using the bathroom or getting grout wet.
💡 Pro Tip: For best results, apply a second coat after the first cures, especially in high-moisture areas.
Step 6 Inspect and Touch Up ~30 min
After curing, inspect grout lines for any missed spots or uneven coverage. Reapply sealer to those areas if needed, following the same application and drying process.
Step 7 Maintain Your Sealed Grout ~10 min
Regularly clean your grout with mild cleaners and avoid harsh chemicals. Re-seal grout every 1–2 years to maintain protection and appearance.
💡 Pro Tips & Expert Advice
- Test the sealer on a small, inconspicuous grout area first to check for discoloration.
- Use a penetrating sealer for natural stone or cement-based grout for deeper protection.
- Membrane-forming sealers are ideal for frequently wet areas like showers.
- Keep humidity low during curing by using a dehumidifier to speed up drying.
- Wear gloves and ensure good ventilation to avoid irritation from fumes.
Frequently Asked Questions
- How often should I seal bathroom grout?
- Generally, grout should be sealed every 1 to 2 years, depending on moisture exposure and grout type.
- Can I seal grout if it’s already dirty or moldy?
- No. You must clean and dry grout thoroughly before sealing to ensure proper adhesion and effectiveness.
- What type of sealer is best for bathroom grout?
- Penetrating sealers work well for cement-based grout; membrane-forming sealers are better for high-moisture areas like showers.
- How long does grout sealer take to dry?
- Typically, grout sealers require 24 to 48 hours to cure fully; always follow the specific product’s instructions.
- Will sealing grout change its color?
- Some sealers can slightly darken grout temporarily, but most dry clear. Testing on a small area is recommended.
Sealing your bathroom grout is a straightforward, cost-effective way to protect your tiled surfaces from moisture damage and stains. By following these practical steps, you’ll ensure your grout stays clean, durable, and visually appealing for years to come. Remember to clean thoroughly before sealing, choose the right sealer for your bathroom conditions, and maintain your grout regularly. Taking these simple actions will preserve your bathroom’s beauty and hygiene, making your space more enjoyable and easier to maintain.
⚠️ Disclosure: Some links in this guide are affiliate links. Architecture Adrenaline may earn a commission at no extra cost to you.
Installation References
Use these topic-specific sources to verify materials, prep, and installation decisions.
Research-Backed Planning Notes
- National Kitchen & Bath Association: Kitchen planning context for layout and finish decisions. Use this source to verify materials and sequence before publishing. Source: National Kitchen & Bath Association
- Backsplash surface prep matters: Substrate prep and installation method are core tile planning variables. Use this source to verify materials and sequence before publishing. Source: Backsplash surface prep matters
On Architecture Adrenaline
- How To Increase Natural Light In Your Home: Read the full guide
Authoritative Planning References
- Tile Council of North America - Industry reference point for tile installation methods and standards.
- Custom Building Products - Manufacturer guidance for adhesives, grout, and surface prep.
External Installation References
Extra Visual Inspiration