Stabilizing wood is an essential technique for enhancing the durability and aesthetic appeal of wood used in various crafting projects. This involves impregnating wood with a stabilizing resin, which makes the wood harder, denser, and more resistant to moisture and warping. Below, we will walk you through the steps and important considerations for stabilizing wood effectively.
Follow these crucial steps to stabilize wood properly:
Ensure that the wood is completely dry to achieve the best stabilization results. Ideally, aim for a 0% moisture level. One reliable drying method involves:
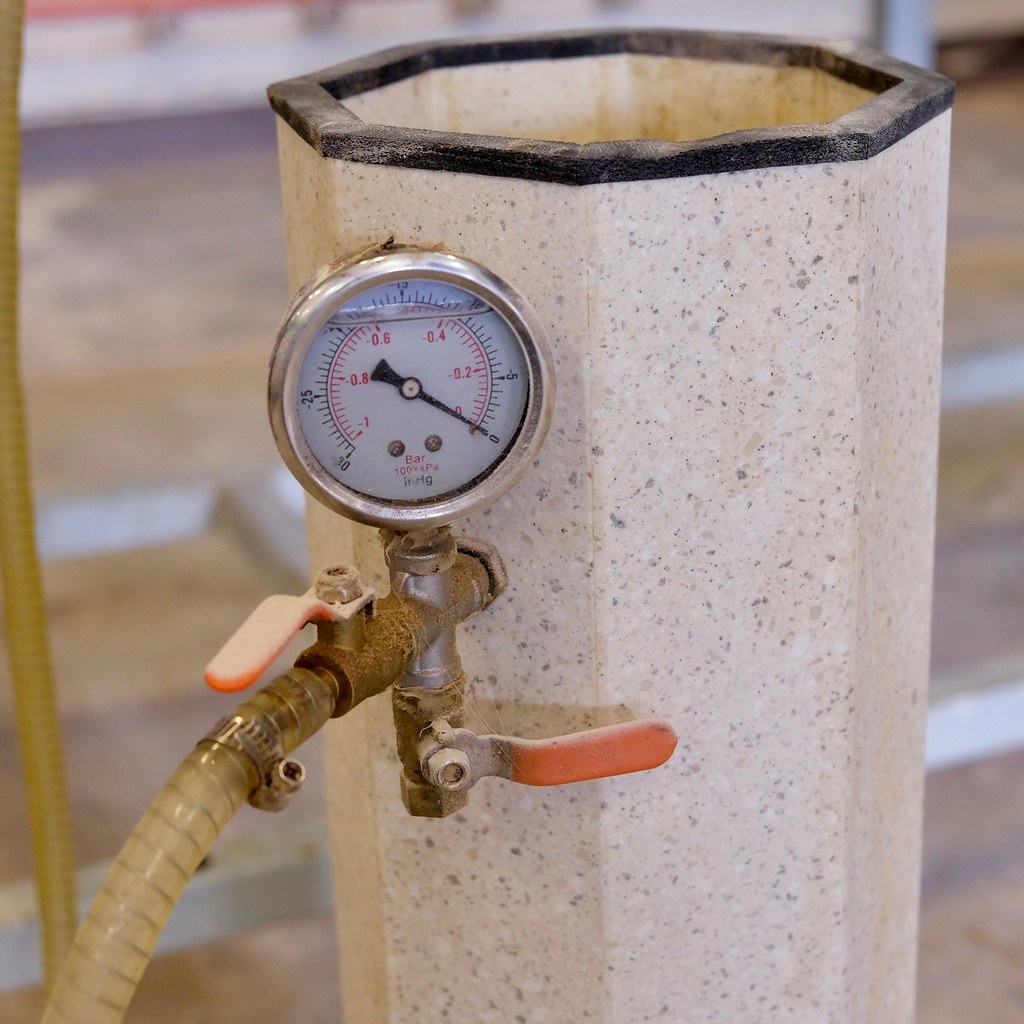
Submerge the dry wood in a stabilizing resin, such as Cactus Juice, then use a vacuum chamber to remove all trapped air within the wood. This step ensures that the resin will thoroughly penetrate the wood fibers. The process typically involves:
After vacuuming, keep the wood submerged in the resin to allow complete absorption. The soaking time should be at least twice the vacuum process duration. For denser woods, extended soaking (up to two weeks or more) may be required.
The final step involves curing the wood to harden the absorbed resin. Here's how:
After the stabilization process, weigh the wood again to verify its effectiveness. Stabilized wood should usually weigh at least double its original, dry weight. Use a drip tray instead of wrapping the wood in aluminum foil for a more professional finish during the process. For more tips, visit our Step-by-Step Guide to Finishing Live Edge Wood.
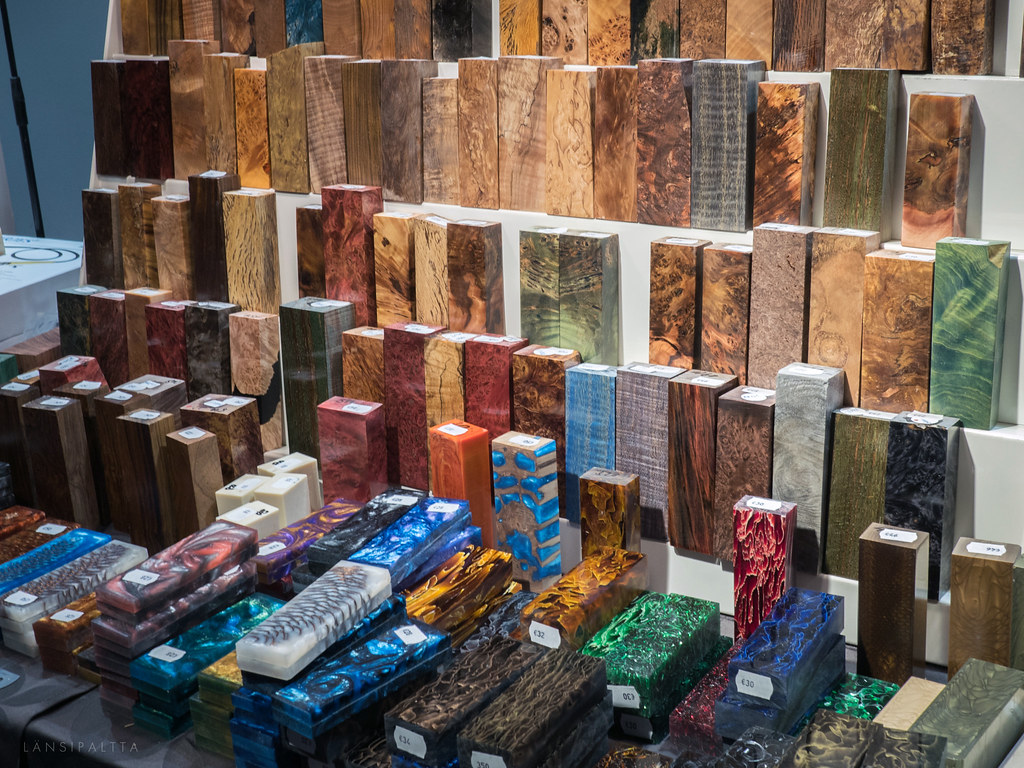
Stabilized wood offers several advantages over natural wood, which makes it particularly useful for crafting items such as knife handles:
To identify stabilized wood, sand a small portion—stabilized wood typically produces a whitish dust and emits a sweet smell when sanded. It is important to note that certain wood types may not benefit much from stabilization, especially denser woods, which may see minimal change in properties and weight. For a comprehensive comparison, check out Tung Oil vs Teak Oil: Choosing the Best Finish for Wood.
Professional stabilizers often use different resins and pressure pots to achieve consistent results. Here are some recommendations:
| Equipment | Usage |
|---|---|
| Vacuum Chamber | Removes air from wood during resin submersion. |
| Drip Tray | Helps in curing without the need for aluminum foil wrapping. |
| Pressure Pot | May be used to enhance resin penetration for professional-grade stabilization. |
If you're seeking more detailed information or professional services, TurnTex is an excellent resource for wood stabilization products and guides. Additionally, explore more insights on wood finishes in Does Hot Glue Work on Wood? A Comprehensive Guide.
In conclusion, stabilizing wood transforms even scrap pieces into durable and aesthetically pleasing materials, ideal for crafting projects. By following these detailed steps, you can achieve professional-grade stabilization right at home. For further reading on different wood finishes, see our comparison of Danish Oil vs Teak Oil.

Immerse yourself in architecture’s most boundary-pushing ideas—where innovative home improvements meet visionary urban developments. Discover new building techniques, materials, and creative concepts that are redefining how we shape our spaces on a global scale.


