Architecture Adrenaline
Promoting Freedom for Creative Architecture
We’ve all been there—those subtle (or not-so-subtle) wall imperfections left behind by furniture scrapes, curious kids, or playful pets. But don’t let a scuff or scratch ruin your wall's pristine appearance. With the right techniques, you can tackle touch-ups seamlessly, leaving no trace behind. Here's your ultimate guide to mastering the art of invisible wall paint touch-ups.
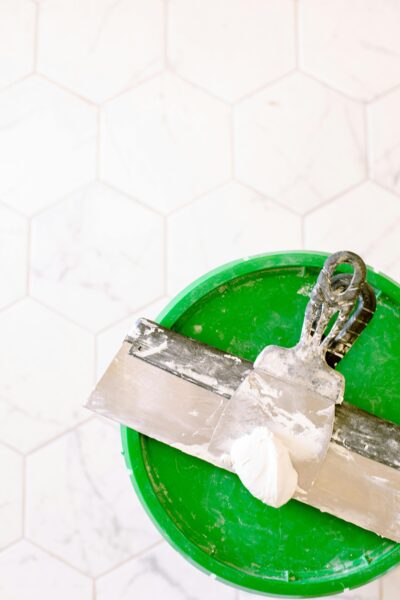
The secret to a flawless touch-up lies in preparation. Before you even reach for the paintbrush, follow these steps:
Pro Tip: If you’re patching holes, spot-prime the repaired section to prevent “flashing,” where the patched area looks shinier or duller than the surrounding paint.
Nothing derails a touch-up faster than mismatched paint. Here’s how to ensure consistency:
Invest in the right tools to make the job simpler and more precise. Here are a few you might need:
| Tool | Best For | Ease of Use |
|---|---|---|
| Paint Pen | Small chips and scuffs | Very Easy |
| Touch-Up Brush | Minor scratches or uneven patches | Easy |
| Roller | Larger, more visible areas | Moderate |
Now that you’re prepped, it’s time to paint—but don’t rush it. The way you apply the paint can make or break your results:
Pro Tip: Test your paint technique on an inconspicuous area first to ensure a good match before tackling the main damage spot.
There are times when a touch-up just won’t cut it. If:
Consider exploring how to paint over chipped paint for a flawless finish, or check out the expert tips on painting mobile home walls. It may be time to repaint the entire wall—or even the whole room—for a flawless, uniform finish. For large-scale jobs or if precision isn’t your strong suit, hiring a professional painter is always a smart move.
Well-executed wall touch-ups can instantly refresh the look of your home, often without anyone noticing the effort behind the transformation. For solutions on storing leftover paint efficiently, read our Touch Up Cup review. Have you tried any of these tips? Share your experience or secret tricks in the comments—we’d love to hear how you keep your walls looking picture-perfect!
anezus-Paint-Brushes-Watercolor-Acrylic/dp/B07ZKVQ9L4
Slobproof-Refillable-Interior-Drywall-Furniture/dp/B0070XYWJA
Wrapping up our wall touch-up adventure, I hope you're feeling as inspired and confident as I am about tackling those pesky paint imperfections. Just remember, a little patience and the right technique go a long way! If you're hungry for more home improvement tips or simply enjoy seeing beautifully designed spaces, why not join our community? Follow us for more creative insights on Pinterest and get a daily dose of design inspiration on Instagram. Keep the conversation going on X (formerly Twitter) and be part of our vibrant community on Facebook. We love hearing from you, so feel free to share your touch-up successes or any questions you might have. Let's continue to make our spaces as beautiful as we imagine them to be!
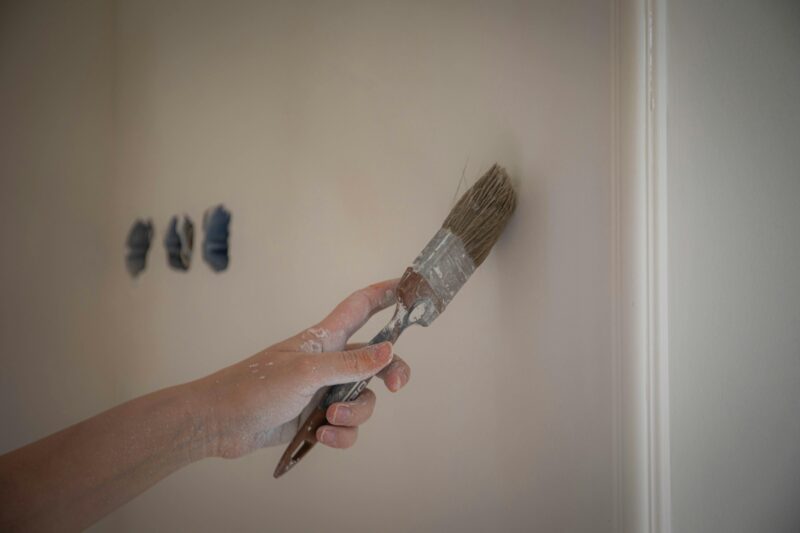
Start applying the paint gently at the center of the area needing touch-up. Gradually blend outward by using light, sweeping brush strokes. "Feathering" involves extending your brush strokes slightly beyond the edges of the touch-up area to ensure the new paint merges smoothly with the existing paint.
Touch-up paint can often be noticeable, especially if you're not a professional. It's typically effective for very small spots, preferably no larger than an inch. For larger areas, or without expert skill, the touch-up may be visible, similar to automotive touch-ups where larger areas are more apparent.
If you've made a mistake, start by thoroughly mixing the paint—shake the can, stir it, and shake it again. Instead of a brush, use a small roller for application. Apply two coats, gently fanning outwards to help the new paint blend with the current wall color.
Touch-up paint often appears darker because it contains less moisture and more pigment than the original paint layer. This difference causes variations in how the paint dries, leading to the touch-up standing out against the original paint.