
Stair Calculation Formula: A Simple Guide for DIY Home Builders provides the numbers necessary for constructing stairs that feel natural to use and meet code requirements. Measure the total rise, select a consistent riser height within code (IRC maximum: 7 3/4"), divide to determine the number of risers, size the treads according to Blondel’s rule (2R + T) for comfort, and finally compute the total run and stringer length using the Pythagorean theorem. This practical approach highlights the core steps every DIYer needs to build safe, comfortable stairs. For more definitive guidance, consult IRC Chapter 3 Building Planning – Stair dimensions and code limits for comprehensive details on residential stair limits, headroom, and uniformity.
Types of Stair Calculators and When to Use Them
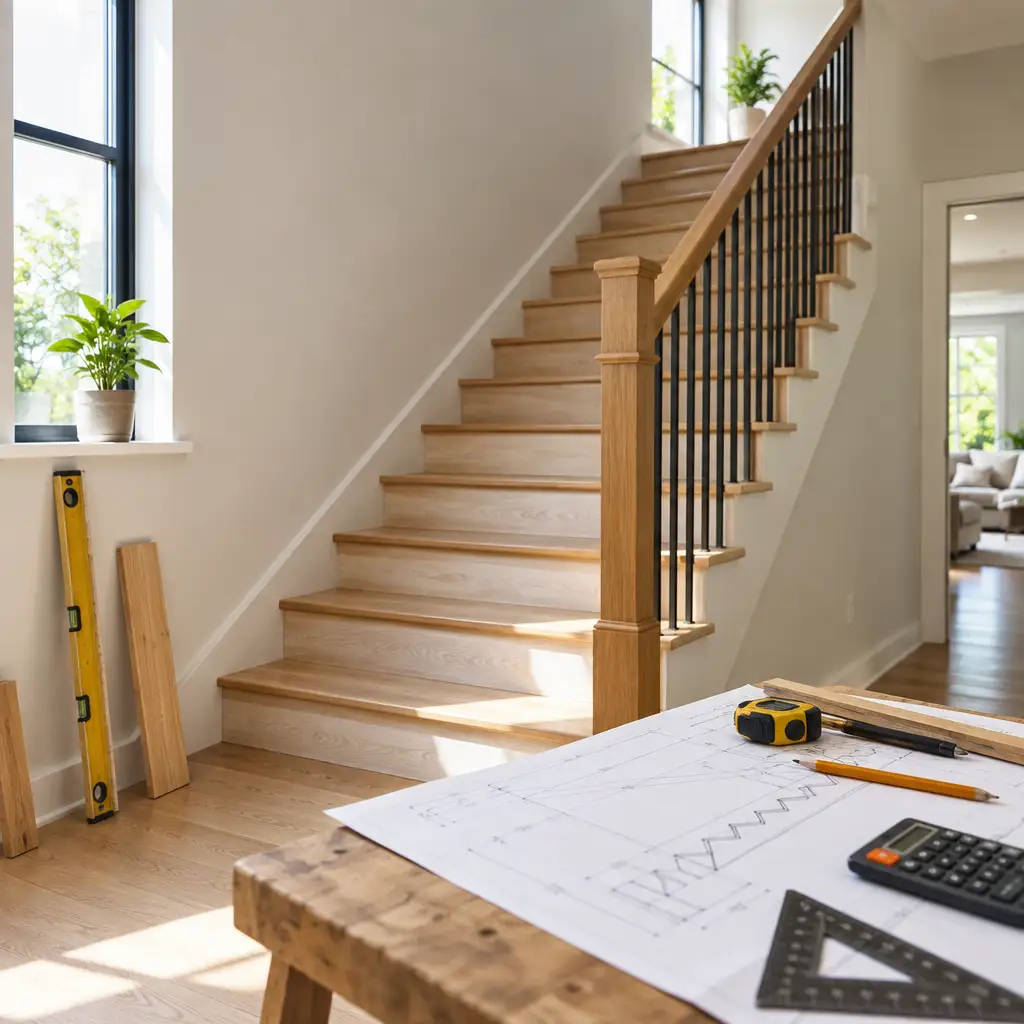
Stair calculators exist in several forms, ranging from simple run-and-rise tools to comprehensive planners that model total rise, number of risers, tread dimensions, headroom, and even handrail geometry. For straightforward straight stairs, a basic calculator is usually sufficient. For winders, landings, spirals, or curved stairs, a more advanced tool or CAD-assisted calculator is invaluable to prevent mistakes and generate accurate cut lists and diagrams. If you're uncertain, always verify your assumptions against the IRC and local amendments. You can also review the Flooring category overview on Architecture Adrenaline for context on how finish choices affect final measurements.
Essential Stair Terminology You’ll Need
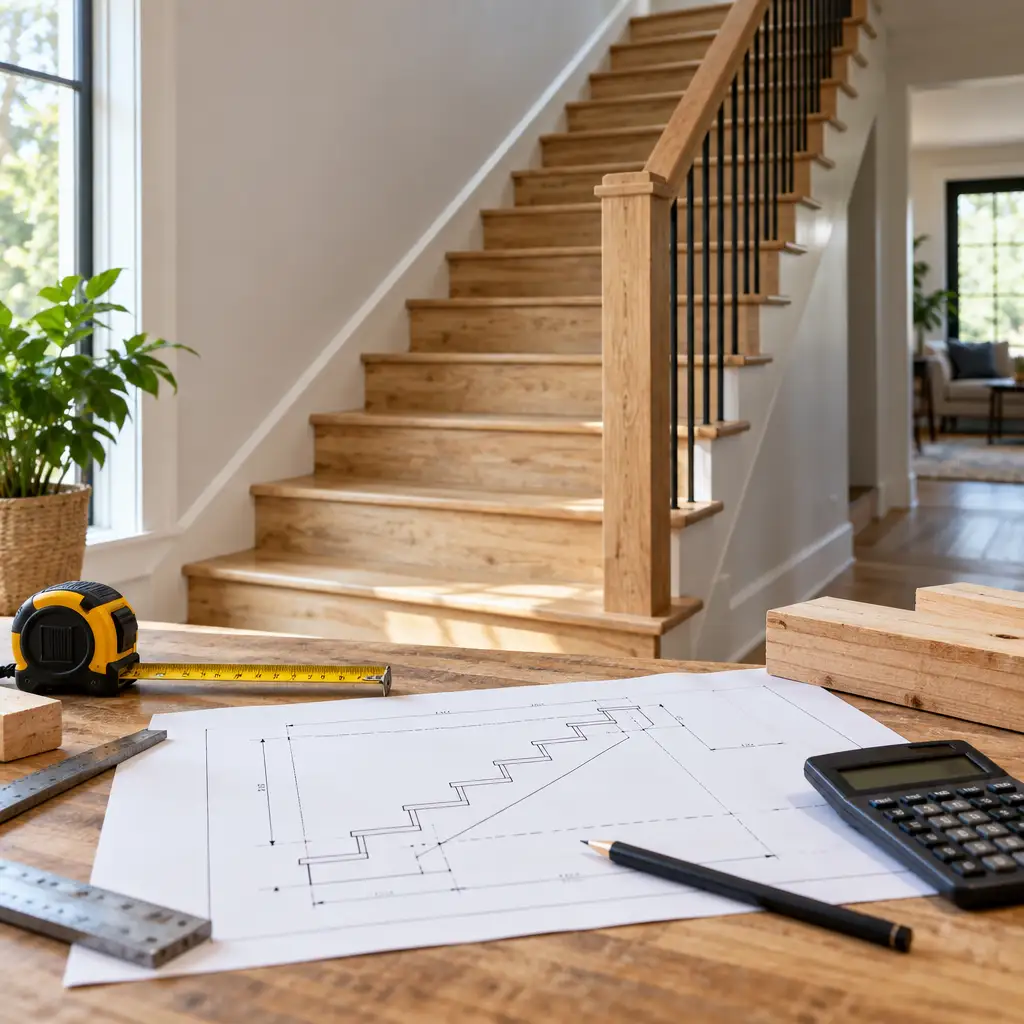
Understanding the relevant vocabulary streamlines the calculation process. Key terms include:
- Total Rise: The vertical distance from finished floor to finished floor that the stairs must cover.
- Riser and Tread: The vertical height of each step and the horizontal depth you tread on.
- Nosing: The protruding edge of a tread, influencing effective tread depth.
- Headroom: The vertical clearance above the stairs, typically measured from the nosing line upward.
- Blondel’s Rule: 2R + T ≈ 63 cm (about 24.8 inches) for comfortable stairs.
Code Foundations: What IRC and Local Codes Typically Require
Building codes outline the safety parameters for residential stairs. Common requirements generally include:
- Maximum riser height: 7 3/4 inches (196 mm).
- Riser variation: adjacent risers should not differ by more than 3/8 inch.
- Minimum headroom: usually around 80 inches (2032 mm) in standard jurisdictions.
- Minimum tread depth: typically around 10 inches, though this can vary by local amendments.
Always verify with your local building department, as jurisdictions may adopt amendments or use older standards. For authoritative grounding, refer to IRC Chapter 3 Building Planning – Stair dimensions and code limits and, where applicable, the 2018 IRC Stair Code (WA) PDF.
The Core Calculation Method: Rise, Run, and Blondel’s Rule
The simplest, widely-adopted approach for DIY stair design is based on three fundamental pillars:
- Determine Total Rise: Measure from finished floor to finished floor.
- Choose a consistent Riser height within code limits (commonly between 7" and 7 3/4").
- Apply Blondel’s Rule to establish a comfortable Run: 2R + T ≈ 24.8 inches.
Blondel’s rule serves as an ergonomic check to ensure comfortable stairs. For example, if your riser is 7 inches, a tread around 10.8 inches keeps the rule in balance; if the riser reaches the IRC limit of 7.75 inches, a tread of approximately 9.3 inches is advisable. Use Blondel’s rule as guidance, but not as a substitute for code compliance. For a calculator-based workflow, see IRC 2024 Stair Rise/Run Guidance – Calculator and references.
Practical Steps for DIY Builders: A Clear Calculation Path
- Measure Total Rise: from finished floor to finished floor, recording to a precise increment (e.g., to 1/16 inch).
- Select a Target Riser Height: remain under the code limit (7" to 7 3/4" is typical). Compute the initial number of risers by dividing Total Rise by that target height, then round to the nearest whole riser and recalculate the exact riser height.
- Determine Tread Depth: apply Blondel’s rule to ensure comfort. Adjust riser or tread as needed to get close to 2R + T ≈ 24.8 inches.
- Calculate Number of Treads: usually the number of risers minus 1 (top nosing considerations can modify this based on layout).
- Find Total Run: multiply tread depth by the number of treads.
- Calculate Stringer Length: apply the Pythagorean theorem (stringer length = sqrt(Total Rise^2 + Total Run^2)).
- Verify Headroom and Sight Lines: ensure clearance from all nosing lines before cutting stringers.
For practical modeling of rise/run, consult the Concept Architecture category – Architecture Adrenaline for design-context examples, and consider cross-referencing with the Urban Safety category when assessing safe handrail and guard requirements in public-facing designs.
Stringer Length and Layout: Concrete Geometry in Practice
Stringer length represents the diagonal of the rise/run right triangle. Key formulas include:
- Total Run = tread depth × number of treads.
- Stringer Length = sqrt((Total Rise)^2 + (Total Run)^2).
- Stair Angle = arctan(Total Rise / Total Run) — useful for determining handrail bends and layout on a framing square.
When laying out on a common stringer like a 2x12, transfer riser and tread dimensions precisely while accounting for nosing and finish-floor thickness at both the top and bottom. If you’re establishing a dedicated “tools and setup” workflow, refer to applicable materials and layout planning within the flooring context linked above.
Tools to Speed Up Accuracy: Framing Square, Story Pole, and Dropping the Stringer
Practical tools can significantly reduce errors during layout:
- Story Pole: Utilize a stick to mark exact risers and treads, safely transporting measurements to the site.
- Framing Square: Essential for quick marking of risers, treads, and the overall stringer outline, enabling accurate geometry transfer to the stringer stock.
- Dropping the Stringer: Compensate for finish flooring thickness, ensuring the finished height aligns with your plan. For example, if you add 3/4" flooring at the top, adjust the total rise or the top cut to maintain uniform risers.
For a broader design context, explore the internal Architecture Adrenaline resources under Flooring category overview, and consider how concept-architecture perspectives may influence stair detailing in complex projects.
Common Mistakes to Avoid in DIY Stair Projects
Avoiding these frequent pitfalls is crucial to prevent unsafe or uncomfortable stairs:
- Using rough framing heights instead of finished-floor-to-finished-floor measurements, which inaccurately states total rise.
- Mixing metric and imperial units without proper conversion.
- Neglecting nosing and tread overhang, which decreases effective tread depth and headroom.
- Making cuts without verifying headroom at the nosing line (80" minimum is typical).
- Permitting riser height variation across the flight to exceed 3/8 inch, a common safety issue and potential code violation.
Estimating Materials and Costs: Practical Considerations for DIY Builders
Once calculations are finalized, convert them into material quantities and costs with these focus areas:
- Stringers: typically, two or three per flight for narrow stairs; wider stairs may require additional stringers or a stronger central member. Deck stairs might necessitate closer spacing (8"–12" centers) depending on tread material.
- Treads and Risers: account for the number of treads (risers minus one) and plan for landings and nosings.
- Hardware: include fasteners, hangers, and ledger hardware in your estimate.
- Utilize online staircase cost calculators for a rough guide, but ensure you confirm assumptions regarding lumber grade, tread material, baluster spacing, and finish work, as these factors critically affect overall cost.
For authoritative references on stair coding and planning, the 2018 IRC Stair Code (WA) PDF provides practical details applicable to many jurisdictions, with caveats for local amendments.
Winders, Spiral, and Curved Stairs: Special Cases and Their Calculations
Straight flights are considerably easier to calculate than their more complex counterparts. Winders, L-shaped, U-shaped, and spiral stairs require meticulous planning, given that tread dimensions and headroom vary along the run.
- Winders necessitate careful checks at the 12-inch walkline to ensure minimum tread depth and uniform riser height.
- Spiral stairs have specific rules regarding tread depth around a walk line, often incorporating separate maximum riser limits. Local regulations may differ, thus verify against code references or consult a professional.
- Curved and semi-circular stairs benefit from CAD or dedicated stair-design calculators to create accurate diagrams and ensure safe geometry.
For a broader code baseline, reference the IRC chapters and, where applicable, note the latest 2024 guidance for stairs as a planning aid in more complex configurations: IRC 2024 Stair Rise/Run Guidance – Calculator and references.
Baluster, Handrail, and Headroom Checks After Calculation
After establishing risers and treads, finish-ready checks should include:
- Handrail geometry: use the rise/run angle to plan handrail length and bending points, ensuring grip size and mounting height comply with local rules.
- Baluster spacing: adjust the count along the run to prevent openings large enough for a 4" ball or smaller.
- Headroom verification: measure along the nosing line to confirm minimum clearance at multiple points in the stair flight.
For design-context considerations, explore internal Architecture Adrenaline resources on concept architecture and urban-safety practices to inform compliant handrail strategies across varied environments.
A Simple Numerical Example You Can Reproduce
Follow this quick worked example to practice the core concepts:
- Total Rise: 108" (finished-to-finished).
- Target Riser: 7.2" → risers = 108 ÷ 7.2 = 15; exact riser = 108 ÷ 15 = 7.2".
- Applying Blondel’s rule: 2 × 7.2 + T = 24.8" → T ≈ 10.4".
- Number of treads: 14; Total Run = 14 × 10.4" = 145.6".
- Stringer length: sqrt(108^2 + 145.6^2) ≈ 181.3" (15.1 ft).
- Recheck headroom and handrail geometry; adjust as needed for safety and code compliance.
When to Use a Stair Calculator or a Professional
Online stair calculators and applications expedite the process and can export cut lists and diagrams. Utilize them for verification, especially for complicated layouts (winders, landings, open risers, curved stairs). Consider hiring a licensed contractor if:
- Your stairs support live loads or incorporate engineered or steel components.
- The project involves egress or more stringent commercial code requirements.
- Headroom remains uncertain or you require a landing integrated with complex framing.
Final Practical Checklist Before Cutting or Ordering
- Confirm Total Rise using finished floors along with any underlayment or carpet.
- Ensure riser heights are consistent within a 3/8" variation.
- Verify tread depth at the nosing line and apply Blondel’s rule for comfort.
- Measure headroom along the nosing line at several points to confirm adequate clearance.
- Decide on stringer count and material; wider stairs may necessitate additional supports.
- Check railing and guard requirements: height, openings, and grip size according to local codes.
- Construct a story pole and dry-fit the stringer on-site before final cutting.
At-a-Glance Table: Core Values and Formulas
| Key Item | Common Value / Formula | Why It Matters |
|---|---|---|
| Total Rise | Finished floor to finished floor | Determines number of risers and overall geometry |
| Blondel’s Rule | 2R + T ≈ 63 cm (≈24.8 in) | Ergonomic check for comfortable rise and run |
| Max Riser (IRC) | 7 3/4 in (196 mm) | Regulatory residential limit in many jurisdictions |
Whether you're working on a straight run or a more intricate design, the Stair Calculation Formula toolkit empowers you to tackle your stair project with confidence. Share your plans or questions in the comments—let us know what type of stairs you’re building and any local code challenges you’re encountering. If you've successfully implemented Blondel’s rule or faced challenges with a winder layout, we’d love to hear your stories and the lessons you learned. For deeper insights, refer back to the authoritative code information referenced throughout this guide and explore more Architech Adrenaline articles on flooring, concept architecture, and urban safety.
Note: This article draws from the specified authoritative sources to anchor standard residential stair design and guide readers toward practical, code-compliant DIY practices. For those interested in specific product or tool recommendations, a dedicated shopping section can be added in a follow-up update upon request.
Product suggestion: For readers constructing stringers, a stair stringer template can assist in making precise cuts. Check out this practical tool reference: stair stringer template for cutting stair stringers.
How-to Calculate an Even Stair Rise:
As you embark on your DIY journey, mastering the stair calculation formula is a game changer that will help ensure your project is not only visually appealing but also safe and functional. Remember, the right measurements can transform a potentially frustrating task into a rewarding experience. Don’t hesitate to refer back to this guide whenever you need a refresher. Building your own stairs is more than just a project; it’s a step towards crafting a home that truly reflects who you are.
Stay Inspired and Connect with Us!
We'd love to see your progress and hear about your experiences! If you have questions or want to share your DIY tale, connect with us on social media. Follow us on Instagram for inspiration, tips, and a community of fellow home builders. Keep that creative energy flowing, and happy building!
