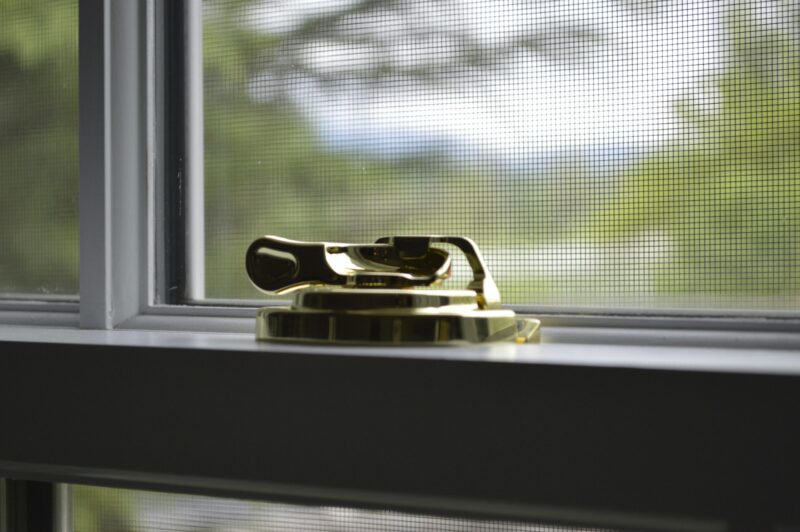
Have you ever tried to remove a window screen only to feel like you’re solving a complicated puzzle? Whether you’re cleaning your windows, replacing a damaged screen, or doing some seasonal maintenance, knowing how to properly remove a window screen is a practical skill that’ll save you time and frustration—and protect the screen from damage. Let’s break it down step-by-step so you can approach this task like a pro.

Window screens aren’t just about keeping bugs out—they also take a hit from daily wear and tear, like dust buildup and weather exposure. Here are the most common reasons for removing a screen:
The goal is to remove the screen safely while avoiding damage to the screen itself or your window frame.
The removal process can vary based on the type of window you have. Start by identifying your window type—double-hung, single-hung, slider, or casement—then follow these tailored instructions for the smoothest results.
These are among the most common window types, recognizable by their vertically sliding sashes. Here’s what to do:
Slider windows are horizontal and open by sliding along a track. These require a slightly different approach:

Casement windows swing outward using a crank. Their screens are typically attached inside the house:
Sometimes screens can get stuck due to dirt buildup or wear. A flexible putty knife can help gently pry the screen free from the frame. Just remember to wiggle gently and evenly to avoid bending or breaking the screen.
Safety and care are key when tackling window screens. Here are a few additional tips to make the process easier:
Here’s a quick reference guide to help you decide how to approach each type of window:
| Window Type | Removal Technique | Tools Needed |
|---|---|---|
| Double-Hung | Compress springs or release pins | None |
| Slider | Disengage latch and slide out | None |
| Casement | Disengage latches/hinges | Possibly a flat-head screwdriver |
Now that you know how to tackle a window screen, what’s the next to-do on your home checklist? Whether it’s deep cleaning or prepping your windows for a seasonal overhaul, share your thoughts and tips in the comments below. Need help with a tricky removal? Let’s chat below and solve it together!

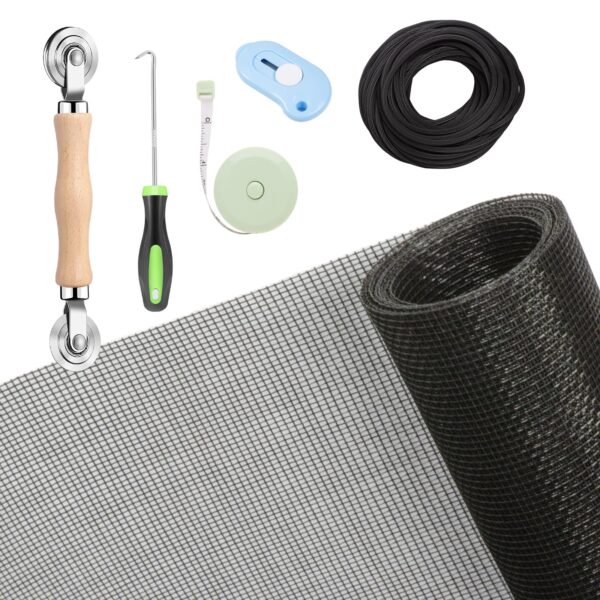
Revitalize your windows and doors with the Windows Screen and Screen Door Repair Kit. This comprehensive set features a robust 48"x118" charcoal fiberglass mesh designed for durability and optimal airflow. Integrated with a rolling tool, hook, ruler, cutter, and spline, it provides everything you need for an efficient, hassle-free installation. Perfect for replacing worn-out screens, this kit offers an effective solution for both windows and sliding doors, making it an essential tool for easy DIY projects. Keep your home well-ventilated while ensuring protection from unwanted elements.
Begin by determining the type of screen installed on your window. Typically, there are two types: detachable and fixed. Removable screens are often secured with clips or magnets, allowing easy removal. On the other hand, fixed screens are usually mounted with screws or Velcro, making them more permanent.
To remove the screen from a single-hung window, first refer to your window's manual for specific instructions or look for a lever or latch on the sash frame. Tilting the sash upward should make it stay in place. Then, reach inside the window, hold the bottom edge of the screen, and gently pull it towards you to slide it out from the track.
And there you have it, folks! With these easy steps, you'll become the window screen whisperer in no time. Remember, whether it's a simple cleaning or a necessary repair, knowing how to handle your window screens can make all the difference. If you've enjoyed this handy guide and want to stay updated on more tips and tricks for your home, why not follow us on Pinterest? Or, if you're more into daily home inspiration, come brighten your feed by joining us on Instagram. For those who love a good discussion, feel free to say hi over on X or join our thriving community on Facebook. We'd love to hear your experiences or any additional tips you might have for fellow readers. Let's keep this conversation going and make those home projects a little less mysterious, one screen at a time!
