
You can remove most residential window screens in three controlled actions: support the frame, release the fasteners, then tilt and lift the screen straight out.
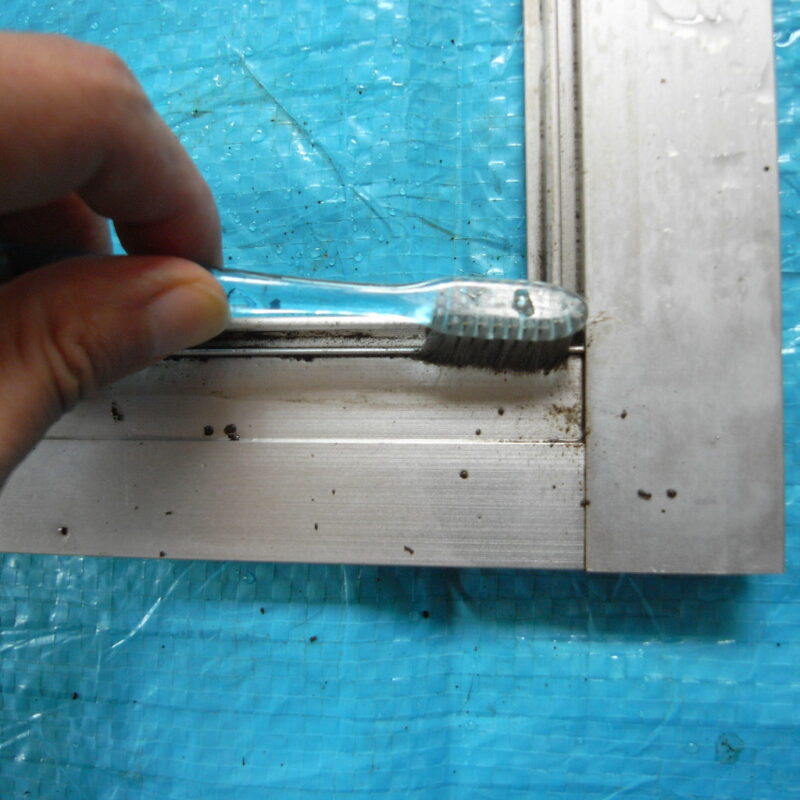
How to Recognize Screen Hardware
Identify visible fasteners before you start. Look for side spring clips, round plunger pins, felt strips in a bottom track, top-edge rollers, or small screws at the frame corners. Note whether the screen is a half screen, a full frame, or a sliding glider because the release sequence differs for each type.
Tools, Safety Gear, and a Recommended Removal Tool
Essential items: work gloves for grip, eye protection, a flathead screwdriver, a putty knife, a utility knife for spline, and a spline roller for reseating mesh. For prying clips and freeing spline without damaging the frame consider a Window screen removal tool. Use a stable ladder and a helper for second-floor windows.
Three-Step Removal Sequence That Minimizes Damage
These three steps apply to most common residential screens and reduce bent corners or torn mesh.
- Support the screen. Open the sash enough to reach hardware and place your free hand under the screen to take its weight before releasing anything.
- Release fasteners methodically. Work one side at a time: compress side springs, press plunger pins, release rollers, or undo screws depending on what you see. Keep the frame supported so it cannot drop out of alignment.
- Tilt and lift straight out. Once the fasteners are free, tip the screen on its narrow edge to clear the frame and lift it vertically through the opening to avoid bending the corners.
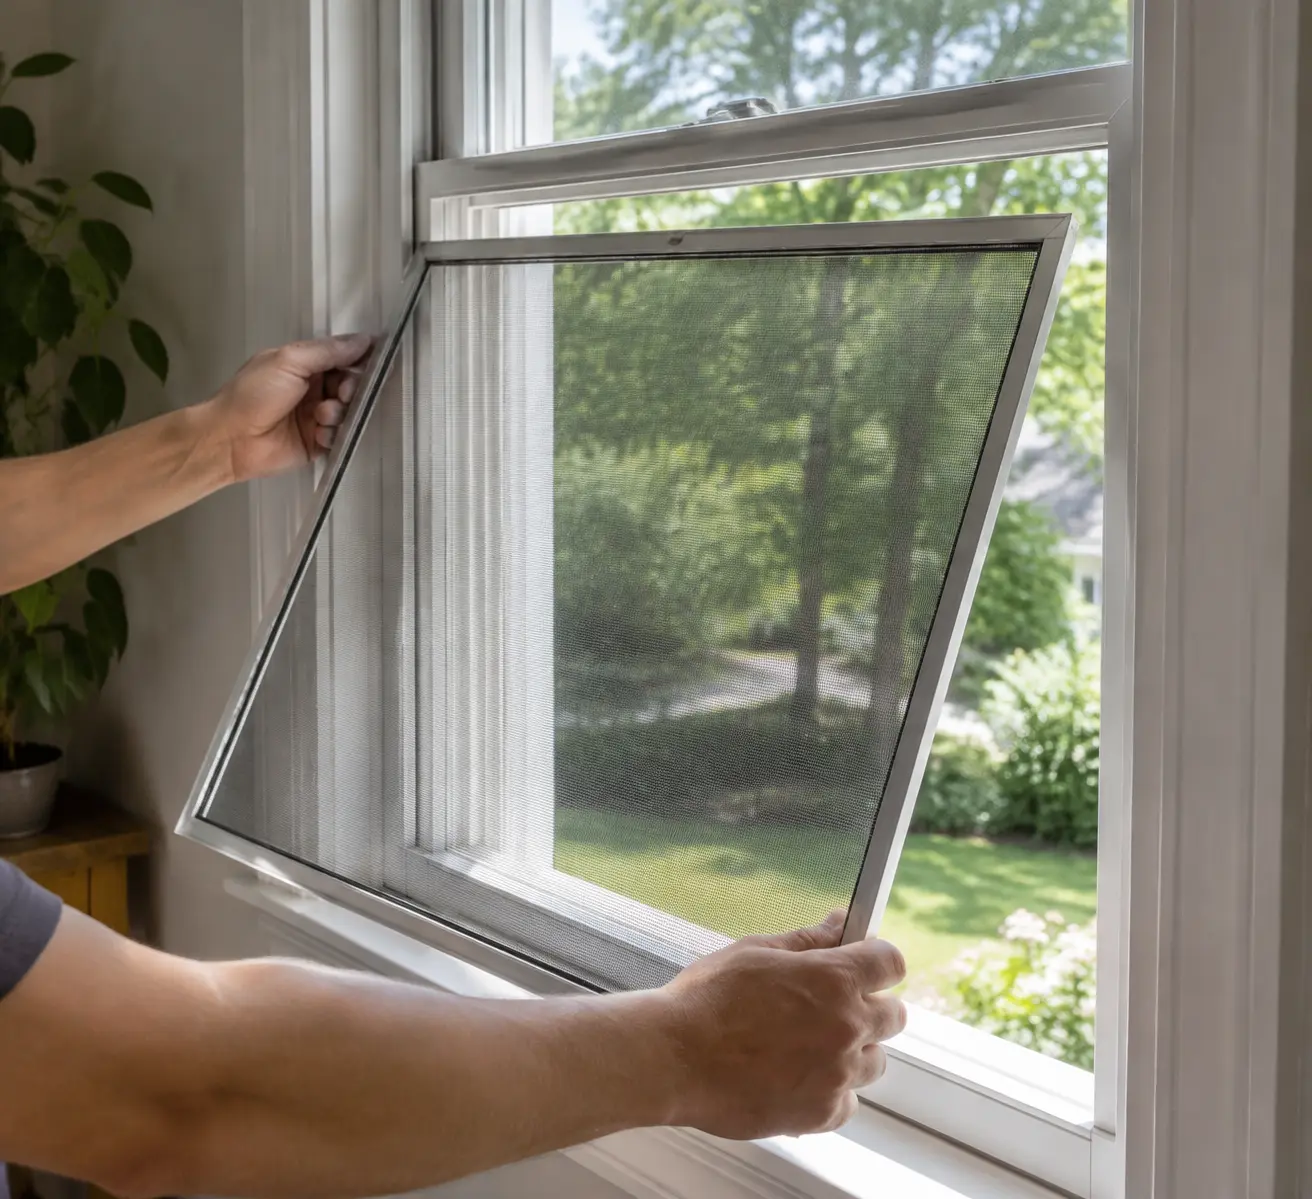
Adjustments for Double-Hung, Sliding, and Casement Windows
Apply the three-step rhythm but adapt the hardware action to the window type. For double-hung windows raise the lower sash, push bottom tabs inward, compress side springs, then lift out after tipping about 3 inches. For sliding windows depress plunger pins or free rollers, lift the screen up to clear the bottom track, and pull it out. For casement or full-frame screens remove clips or screws and handle spline removal with a utility knife when replacing mesh.
Spline Removal and Mesh Replacement Technique
To rescreen: cut a short length of spline at a corner, pry it out with a flathead or spline tool, then peel away the old mesh. Lay the new mesh over the frame and seat new spline with a spline roller while keeping the fabric tensioned. Trim excess mesh with a utility knife after the spline is fully seated to prevent fraying.
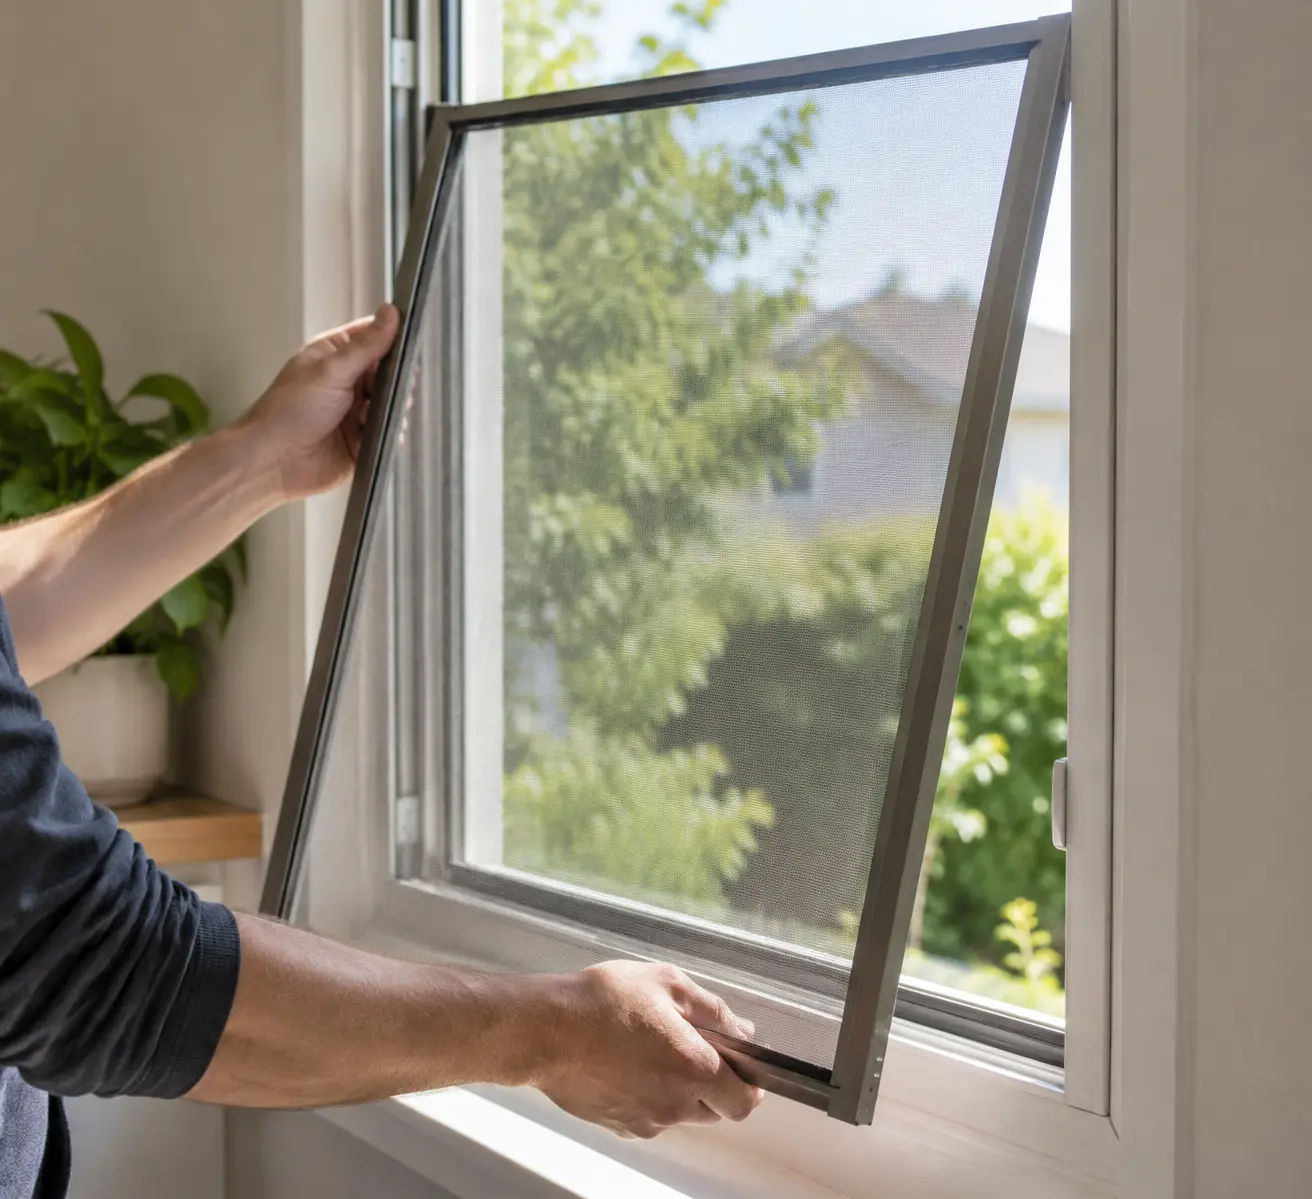
Diagnosing and Releasing Stuck or Corroded Frames
Never force a screen. Look for hidden screws, paint bridging the frame, bent corners, or accumulated debris. Score paint buildup with a putty knife, pry gently with a flat screwdriver, and apply a penetrating oil sparingly to rusted metal parts only. If the track still binds, consult model-specific guidance to avoid breaking clips.
Correct Reinstallation Steps
Reinstall in reverse order: set the bottom edge into the track first, tip the top into the opening, then re-engage springs, tabs, or plunger pins. Confirm felt or foam strips face the interior if original, and cycle the window to verify the screen does not interfere with normal sash movement.
When to Repair Panels Instead of Replacing Frames
Patch small fiberglass tears with a repair kit, but replace frames that are warped, missing corner keys, or have spline grooves so corroded they will not hold new spline. For homes with pets choose pet-resistant mesh or pre-framed replacements sized to the opening.
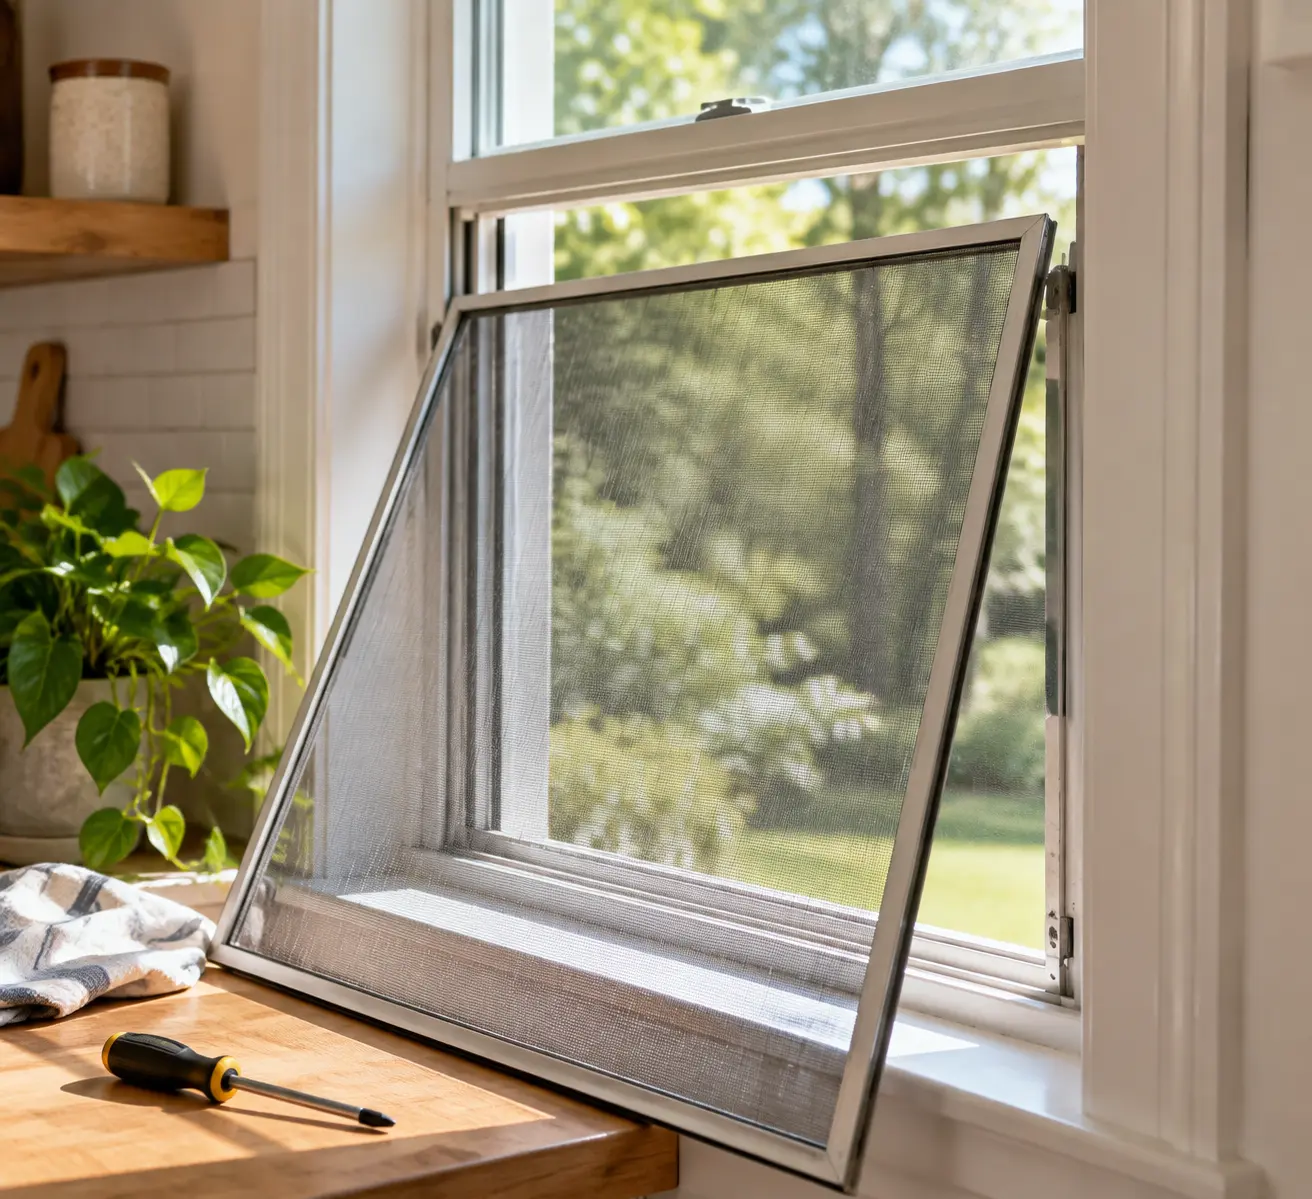
Maintenance Practices That Prevent Future Problems
- Wash removed screens on a flat surface with mild soap and water and allow them to dry fully before reinstalling.
- Store screens flat to avoid frame warping and keep small springs and screws in labeled containers.
- Replace brittle spline proactively; old spline can fracture during removal and damage new mesh.
- Label screens by window to ensure each returns to the correct opening and preserves fit and hardware alignment.
Where to Check Manufacturer Details and Parts
Model-specific diagrams and spline sizes can prevent mistakes; consult your window maker’s support pages or the site’s removal guide for typical clip locations. For cost comparisons and when replacement becomes the better choice, see the site’s replacement cost breakdown. For cleaning advice tied to screen removal and window maintenance, refer to the window-cleaning guide.
For hardware specifics and replacement parts consult the RiteScreen hardware guide before ordering parts or attempting extra leverage on corroded clips.
Our Product Pick
Non-abrasive nylon pry tool lifts screens damage-free. Dual-end is one option to look at if you want a ready-made tool for this job. As an Amazon Associate we earn from qualifying purchases.
Related Video
Taking the screen off a window may seem like a small task, but it can make a significant difference in your home's appearance and functionality. Following the right steps ensures the process is smooth and damage-free. Always remember to clean the area around the window before starting, as this prevents dirt from entering the home and allows for a better view once the screen is removed.
More from Architecture Adrenaline
For additional tips and similar posts, check out our social media channels. You can find helpful insights on our Instagram page. Taking care of window screens can enhance both your home's aesthetic and function, so don't hesitate to reach out for more information.