
How to Create a Window Schedule is a practical, field-tested guide to documenting every window in a project so fabrication, procurement, and installation stay coordinated. This consolidated article blends clear definitions, essential data fields, platform-specific tips, and actionable workflows to help you build a robust window schedule from the planning stage through construction.
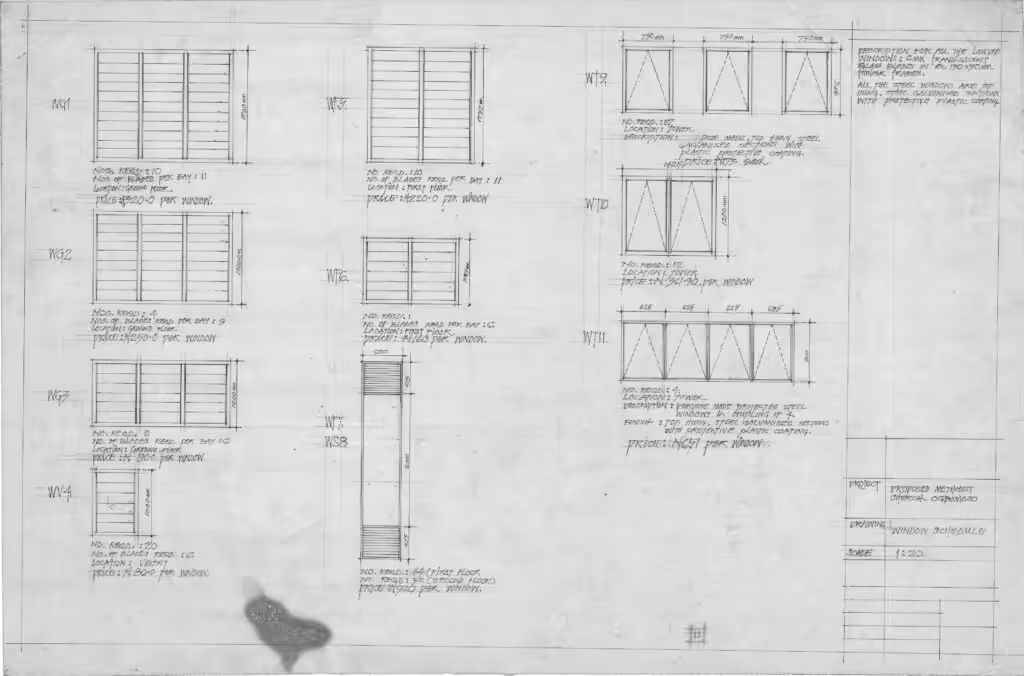
What Is a Window Schedule?
A window schedule is a structured list—typically a table on drawing sheets or an extract from a BIM model—that records each window’s identifying tag and the details needed to specify, price, fabricate, and install it. It translates plan and elevation annotations into a single reference so decisions don’t live only in notes, markups, or memory.
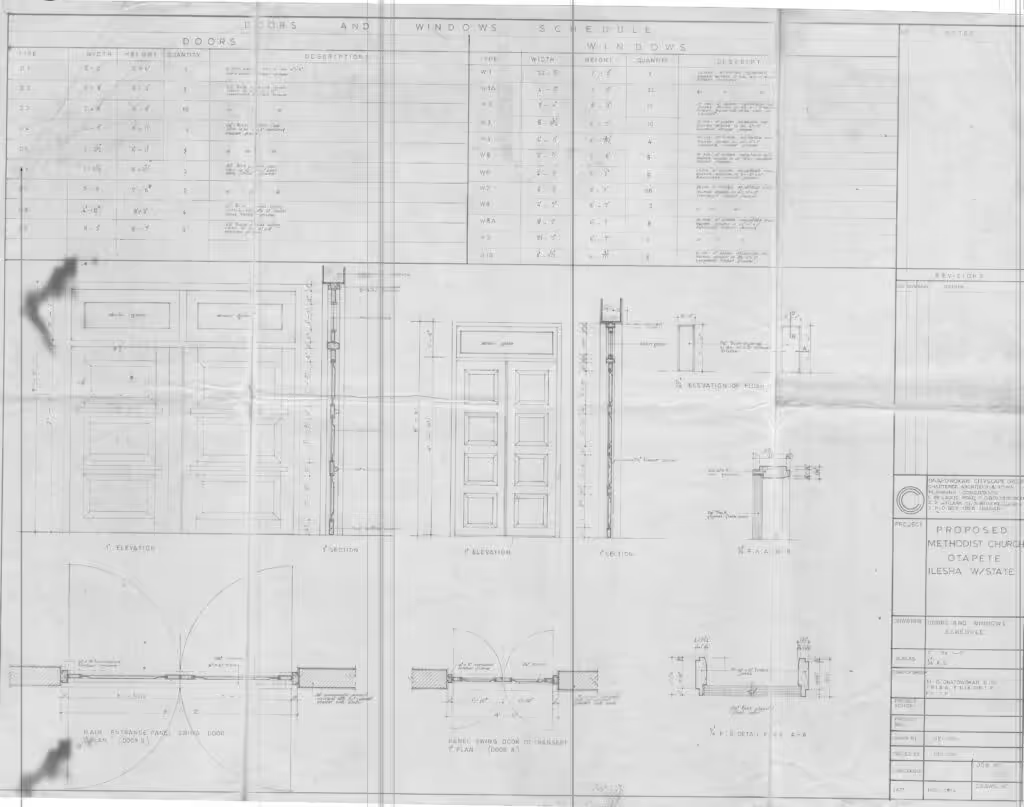
Why Create a Window Schedule Early
Creating a window schedule early saves time and money. Windows are often custom or semi-custom; small errors in width, sill height, or operation multiply into procurement delays, change orders, and trim or siding rework. A schedule clarifies quantities for suppliers, flags code issues (egress, tempered glass), and gives contractors the information they need to plan rough openings and flashing details.
What To Include In A Window Schedule
Not every project needs every column, but the following fields cover most residential and light-commercial needs:
- Window ID / Tag (e.g., W‑101)
- Location (room name, elevation reference, level)
- Quantity
- Type / Manufacturer / Family
- Overall Size (width × height) and Sill Height
- Operation (fixed, casement, awning, sliding, hopper)
- Frame Material and Color (aluminum, wood, vinyl, steel)
- Glass Package (tempered, laminated, Low‑E, tint), U‑value, SHGC
- Grids / Muntin pattern
- Required Safety Notes (egress, tempered where required)
- Mounting / Installation Type (new construction vs. retrofit)
- Comments / Field Notes (screens, blinds, special flashing)

Key Data Fields By Platform (Quick Reference)
Different BIM tools expose the same core data in slightly different ways. The following fields are widely recommended and map to common software (Revit, Archicad, SketchUp) to keep your schedule robust across platforms.
| Field | What to Capture | Notes |
|---|---|---|
| Identifier | Window ID / Tag, Location (room/level) | Establishes naming convention; link to plan tags |
| Geometry & Operation | Width × Height, Sill Height, Operation | Crucial for rough openings and fabrication |
| Performance & Safety | Glass type, U‑value, SHGC, Egress notes | Code compliance and energy modeling |
How to Create a Window Schedule in Revit
In Revit, a window schedule is model‑driven: use View → Schedules → Schedule/Quantities and select the Window category. Add the fields you want from Available Fields, reorder them, and use filters to show only windows for a level or phase when needed. Autodesk provides step‑by‑step guidance to create schedules and specify fields in Revit.
- Use shared or project parameters for non‑standard data (e.g., warranty, vendor SKU).
- Create type and instance parameters for both family‑level values (frame material) and instance‑level values (sill height).
- Set up a schedule template once and reuse it across projects to keep column order consistent for suppliers and contractors.
How to Create a Window Schedule in Archicad
Archicad schedules pull directly from element parameters. Open the Schedule/Quantity tool or Layout schemes and select Window as the element type, then choose the parameters to show. Archicad supports grouping and template schemes for consistent output across projects.
- Use a Schedule Scheme to define layout and field order that you can save as a template.
- Add Custom Text fields for non‑standard notes or a mapping to a hardware schedule.
- Archicad’s grouping enables outputs by type or level to aid ordering.
How to Create a Window Schedule in SketchUp
SketchUp isn’t BIM in the same way as Revit or Archicad, but you can generate a practical schedule by assigning attributes to window components and exporting a report:
- Name each window component with a consistent instance name (W‑101, W‑102).
- Add Advanced Attributes (size, operation, glass type) using component attributes or an extension that supports metadata.
- Run Generate Report or export component data to CSV/Excel and format the schedule in LayOut or a spreadsheet.

Practical Template And Sample Window Schedule
Below is a compact sample column set you can reproduce in a spreadsheet, Revit schedule, or Archicad scheme.
- Columns: Window ID | Location | Qty | Size (W×H) | Sill | Operation | Frame | Glass | Notes
- Example row: W‑101 | Kitchen North | 1 | 1200×900 mm | 900 mm | Awning | Aluminum | Tempered Low‑E | Screen, Egress
Use consistent units (imperial or metric), and include a legend explaining abbreviations (e.g., Aw = Awning, T = Tempered).
Common Mistakes When Creating A Window Schedule
Watch for these recurring issues that create delays or costly field fixes:
- Mixing units or omitting unit labels—clear units are essential for fabrication.
- Not distinguishing type versus instance parameters—frame color may vary by unit even if size is the same.
- Failing to flag egress windows or tempered glass requirements—code items must be visible on the schedule and drawings.
- Ambiguity in installation type—new construction vs. retrofit affects jamb and flashing details.
- Not coordinating schedule data with plan/elevation tags—tags on drawings must match schedule IDs to avoid RFIs.
How A Window Schedule Helps With Pricing And Procurement
For suppliers, the schedule is the spec. It reduces assumptions: a clear list of sizes, quantities, frame materials, and glass packages yields tighter quotes. For homeowners and contractors, it provides a checklist for delivery, installation, and inspection—especially useful when multiple window types appear across a project. Autodesk’s guidance on creating and sorting a window schedule offers practical workflow enhancements to keep data tidy and actionable.
Code, Safety, And Performance Notes To Include
Include any code‑driven requirements directly in the schedule: egress openings for bedrooms, tempered glass where required (near doors, low‑sills, baths), and fire or acoustic ratings if applicable. If your jurisdiction requires U‑values or SHGC for compliance, add those fields or reference the glazing product spec in the schedule.
For foundational clarity on what a window schedule is and what fields are commonly included, refer to the Getting Started resource on Window Schedule in Revit. It provides essential definitions and field ideas that complement the example in this article.

Additionally, the official How to create a schedule in Revit offers a step‑by‑step reference that aligns with the workflow described here, encouraging readers to implement precise data capture for procurement and installation.
How To Tag Windows On Plans So The Schedule Works
Good tagging practices make the schedule usable on site:
- Place tags centered on the head of the window in plan and next to the window in elevation for clarity.
- Use a consistent tag shape and format (e.g., hexagon or circle with W‑###) and ensure the tag text exactly matches the schedule ID.
- Include a note on the drawing sheet that defines the schedule—where it lives, units used, and any reference standards.
Coordinating Door & Window Schedules
Door and window schedules are often handled together. Maintain separate tables when data diverges (hardware, fire ratings, thresholds) but harmonize ID systems and location naming so contractors can cross‑reference openings easily. If using BIM, link doors and windows into a single deliverable schedule export for procurement.
Office Standards And Reuse
Save a schedule template with your office standard columns, abbreviations, and sample notes. For Revit and Archicad, store a template project or a schedule scheme so future projects start with a tested column order. This reduces rework and helps suppliers become familiar with your format—especially if you work repeatedly with the same manufacturers.
Summary Table
Use this quick reference to guide early planning and data collection. The table consolidates the core fields and when to add them during design and construction.
| Key Item | Recommended Details | When To Add |
|---|---|---|
| Identifier | Window ID / Tag, Location (room/level) | Design development |
| Geometry & Operation | Width × Height, Sill Height, Operation | Before ordering |
| Performance & Safety | Glass type, U‑value, SHGC, Egress notes | Construction documents |
Ending Thought: Join the Conversation
Have you implemented a window schedule on a recent project? What fields did you find indispensable, and what did you adjust for your BIM workflow? Share your experiences, tips, and any templates you’ve found effective in the comments below to help others build stronger, more reliable window schedules.
Related internal resources you may find useful:
- How to Create a Window Schedule — Architecture Adrenaline
- Windows & Doors Archives — Architecture Adrenaline
- The Importance of a Construction Schedule — Architecture Adrenaline
Key reference guides from Autodesk that readers may consult for deeper, platform-specific instructions:
- Create schedules and specify fields in Revit
- Window Schedule (Getting Started) in Revit
- How to create a schedule in Revit
- Creating and sorting a window schedule
- Window schedule template

How to create a window schedule in archicad:
Creating a window schedule may seem like just another task in the grand scheme of your project, but it can make a world of difference when it comes to organizing and executing your plans effectively. Whether you’re a seasoned professional or just starting out, the process of understanding your window types, sizes, and installation timelines can really streamline your workflow. As you implement these steps, remember that flexibility is key—things can change quickly, and having a clear schedule will help you adapt while keeping everything on track.
Stay Connected!
As you embark on this window scheduling journey, don’t hesitate to share your experiences or seek inspiration! I invite you to follow us on Instagram at Architecture Adrenaline, where we regularly post tips, tricks, and real-life project updates that can ignite your creativity. Remember, creating an efficient window schedule is just one piece of the puzzle—it’s all about building that comprehensive plan that makes your vision come to life. Happy scheduling!
