
Use a wet saw with a continuous-rim diamond blade for long straight cuts and a combination of nippers and grozing pliers for curves; those two approaches cover more than 90 percent of glass-tile backsplash situations and give the cleanest exposed edges when carried out with slow feeds and steady support.
Key Facts About Glass Tile
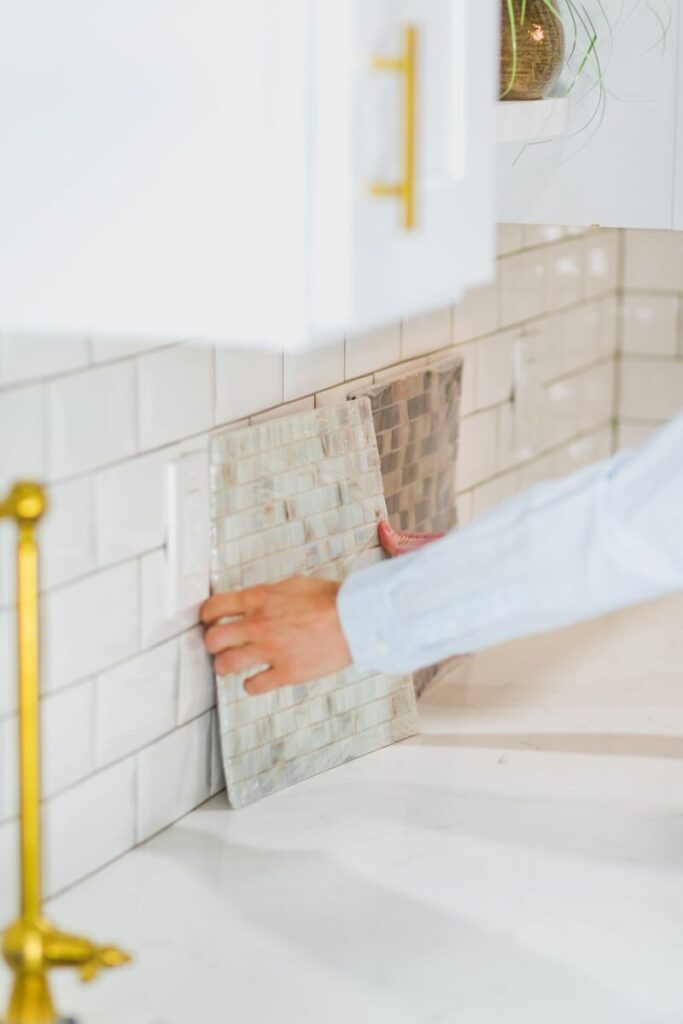
Glass tile is nonporous and reflects light, often making small kitchens appear brighter while requiring different installation care than ceramic. It is more brittle; vibration, heat, and point loads during cutting create hairline cracks or chips, and back-painted tiles can delaminate if the face is abraded. Choose tiles and adhesives rated for glass and follow the manufacturer’s coverage and trowel notch recommendations to avoid translucent tiles showing ridges through the surface.
Tools and When to Use Them
Select tools to match the tile format, cut complexity, and how visible the exposed edge will be.
- Wet saw with a glass-rated continuous-rim diamond blade, Best for long straight runs, large-format panels, and miters where the exposed edge will be visible. Use a slow feed, constant water flow, and a blade rated specifically for glass.
- Score-and-snap (glass cutter + running pliers), Effective for single straight cuts on small tiles or for back-painted tiles when scored from the back to preserve the finish.
- Mosaic nippers and grozing pliers, Required for tight radii, notches, and small tesserae; nibble in small increments and protect the face with tape to limit chipping.
- Diamond hand pads and rubbing stones, Use 400-600 grit pads to deburr and slightly round the cut edge so grout bonds and the joint appears continuous.
For a consumer overview of cutting options and their pros and cons see How to cut glass tile (Angi). If you need tools, consider browsing glass tile cutter and wet-saw tools on Amazon.
Cutting Technique Essentials
Follow trade-proven techniques to keep edges clean. For planning and handling mosaic sheets, adhesive application, and how to size tiles before cutting, consult Installing a glass tile backsplash (This Old House). For wet-saw blade selection and step-by-step wet-saw technique, use How to cut tile with a wet saw (Fine Homebuilding).
Six Steps for a Flawless Cut
Apply these ordered steps to reduce mistakes and rework.
- 1. Dry layout and measure. Lay tiles flat and mark cuts with a washable marker. Group similar cuts so waste is predictable and the most visible tiles remain intact.
- 2. Choose the method. Pick wet-saw for long straight cuts and large pieces; score-and-snap for short straight cuts on small tiles; nippers for curves and notches.
- 3. Mark the cut line. Use a straightedge for long cuts and mark relief lines for complex curves so you can remove waste in controlled pieces.
- 4. Cut slowly and support the tile. On a wet saw, keep the blade and tile wet, advance the tile at an even slow pace, and support the workpiece close to the blade to prevent chatter.
- 5. Shape with nippers if needed. Nibble toward the final line in small increments, protecting the tile face with painter’s tape and finishing the last millimetres with grozing pliers.
- 6. Smooth and inspect the edge. Remove burrs with a fine diamond pad, confirm the reveal against adjacent tiles or trim, and wipe any marker or slurry before setting.
For specific instruction on scoring and which cuts work best with each tool, see How to cut glass tile (Bob Vila).
Cutting Around Outlets and Pipes
Mark openings on the face and remove waste from the back when possible. For rectangular cutouts, score straight sections and remove the center waste with grozing pliers, then refine with nippers. For circular pipe cutouts, make parallel relief cuts from the waste side about 3/8 inch apart with a wet saw, snap the narrow spokes, then finish to the line with nippers and a rubbing stone.
When cutouts sit inside wall boxes, leave a 1/16 inch to 1/8 inch tolerance for final fitting and rely on color-matched caulk for the last gap rather than aggressive trimming that risks the face finish.
Finishing Exposed Edges and Grout Considerations
Sharp glass edges show micro-chips and can cut grout lines visually. Smooth edges with a 400-600 grit diamond hand pad or rubbing stone to remove burred glass and slightly round the reveal so grout adheres. For exposed terminations, use metal trim, Schluter edge profiles, or concealed placements under an upper cabinet or countertop lip.
Use a polymer-modified thin-set rated for glass tile and follow the manufacturer’s trowel-notch recommendation to approach full coverage. For manufacturer-style guidance on edge finishing and back-buttering, refer to the Glass Tile Installation Guide (Home Depot image/pdf guide).
Safety, Dust Control and Troubleshooting
Wear eye and hearing protection during saw use, rubber gloves for wet cutting, and an N95 or P100 respirator for any dry grinding. Contain slurry from wet cutting and dispose of it per local regulations to avoid stormwater contamination. Secure tiles and keep bystanders clear when nipping to avoid flying fragments.
- Hairline cracks: Caused by excessive feed pressure or support gaps; recut with less force and support the tile near the cut.
- Chipped face on back-painted glass: Score from the back or protect the face with tape and cut slowly on a wet saw.
- Visible mortar ridges through translucent tiles: Flatten ridges with the flat side of the trowel before setting and aim for near 100 percent adhesion.
For broader procedural context and material choices when planning a backsplash, review our DIY planning guide in DIY Kitchen Backsplash: Transform Your Space With Style and our recommendations for small backsplash designs in 14 Design Ideas for Small Kitchen Backsplashes.
When to Call a Pro
Hire a tile setter with glass experience for large-format back-painted panels, seams that must be nearly invisible around a cooktop, or projects that include thousands of tesserae requiring precise shaping. Professionals bring contractor-grade wet saws, multiple blade options, and sequencing strategies that reduce seams and repaired tiles. For step-by-step field techniques and when project scale exceeds simple DIY, follow the installer-oriented workflow in How to install kitchen backsplash.
Our Product Pick
Schluter QUADEC PVC Square Edge Tile Edging Trim (7/16", is one option to look at if you want a ready-made tool for this job. As an Amazon Associate we earn from qualifying purchases.
Related Video
Cutting glass tile for a backsplash is a practical skill that enhances any kitchen or bathroom renovation. With the right tools and techniques, anyone can achieve clean, precise cuts. This process not only improves the aesthetics of the space but also offers a level of customization that can elevate the overall design.
More from Architecture Adrenaline
For more tips and insights on home improvement projects, check out our social channels. Follow us on Instagram for the latest updates and inspiration.