
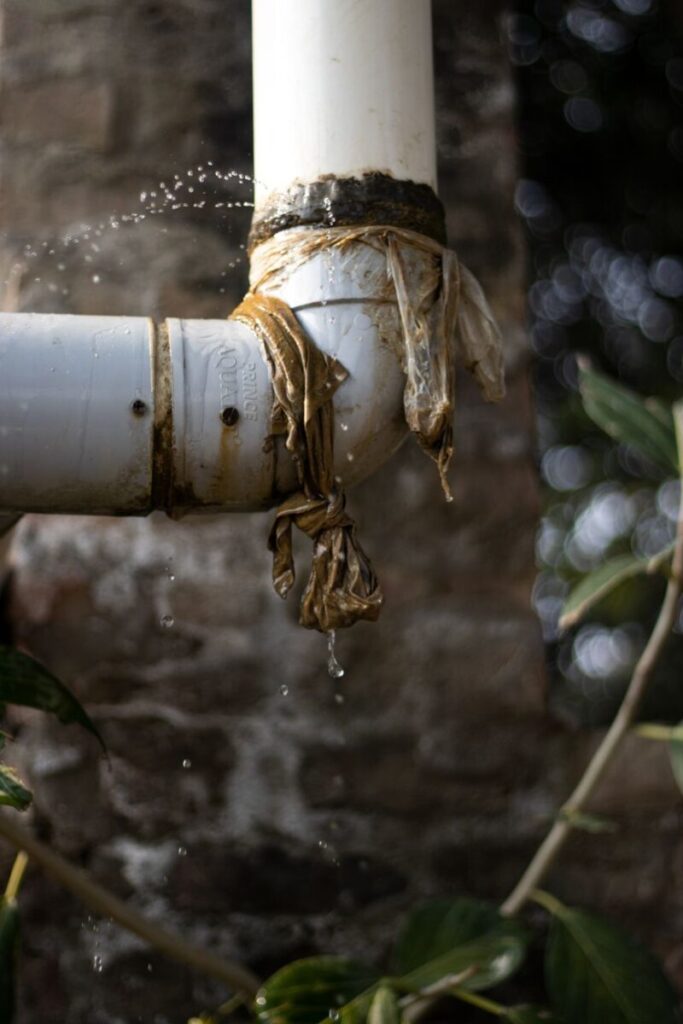
A steady drop in an above-ground pool usually means a leak rather than evaporation when the pool loses more than 1/4 inch per day. This article provides a four-step diagnostic process: confirming true loss, isolating plumbing, tracing with dye, and deciding whether to repair or call a professional. Additionally, we will explore common leak locations, required tools, rough costs, and possible DIY repair options.
| Problem Stage | Action | Typical Cost |
|---|---|---|
| Confirming loss | Bucket test for 24 hours | Free |
| Pinpointing source | Dye tests around skimmer, returns, seams | $0-$30 |
| Plumbing diagnostics | Plug fittings, pressure test (professional) | $150-$500+ |
Confirm Leakage With the Bucket Test
The bucket test isolates evaporation: place a five-gallon bucket on a pool step with the water inside set 1 to 2 inches lower than the pool. Mark both levels, disable auto-fill, and compare after 24 hours. If the pool level drops more than the bucket water line by roughly 1/4 inch or more, proceed to targeted diagnostics because a true leak is present.
How to Use Dye to Trace Leak Paths
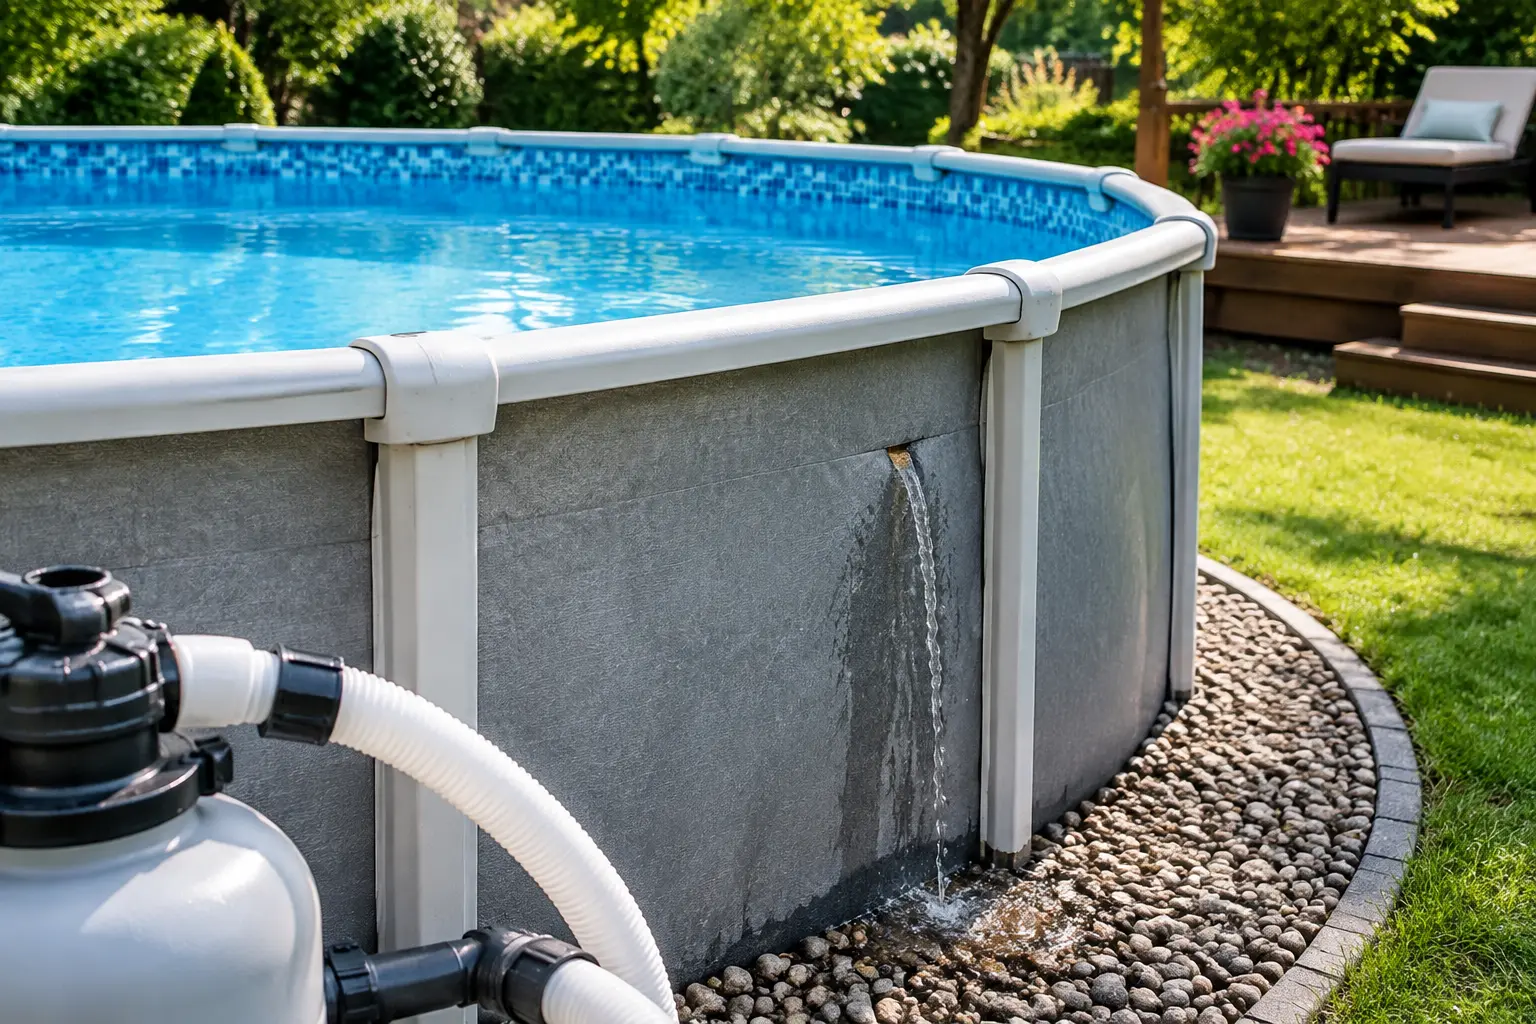
Shut off the pump and allow the surface to become still before testing. Use a pool leak-finder dye or concentrated food coloring in a squeeze bottle and apply small amounts near skimmer faces, return fittings, light niches, liner seams, and cutouts. Watch for dye to be drawn into a gap; dye pulled inward identifies the leak's direction and often the exact opening.
For a quick, at-home supply option, try a pool leak detection dye tester kit; these kits allow you to introduce dye in measured drops while keeping testing hands dry.
Most Likely Leak Locations and What They Look Like
- Skimmer faceplate, throat, and gasket: Look for damp soil or a steadily wet skimmer pocket when water is removed a few inches below the throat.
- Return fittings and eyeball assemblies: A failing O-ring or cracked return will pull dye inward with the pump running and show localized suction during a dye test when the pump is off.
- Vinyl liner pinholes and seam separations: Pinholes produce fine, localized dye movement; seam failures often show a steady sheet of dye along a joint.
- Pump, filter, and union connections: Check for dampness, salt crust, or corrosion at unions and under the equipment pad where leaks often begin.
- Buried plumbing joints: These require pressure testing or a contractor with electronic detection because surface dye cannot reach underground cracks.
Skimmer and Return Testing Techniques With Practical Tips
Lower the water a few inches below the skimmer throat to inspect the faceplate and gasket. With the pump off, apply dye into the skimmer pocket and around the equalizer inlet; a consistent inward pull of dye at the throat indicates a gasket or throat crack. For returns, remove the eyeball, hold dye at the fitting edge, and look for inward movement that signals a loose fitting or failed O-ring.
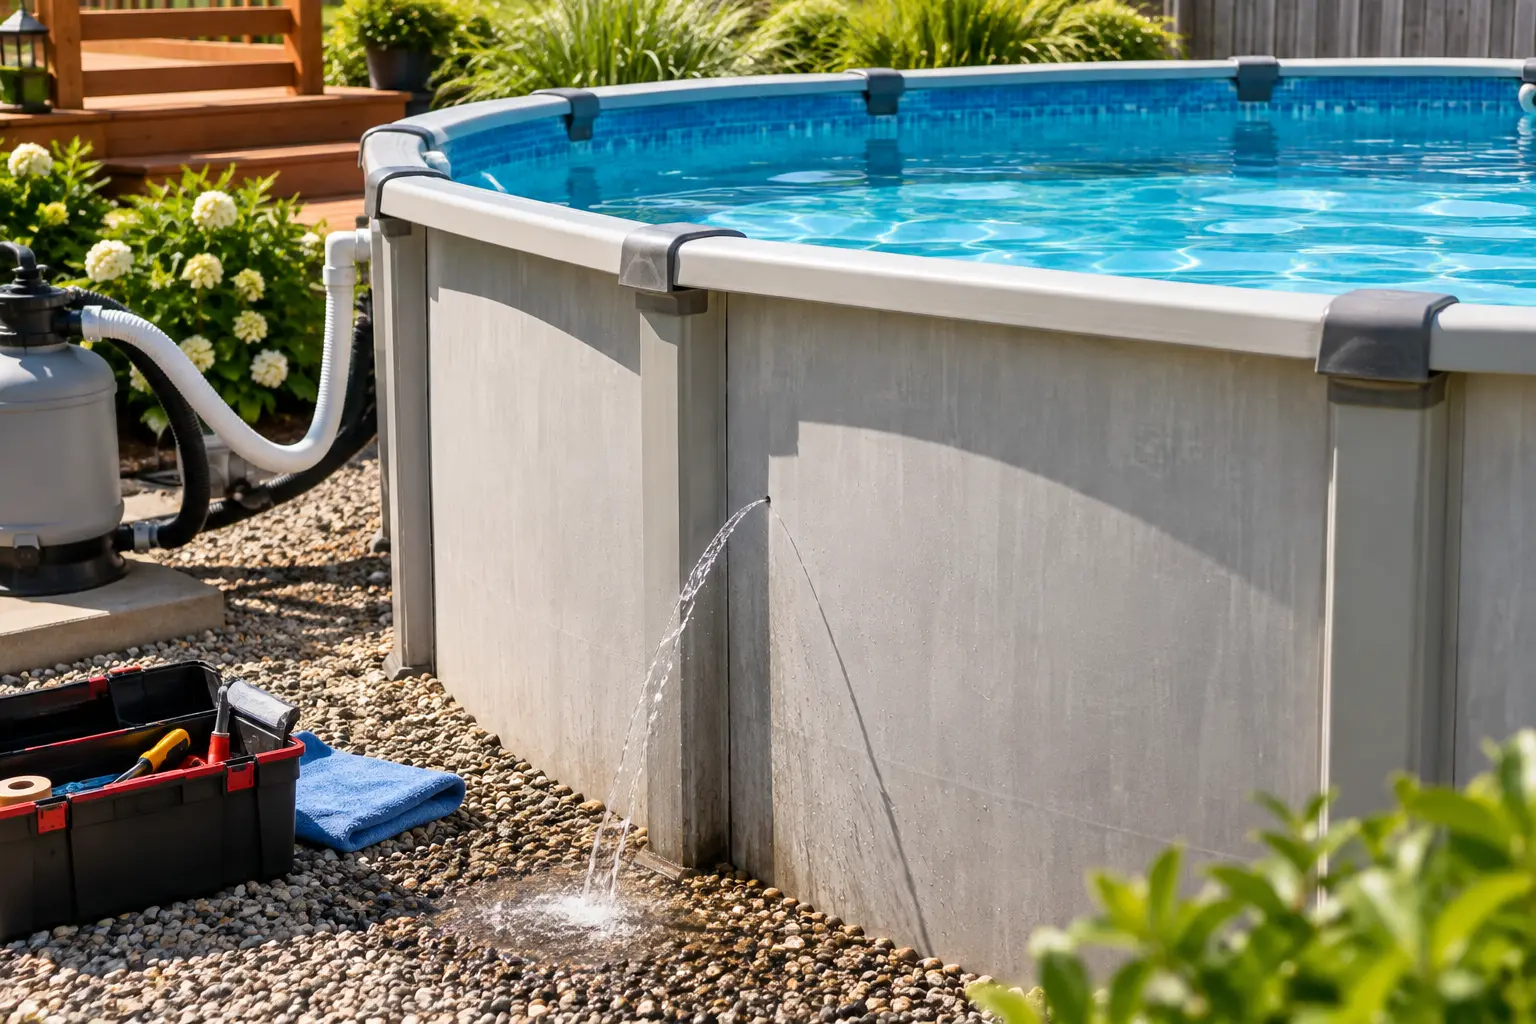
If the skimmer housing appears cracked, test after isolating plumbing to confirm the skimmer is the primary leak before ordering a replacement housing. Refer to the site guide on how to find leaks in above-ground pools for overlapping diagnostic steps and a step-by-step dye procedure.
How to Inspect the Vinyl Liner Efficiently
Small punctures are best found with an underwater dye sweep with the pump off. Move slowly and keep dye drops close to the liner surface. For suspected seam failures, lower the water enough to examine seam edges from outside the wall and check for flapping or separation. Patch small holes with a manufacturer-approved vinyl patch kit and allow full cure time before rebalancing chemicals.
Isolate Plumbing to Find Slow or Intermittent Leaks
To determine whether plumbing is the culprit, repeat the bucket test with the pump off and then with it running. If loss increases with the pump on, suspect piping, unions, or pump seals. Use expandable plugs or threaded pool plugs to isolate skimmer and return lines one at a time; when losses stop after plugging a particular line, that line or its fittings require repair.
For buried lines, or if isolation does not stop the loss, professional pressure testing is the next step. For cost guidance and typical diagnostic methods used by contractors, review the site page on plumbing leak repair estimates.
Tools and Materials for Accurate Testing
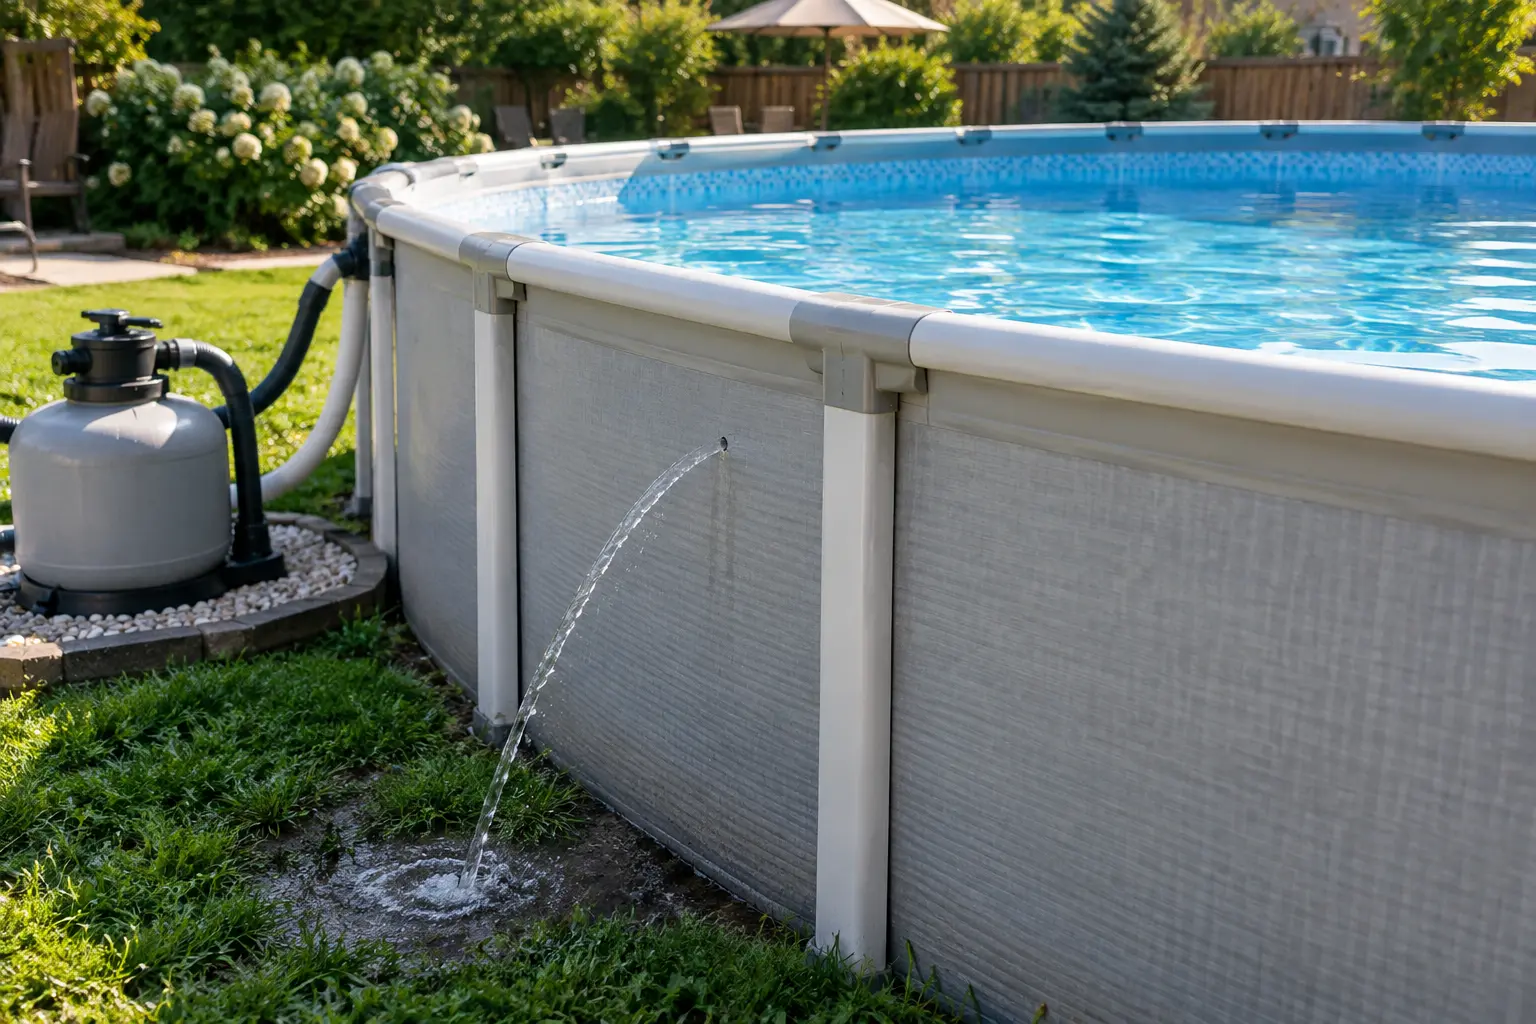
- Leak-finder dye or concentrated food coloring with a squeeze bottle for controlled drops.
- Five-gallon bucket and waterproof marker for the bucket test.
- Expandable plugs or threaded pool plugs to isolate lines during diagnostics.
- Flashlight for skimmer pockets and faceplate inspection and a mirror for behind-wall viewing where accessible.
- Replacement O-rings, hose clamps, PVC primer and solvent for simple repairs to unions and threaded fittings.
- Manufacturer-matched vinyl patch kit and adhesive for liner punctures; avoid generic adhesives that chlorine will break down.
Step-by-Step Diagnostic Checklist With Decision Points
- Do the 24-hour bucket test to confirm true leakage and quantify the loss in inches per day.
- Turn off auto-fill and record loss rates with the pump off and with the pump on to detect pump-driven leaks.
- Inspect the equipment pad and underside of unions for dampness or salt deposits indicating plumbing leaks.
- Apply dye around skimmer, returns, light niches, liner seams, and cutouts to trace openings.
- Plug skimmer, return, and cleaner openings sequentially to isolate plumbing; note which plug stops the loss.
- If isolation and dye tests fail to locate the leak, arrange pressure testing, tracer-gas, or electronic detection by a specialist.
DIY Repairs You Can Tackle Immediately With Expected Lifespan
Replace worn skimmer gaskets, retorque or replace return fittings, swap pump seals and hose clamps, and patch small liner punctures. Use pool-rated materials and follow manufacturers’ cure times; a proper vinyl patch can last several seasons, whereas an epoxy skimmer repair is typically a short-term fix pending full replacement.
For a broader set of repair options and when a contractor becomes necessary, consult the site overview on above-ground pool repairs.
When to Hire a Professional and What to Expect
Hire a professional when dye testing is inconclusive after plumbing isolation, when the leak is under the liner, or when excavation is likely. Professionals perform pressure testing, tracer-gas or electronic listening, and camera inspection for buried pipes. Obtain a written diagnostic report and at least two repair estimates before approving costly excavation or a liner replacement.
Common Troubleshooting Mistakes and How to Avoid Them
- Raising water during tests. Keep levels fixed to preserve accurate loss rates.
- Using non-pool-rated adhesives. Chlorine and sunlight degrade general-purpose adhesives quickly.
- Replacing expensive parts without isolation testing. Measure loss rates and isolate plumbing first to avoid unnecessary pump or skimmer replacements.
- Failing to document tests. Record water-loss measurements, pump-on versus pump-off results, and which fittings you plugged for clear comparison and contractor handoff.
If the tests you run still leave the source unclear, a concise diagnostic note for a contractor speeds the next step: list how many inches the pool dropped in 24 hours, changes when the pump ran, and which fittings stopped loss when isolated. That information narrows the likely repair method and helps avoid unnecessary excavation.
Our Product Pick
kuailaya Decal Setting Solution, Decal Softener is one option to consider if you want a ready-made tool for this job. As an Amazon Associate, we earn from qualifying purchases.
Related Video
Finding a leak in an above-ground pool can seem challenging, but by systematically checking the pool's components and using dye testing, you can identify the issue. Regular maintenance and monitoring can help prevent leaks from developing in the first place. Always consider reaching out for professional assistance if the leak remains elusive.
More from Architecture Adrenaline
You can discover more practical posts like this on our social channels. Follow us on Instagram for updates, tips, and techniques related to pool maintenance and other home improvement topics.