
Fixing a leaky faucet is a manageable task that can be done quickly and at a relatively low cost, making it accessible for DIY beginners. A leaky faucet can waste over 3,000 gallons of water a year, incurring unnecessary costs. Follow this structured approach to fix a leaking faucet efficiently. For additional guidance on water conservation, be sure to check out Fix a Leak Week | US EPA.

Common Causes of Faucet Leaks
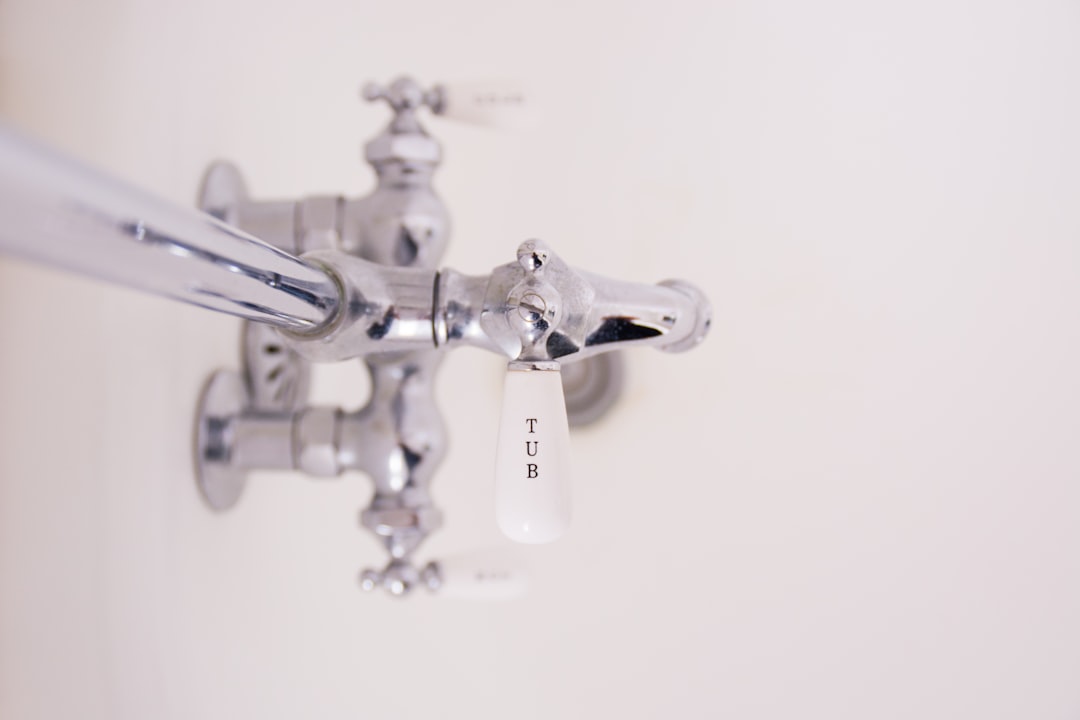
Before diving into the repair process, it's essential to understand the common causes of faucet leaks. The primary reasons include:
- Worn-out washers or gaskets
- Loose O-rings
- Corrosion in the valve seat
Initial Steps Before Repair
Turn Off the Water Supply
Locate the shut-off valve under the sink and turn it off to prevent water flow during repairs. Open the faucet to confirm that no water is flowing.
Prepare the Work Area
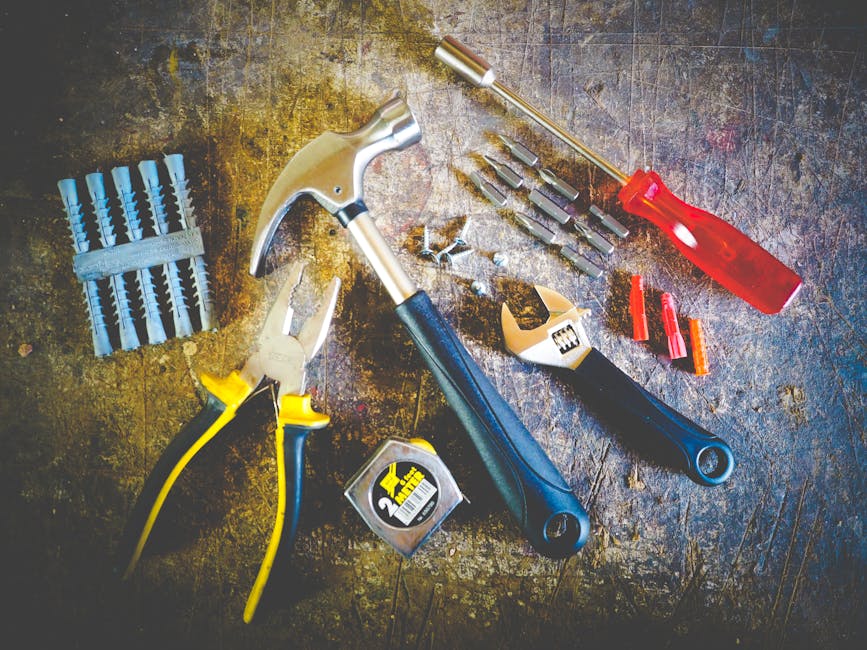
Plug the drain to prevent small parts from falling and gather the necessary tools:
- Adjustable wrench
- Screwdriver
- Replacement parts (washer or O-ring)
- Towel
- Gloves
Types of Faucets and Their Repairs
Different types of faucets have varying mechanisms and potential causes for leaks:
| Type of Faucet | Common Issues | Repair Steps |
|---|---|---|
| Compression | Worn seat washers and O-rings | Replace seat washers and O-rings |
| Ball | Inlet seals and springs | Replace inlet seals and springs |
| Cartridge | Faulty cartridge and O-rings | Replace the cartridge and O-rings |
| Ceramic Disk | Worn seals | Replace worn seals if necessary |
| Single-Handle | Varies by type | Access mechanism and replace faulty components |
| Double-Handle (Non-Compression) | Varies by type | Open each handle, access, and replace parts |
DIY Steps for Repair
Remove the Faucet Handle
Pry off the decorative cap, unscrew the handle, and lift it off. This will give you access to the internal parts.
Find the Source of the Leak
Inspect internal parts like O-rings and washers for wear or damage. Replace worn or broken parts. Obtain replacements from a hardware store, ensuring correct alignment during installation.
Reassemble the Faucet
Secure everything back in place, turn on the water supply, and check for leaks. If the problem persists, it may be necessary to replace additional parts or seek professional help.
Preventive Tips
Regular maintenance can help prevent future leaks:
- Regular Inspections: Check every three to six months for signs of wear and leaks.
- Routine Cleaning: Use gentle cleaners to avoid damage and periodically clean the aerator.
- Address Minor Issues Promptly: Tighten loose nuts or replace worn parts.
- Manage Water Pressure: Ideal pressure range is 40-60 psi; consider using a pressure regulator if the pressure is too high.
When to Consult a Professional
If you are uncomfortable with DIY repairs or if the leak has resulted in significant water damage, it is best to consult a professional plumber to ensure the issue is resolved adequately.
Learn More
For further exploration of courses that can enhance your home repair skills, visit Home.
Stay Connected
For more tips and inspiration, follow us on our social media profiles: Pinterest, Instagram, Twitter, and Facebook.
Disclaimer
This article is for general information, and individuals should assess their property's specific needs and consult professionals as necessary.
