
How To Install Peel And Stick Tile Backsplash: Complete How To Install Peel And Stick Tile Backsplash Guide
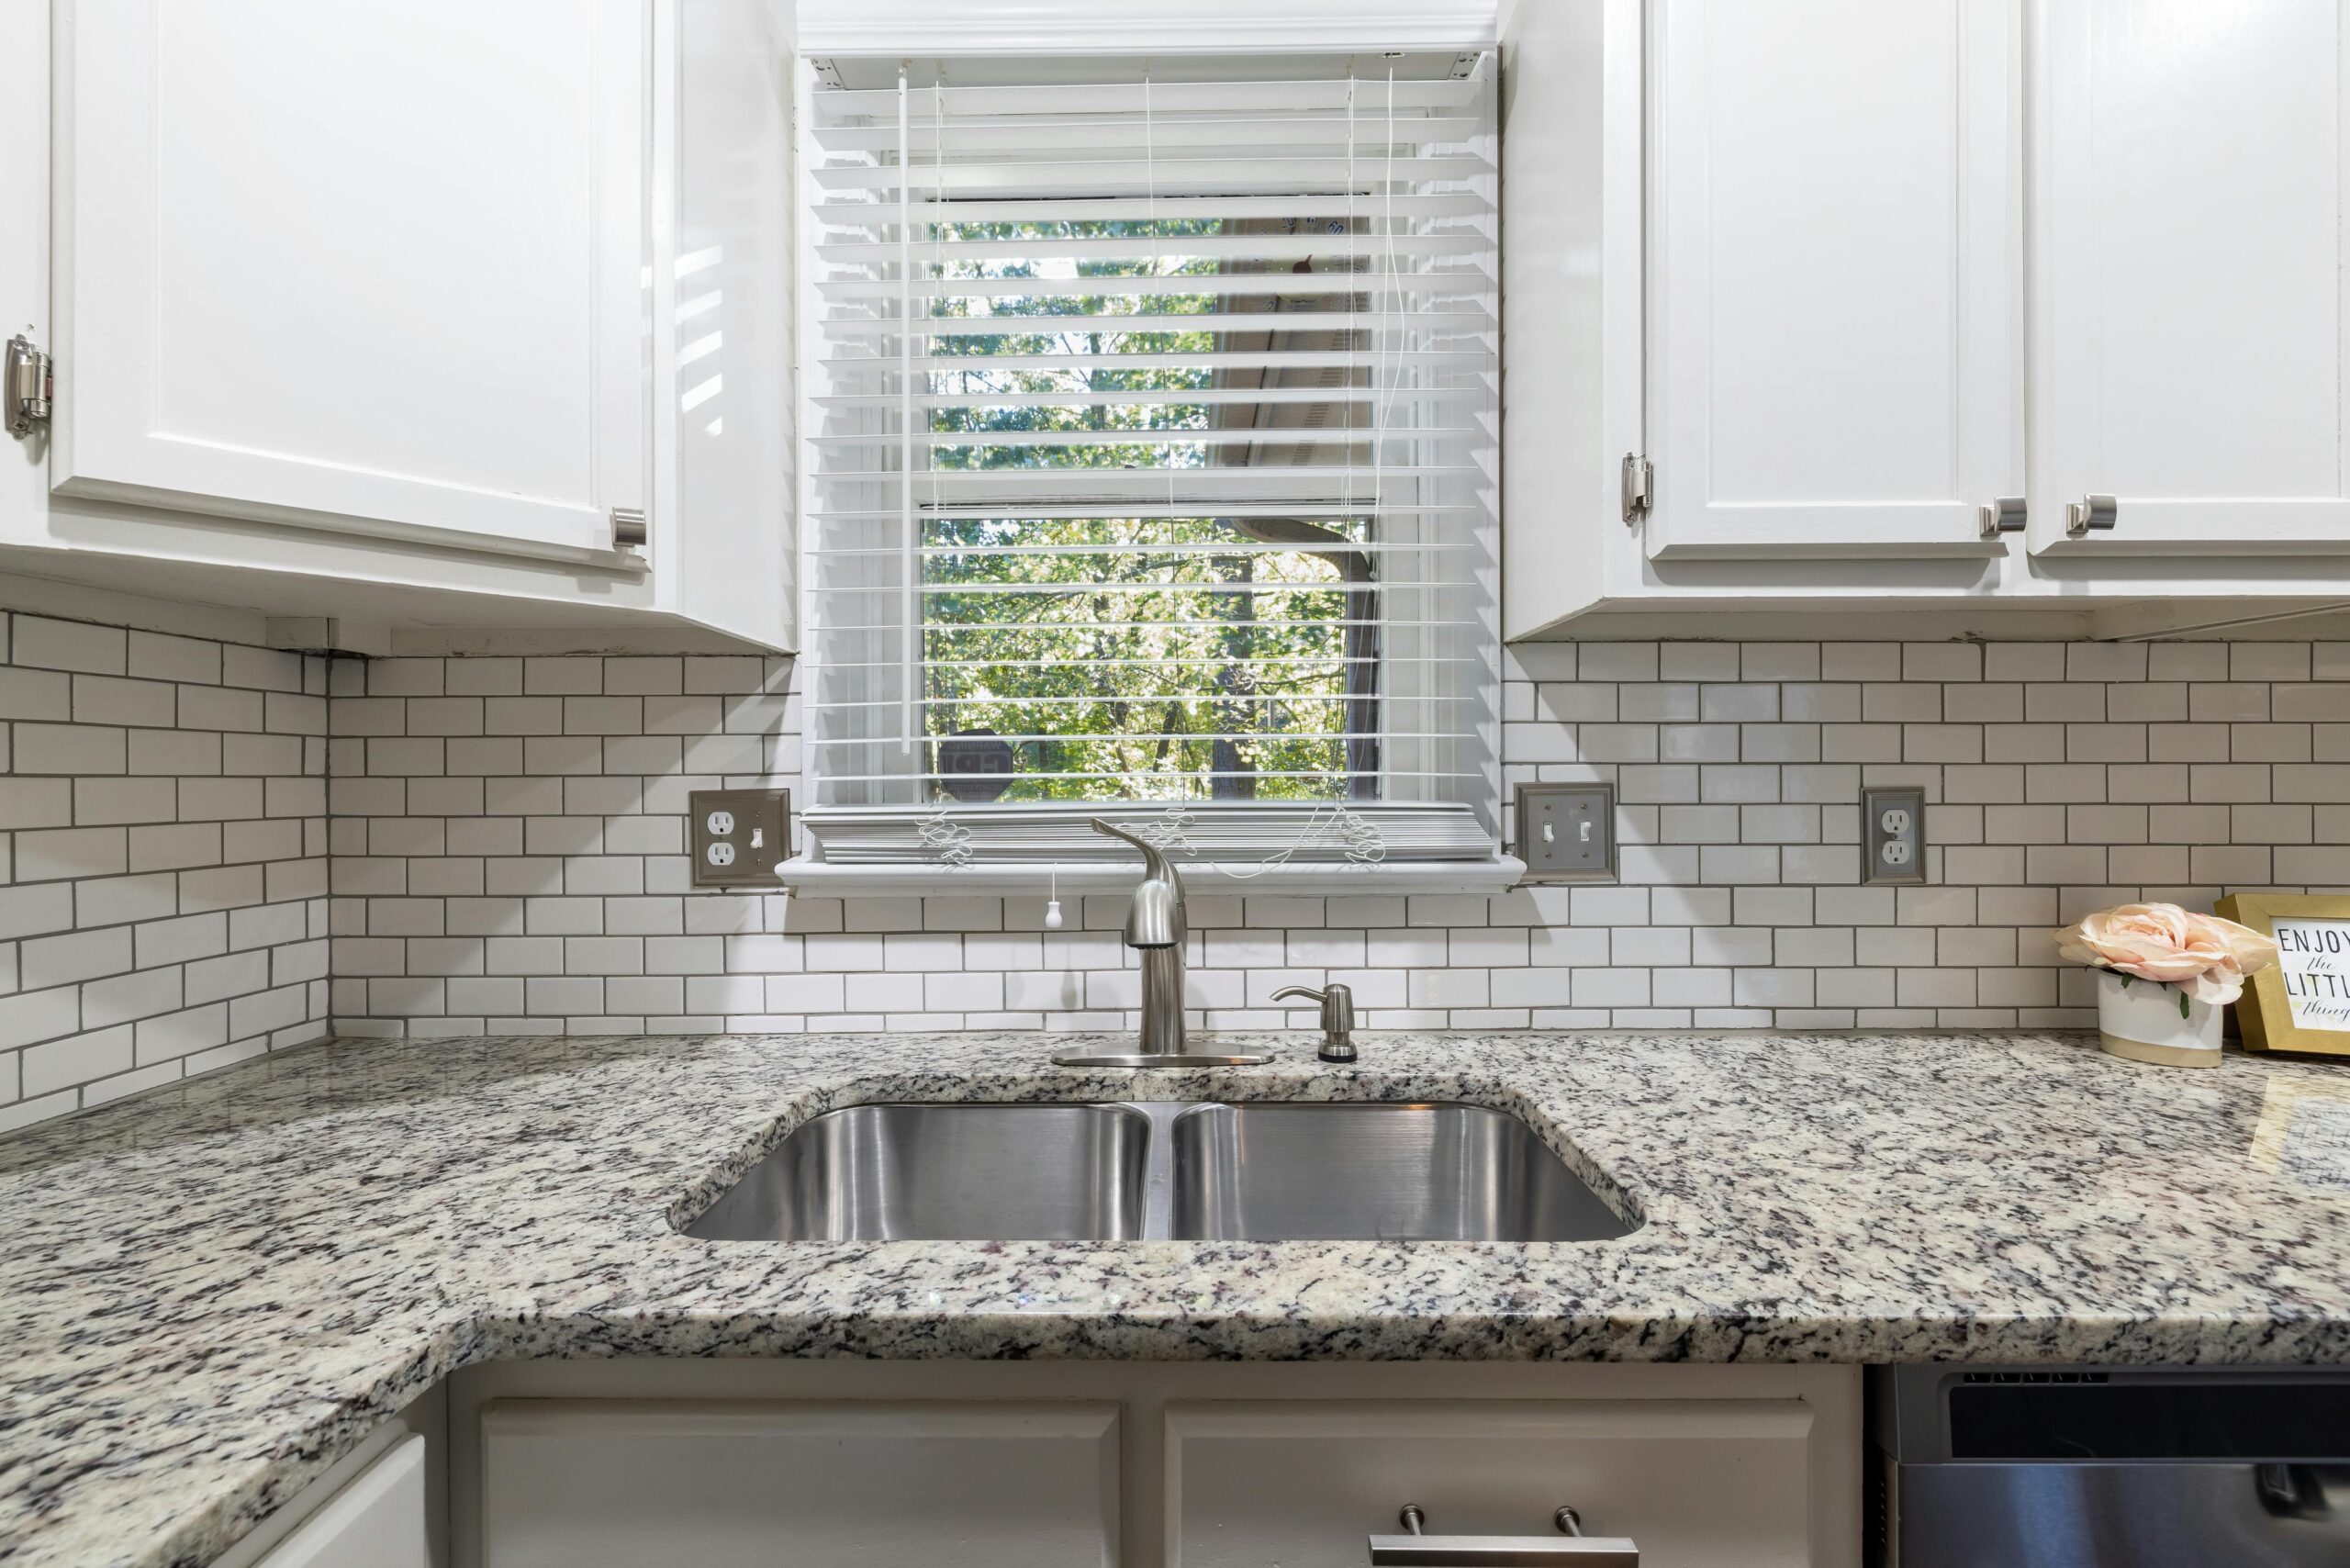
Installing a peel and stick tile backsplash is one of the quickest and most budget-friendly ways to upgrade your kitchen or bathroom. Unlike traditional tile, peel and stick options require no grout, no mortar, and minimal tools — making them perfect for DIYers of all skill levels. In this guide, you’ll learn how to prepare your surface, choose the right materials, and apply your tiles for a seamless, professional-looking backsplash. Along the way, we’ll share styling inspiration and practical tips so your backsplash not only looks great but lasts long.
Before You Start
Peel and stick tile backsplashes are self-adhesive tiles designed to be applied directly onto clean, smooth surfaces. They come in a variety of designs — from classic subway tiles to modern geometric patterns — giving you endless styling possibilities. The installation process is straightforward but requires careful preparation and precision for the best results. This guide covers everything from gathering materials and tools to step-by-step installation and finishing touches. Expect to spend about 4 hours and $100–$300, depending on the size of your backsplash and tile choice.
⚠️ Safety First
- Wear gloves when cutting tiles to avoid cuts.
- Use a sharp utility knife carefully and always cut away from your body.
- Ensure adequate ventilation if using primer or cleaners with strong fumes.
- Keep your workspace clear of obstacles to avoid trips or falls.
🛠 What You'll Need for How To Install Peel And Stick Tile Backsplash
Materials
- Peel and stick tile sheets — main backsplash material, easy to apply and clean
- Painter’s tape — to mark layout and hold tiles temporarily
- Primer or wall cleaner — ensures surface adhesion and removes grease or dust
- Measuring tape — for precise tile placement and cuts
- Utility knife or tile cutter — to trim tiles for edges and corners
- Level — to keep tiles straight and aligned
- Soft cloth or roller — to smooth tiles and remove air bubbles
Tools
- Measuring tape — measure wall dimensions and tile sizes accurately
- Level — ensure tiles are aligned horizontally and vertically
- Utility knife or scissors — cut tiles precisely to fit edges and around outlets
- Sponge or soft cloth — clean tiles and wall surface before installation
- Rubber roller or smoothing tool — press tiles firmly to avoid bubbles
- Painter’s tape — mark tile layout and protect adjacent surfaces
Step-by-Step Instructions
Step 1Prepare the Wall Surface⏱ ~60 min
Start by cleaning your backsplash area thoroughly. Use a mild detergent or wall cleaner to remove grease, dust, and grime. Dry the surface completely. If your wall is textured, lightly sand it to create a smooth surface for better adhesion. Apply a primer if recommended by your tile manufacturer and let it dry fully, usually about 1 hour.
💡 Pro Tip: Ensure the wall is completely dry before proceeding to avoid adhesion failure.
Step 2Measure and Plan Your Layout⏱ ~30 min
Measure the width and height of your backsplash area. Lay out your peel and stick tiles on a flat surface to visualize the pattern. Use painter’s tape to mark a level reference line about 4 inches above your countertop to guide tile placement. Plan how you will handle corners and outlets by marking these on your tiles.
💡 Pro Tip: Starting from the center and working outward often gives the most balanced look.
Step 3Cut Tiles to Fit Edges and Obstacles⏱ ~30 min
Using a utility knife or tile cutter, trim tiles to fit around corners, outlets, and edges. Score the tile surface firmly and snap cleanly for best results. Keep extra tiles for replacements or future repairs.
💡 Pro Tip: Use a metal ruler as a straight edge when scoring tiles for precise cuts.
Step 4Apply the First Row of Tiles⏱ ~45 min
Peel the backing off the first tile and carefully align it with your reference line and wall edges. Press firmly starting from the center and smoothing outward to avoid air bubbles. Use a rubber roller or soft cloth to press the tile flat against the wall.
💡 Pro Tip: Take your time to align the first row perfectly; it sets the tone for the entire backsplash.
Step 5Continue Applying Tiles Row by Row⏱ ~90 min
Work your way across and up the wall, peeling and sticking tiles one at a time. Overlap edges slightly if needed to ensure full coverage. Use the level frequently to keep rows straight. Smooth each tile after application.
💡 Pro Tip: Wipe off any dust or debris between rows to maintain adhesion quality.
Step 6Finish Edges and Touch Up⏱ ~30 min
Once all tiles are applied, inspect edges and corners. Trim any excess material and press edges firmly. Clean the surface with a damp cloth to remove fingerprints or adhesive residue. Allow the backsplash to set for 24 hours before exposing it to water or heavy use.
💡 Pro Tip: Avoid scrubbing the tiles during the first day to ensure proper adhesion.
💡 Pro Tips & Expert Advice
- Always buy 10–15% extra tiles to account for mistakes and cuts.
- Use a level frequently to keep your backsplash straight and professional-looking.
- If your wall is glossy, lightly sand before applying tiles to improve adhesion.
- Work in small sections to prevent dust or debris from settling on adhesive surfaces.
- Consider coordinating your tile pattern with your countertop or cabinetry for cohesive styling.
Frequently Asked Questions
- Can peel and stick tiles be removed without damaging my wall?
- Yes, peel and stick tiles are designed to be removable and typically won’t damage painted drywall if removed carefully, though some adhesive residue may remain.
- How long does peel and stick tile backsplash last?
- With proper installation and care, peel and stick backsplashes can last 5–10 years, depending on exposure to heat, moisture, and wear.
- Can I install peel and stick tiles over existing tile?
- Yes, as long as the existing tile surface is clean, smooth, and free of grease or grime, peel and stick tiles can adhere well.
- Do peel and stick tiles require grout?
- No, peel and stick tiles come with adhesive backing and do not require grout, making installation faster and cleaner.
- What surfaces are best for peel and stick tile installation?
- Flat, smooth, clean, and dry surfaces like painted drywall, glass, metal, or existing tiles are ideal for peel and stick tile installation.
Installing a peel and stick tile backsplash is an accessible and rewarding project that can dramatically enhance your kitchen or bathroom’s style with minimal cost and effort. By following these expert steps and tips, you’ll achieve a polished look that complements your space and reflects your personal design taste. Remember that careful preparation and precise application are key to a lasting finish. With your new backsplash in place, enjoy the fresh, updated vibe and the satisfaction of a DIY job well done.
Design Deep Dives & Resources
Use these references to go deeper on layouts, materials, lighting, safety, and maintenance decisions that matter for this style.
Research-Backed Planning Notes
- Outdoor lighting should have a job: DOE frames outdoor residential lighting around aesthetics, security, and utility, with controls and shielding to reduce waste and glare. Layer low path lights, focused task lights, and shielded accent lights instead of flooding the entire patio with one harsh fixture. Source: U.S. Department of Energy
- Plant choice affects maintenance and longevity: UMN Extension emphasizes function, maintainability, environmental soundness, cost-effectiveness, and visual appeal in sustainable landscape design. Choose plants around sun, soil, mature size, and maintenance tolerance before choosing containers or furniture colors. Source: University of Minnesota Extension
- A good landscape behaves like connected rooms: USU Extension compares landscapes to outdoor rooms with different uses, volumes, circulation paths, and water needs. Use the cover, furniture layout, pavers, screens, and planting edges to define a room rather than scattering decor around the slab. Source: Utah State University Extension
On Architecture Adrenaline
- How To Install Kitchen Backsplash: Read the full guide
- Peel and Stick Brick Backsplash: Transform Your Walls Easily: Read the full guide
- Herringbone Backsplash Subway Tile: A Stylish Addition to Your Home: Read the full guide
- Brown Bathroom Tile Inspirations: Stylish Ideas & Designs: Read the full guide
Authoritative Planning References
- Illuminating Engineering Society Standards - Professional lighting reference for terminology, visual comfort, glare, and application-specific lighting practice.
- American Society of Interior Designers - Professional interior design organization for design practice, wellness, sustainability, and industry context.
- International Code Council I-Codes - Use this as a starting point for code families, then verify the code edition adopted by the local building department.
- DOE Energy Saver Lighting Design - Practical guidance for efficient indoor and outdoor lighting layers, controls, glare reduction, and fixture placement.
- University of Minnesota Extension Landscape Design - Extension guidance on site conditions, plant selection, maintenance, function, cost-effectiveness, and visual appeal.
External Inspiration
Editor-Selected Amazon Finds
Use these shopping starting points to compare dimensions, weather ratings, and reviews before buying.
How To Install Peel And Stick Tile Backsplash lighting
Start with lighting because it changes how every finish reads.
How To Install Peel And Stick Tile Backsplash storage
Keeps the space functional instead of just photogenic.
How To Install Peel And Stick Tile Backsplash decor
Use restraint and repeat materials already in the room.
Extra Visual Inspiration
✅ Pro Tips for How To Install Peel And Stick Tile Backsplash
- Measure twice, cut once — Accurate measurements prevent costly waste and rework.
- Acclimate materials — Let flooring and lumber acclimate to room temperature and humidity for 48–72 hours before installation.
- Work in sections — Break the project into manageable zones to maintain quality and energy levels.
- Use proper safety equipment — Eye protection, knee pads, and gloves are essential. Don't skip PPE.
- Clean as you go — Remove sawdust, debris, and waste frequently to maintain a safe workspace.
Extended FAQ: How To Install Peel And Stick Tile Backsplash
- What tools do I need for how to install peel and stick tile backsplash? — Essential tools vary by project scope, but safety equipment and proper measuring tools are always required. Consult a local supplier for a project-specific list.
- How long does how to install peel and stick tile backsplash take? — Timeline depends on room size, subfloor condition, and experience level. Most DIY projects take 1–3 days. Professional installation is typically faster.
- Is how to install peel and stick tile backsplash a DIY project? — Yes, with the right preparation and tools. First-timers should budget extra time for learning and correcting mistakes.
- What is the most common mistake when doing how to install peel and stick tile backsplash? — Skipping proper preparation (measuring, leveling, acclimating materials). Take time to prep correctly before starting.
- How much does how to install peel and stick tile backsplash cost? — Material costs vary widely by region and material choice. Always get 2–3 contractor quotes before committing.
- Do I need a permit for how to install peel and stick tile backsplash? — Structural or electrical work usually requires permits. Check with your local building department first.
