
Yes. For small, nonstructural patios, walkways or porch slabs a careful DIY void fill using compacted aggregate or flowable fill can stabilize the area; for vehicle areas, garages, load-bearing slabs, active erosion, or unknown subsidence, hire a contractor who uses purpose-built polyurethane or cementitious injection systems. The choice matters because consumer spray foams and ad hoc fills frequently fail under repeated traffic or ongoing soil movement.
How Voids Undermine Concrete Slabs
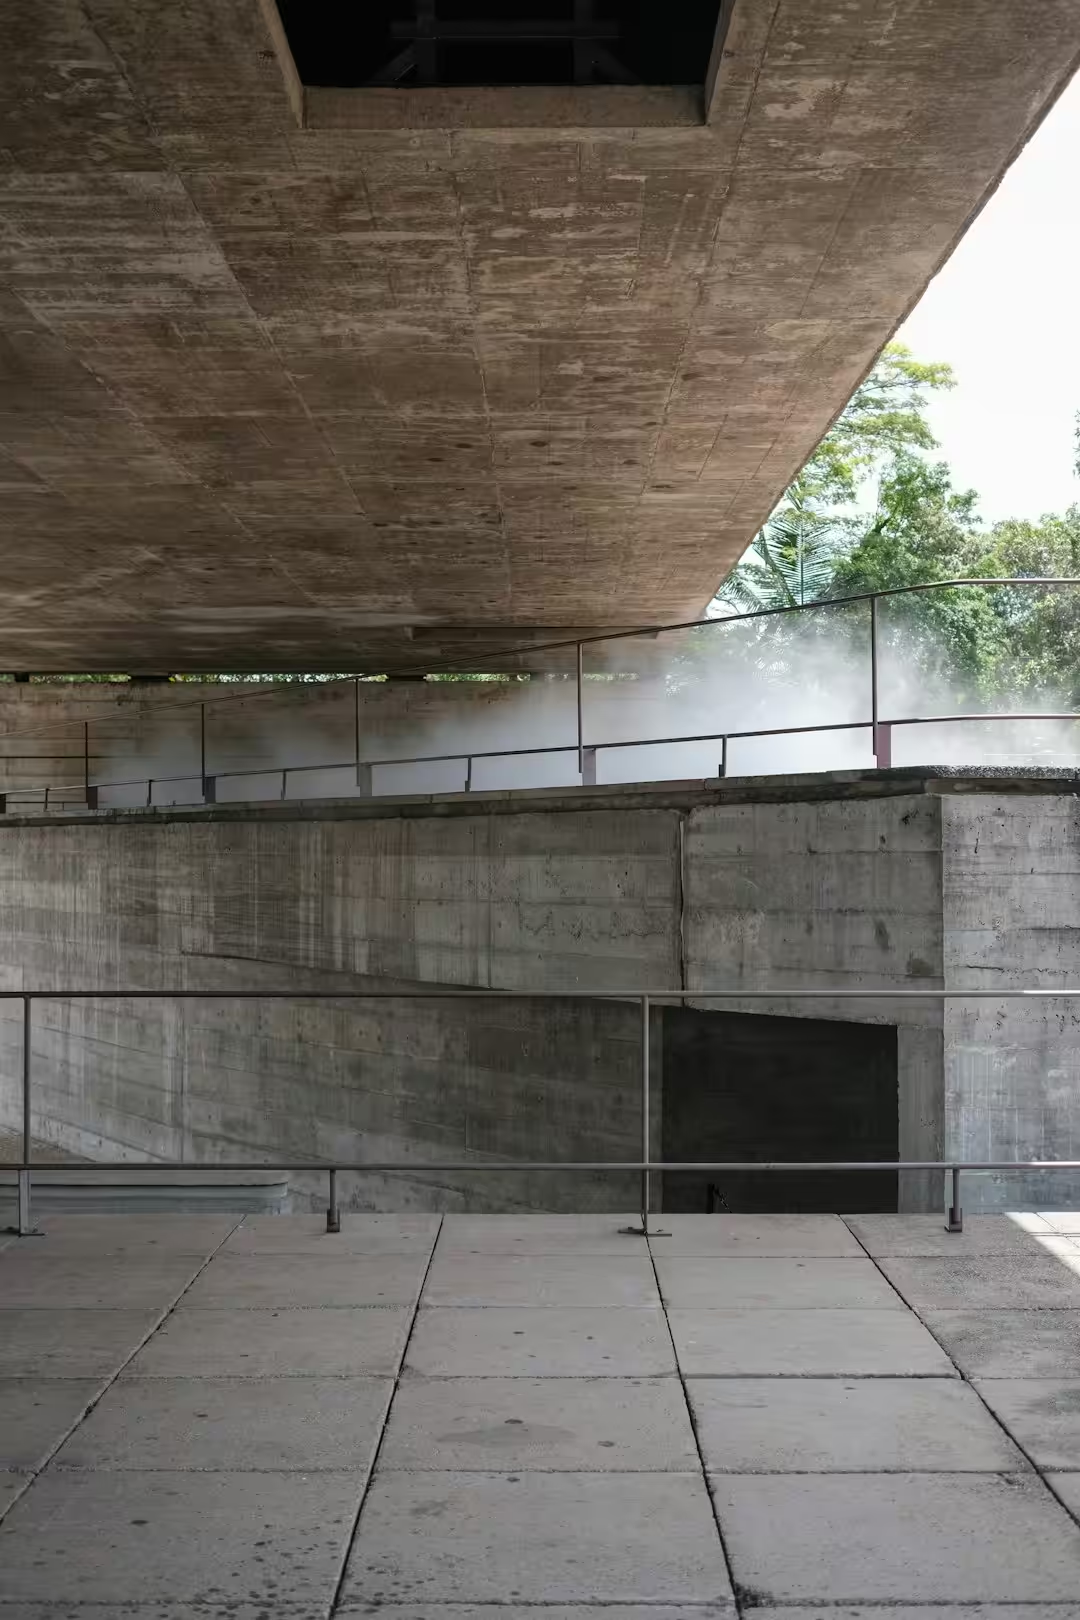
When soil beneath a slab is missing or weak, the slab bends between isolated bearing points and concentrates tensile stresses at cracks and joints. That bending produces progressive spalling, corner breaks and trip hazards rather than a uniform settlement, so a surface crack often signals a deeper loss of support or poor initial compaction.
When DIY Repair Is Practicable
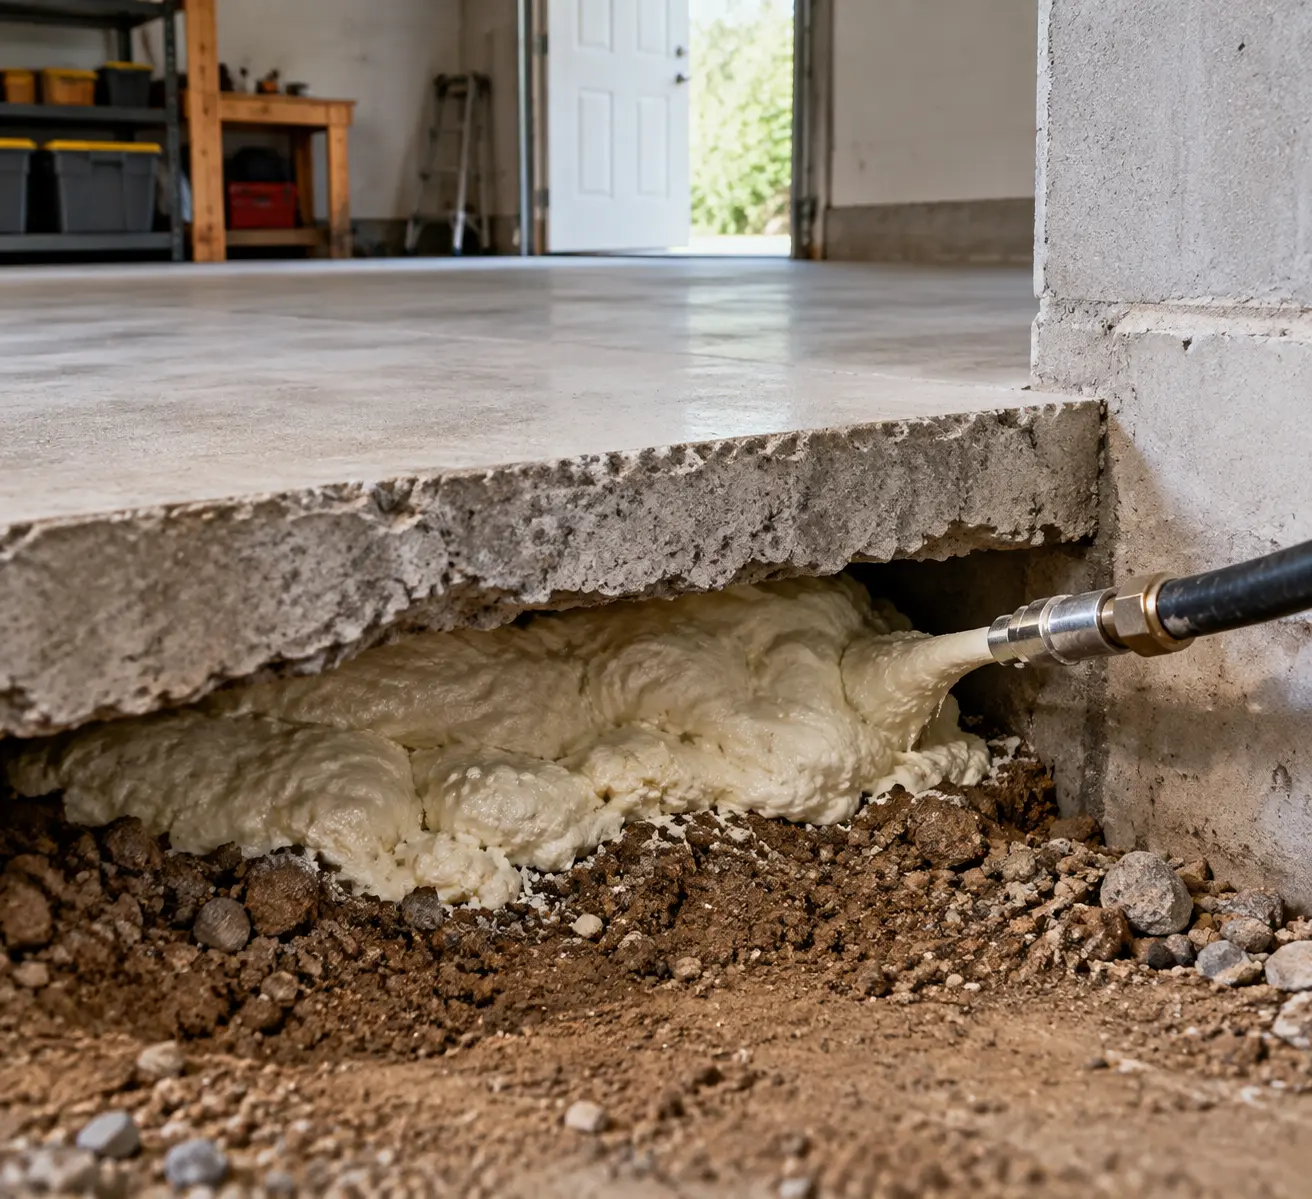
Attempt DIY only when the slab is nonstructural, the void is shallow and localized, and the problem source is fixed. Confirm there are no ongoing water sources, active plumbing leaks, or drainage failures before any fill. If the void extends beneath a garage slab, supports a building element, or continues to change after temporary fills, stop and arrange a professional geotechnical assessment.
Practical Pre-Repair Checks
- Trace surface drainage, gutters and downspouts and fix any defects that direct water toward the slab.
- Probe the hollow through joints or small test cores to map the void; mark the low points where material will collect.
- Scan for buried utilities and locate rebar or embedded elements before drilling or coring.
- Note soil type. Sandy or erodible fills typically require engineered interventions rather than hand-placed aggregate.
Materials and Why Compaction Controls Performance
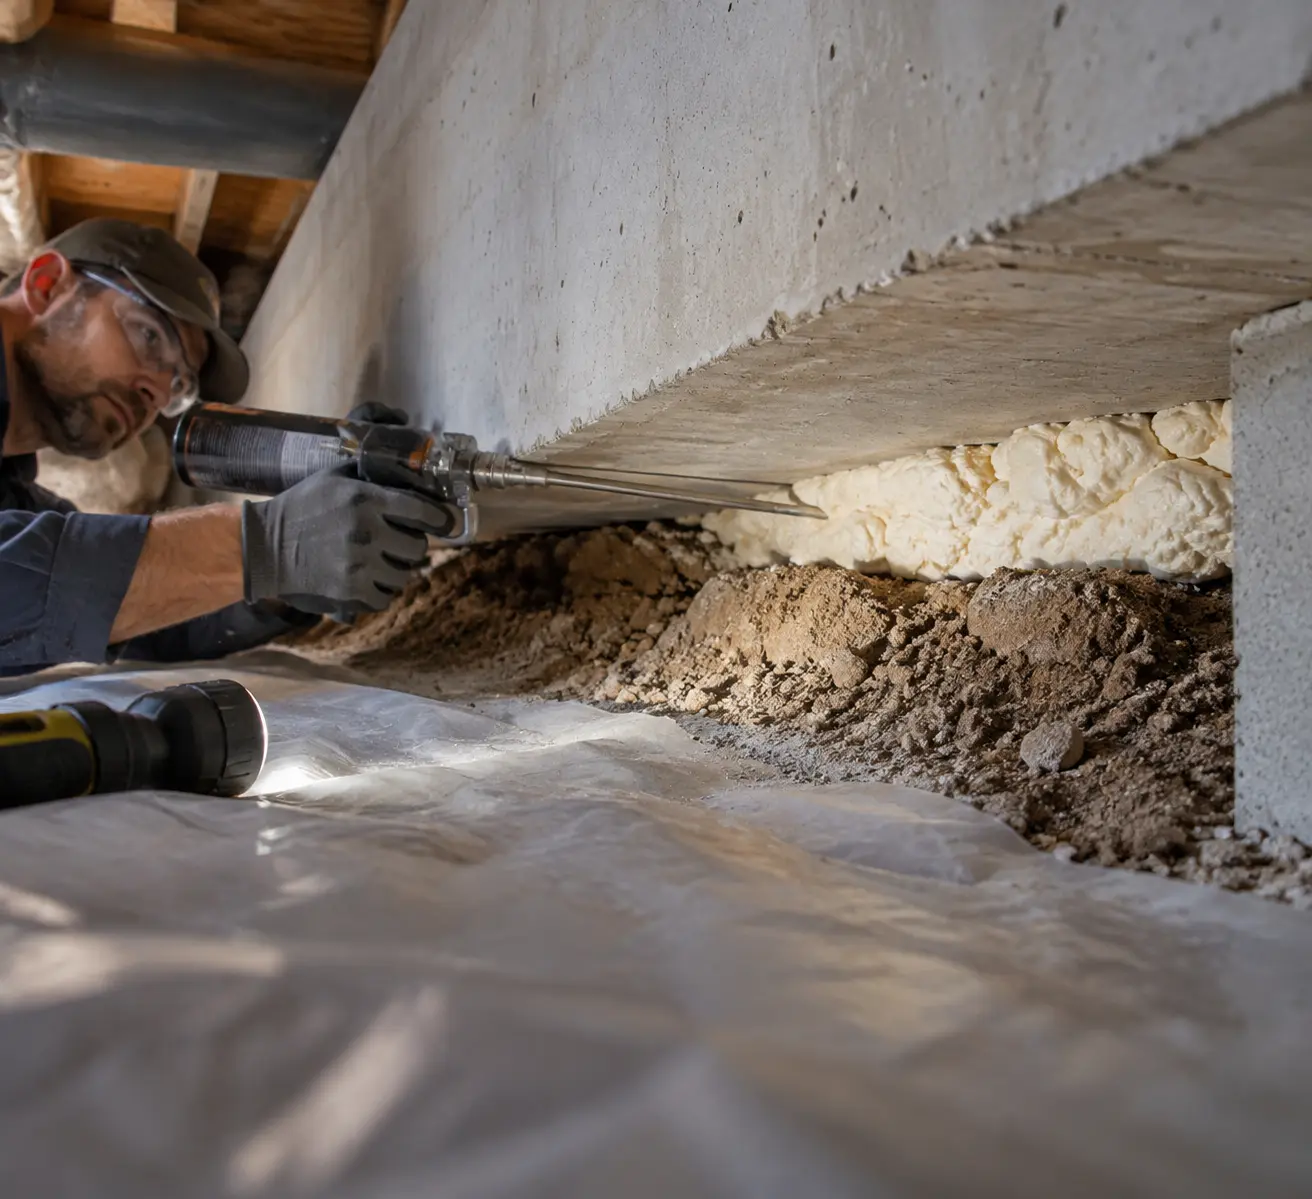
For accessible, shallow voids use compactable road base or pea gravel placed in thin lifts and mechanically tamped. Density is the key variable: loosely placed aggregate will re-settle under load and recreate the void. Where a controlled pour is feasible, a low-strength flowable fill provides better contact and fewer settlement pathways than loose aggregate.
Step-by-Step Small DIY Void Repair
The sequence below assumes a non-load-bearing slab and that drainage or leak causes have been corrected.
- Step 1: Map the void with probes or small cores to determine extent and depth.
- Step 2: Open a 1 to 2 inch inspection port at the low point and remove loose debris.
- Step 3: Install a short inspection tube if needed to observe fill placement and prevent bridging.
- Step 4: Place compactable aggregate in 2 to 4 inch lifts, tamping each lift with a mechanical or hand tamper until it no longer consolidates.
- Step 5: For better contact, pour controlled low-strength flowable fill where access allows, then allow full cure before loading.
- Step 6: Patch the port with non-shrinking cementitious patch and monitor for settlement over several months.
When Professional Under-Slab Injection Is Required
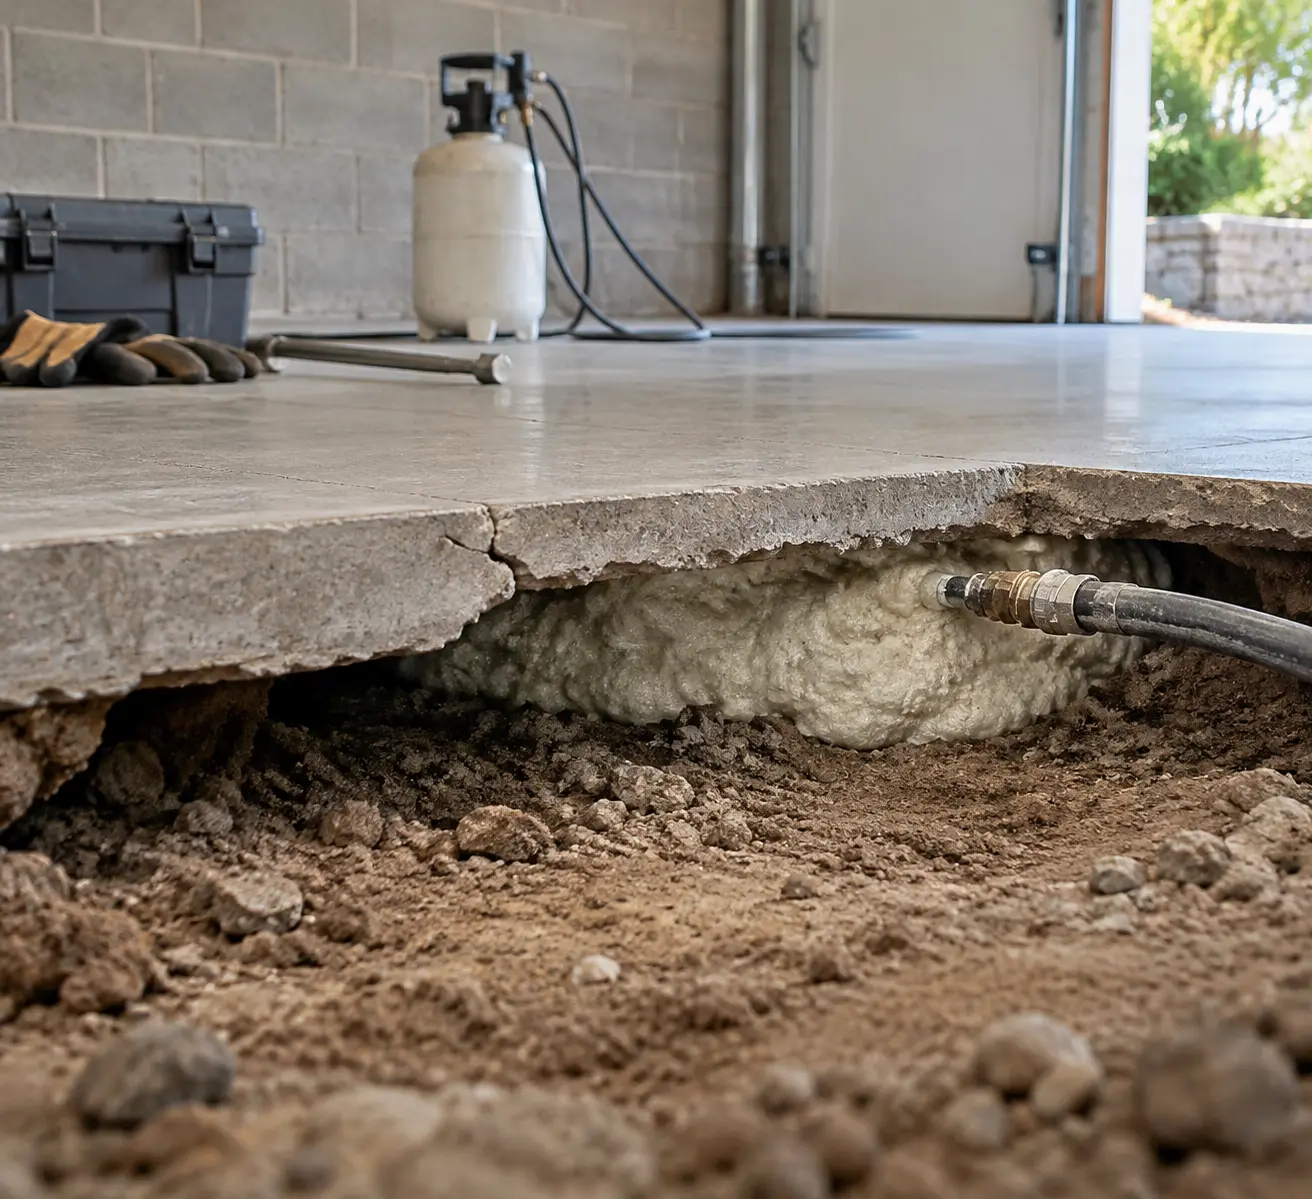
Contractors use purpose-built, two-component polyurethane or cementitious injection systems to fill voids under trafficable slabs because these methods control mix ratio, delivery pressure and temperature, and they document lift and consolidation. Government and research guides explain that under-slab work often requires drilling planned ports and staged injections rather than attempted surface injections or canned foams (Iowa State University IPS Cement-Based Repair and Slab Stabilization guide, DOT/ROSAP under-slab repair and subsealing guide).
Regulatory and Risk Context
Under-slab remediation can encounter utility conflicts, subsidence related to drainage, or sinkholes; local agencies recommend professional evaluation when subsidence or water pathways are unclear. For example, drainage-driven collapse and sinkhole guidance describes why surface fixes alone can be unsafe when underlying soils continue to erode (Fairfax County guidance on drainage problems and sinkholes).
Capillary Breaks and Moisture Considerations
Long-term slab stability depends on controlling moisture beneath the slab. Installing or preserving a capillary break such as polyethylene sheeting and proper subbase drainage reduces soil softening and freeze-thaw migration that create voids. Building America guidance covers capillary-break details that affect decisions about under-slab interventions and moisture management (Building America capillary break beneath slab guidance).
DIY Versus Professional Methods Compared
| Method | Typical Cost | Performance Notes |
|---|---|---|
| Aggregate Lifts (DIY) | Low material cost | Workable for small, accessible voids but requires thorough compaction in lifts |
| Flowable Fill | Moderate; varies by volume | Provides good contact and cures to a uniform mass; most durable short of full re-pour |
| Polyurethane Injection (Contractor) | $5-$25 per sq ft | Fast cure, engineered systems restore bearing and can provide controlled lift |
| Mudjacking (Cementitious) | $3-$8 per sq ft | Heavier fill, slower cure; economical where added weight is acceptable |
| Full Demo and Re-pour | Highest | Best when rebar is corroded or subgrade is unsuitable for point repairs |
Selecting a Contractor and Questions to Ask
Request product data and a written plan that specifies the injection product, cured density, and the method for determining injection points and monitoring lift. Ask whether the contractor documents pre- and post-deflection and what warranty covers re-settlement. Also confirm they will check and correct surface drainage or grading that could recreate undermining.
Technical References and When to Avoid DIY
Under-slab void remediation often requires specialist techniques. Official guidance on when to avoid DIY and how under-slab injections are performed is available from federal and technical sources that emphasize controlled drilling, staged injection and the priority of filling voids rather than indiscriminately raising slabs (HUD User guidance on sitework for concrete repair, DOT/ROSAP under-slab repair and subsealing guide).
Product Category for Consideration and Strong Caveats
Some homeowners research slab injection polyurethane kits as a temporary solution for very small, nonload areas. If used at all for observation, select a kit only for nonstructural, well-drained spots and treat results as provisional. For visual reference to that category, consider researching a slab injection polyurethane foam kit, but never substitute a consumer kit for a contractor-specified two-component system when structural support is required.
Site-Specific Documentation and Permitting
Some municipalities require permits for slab repair methods that alter a foundation or change load paths. Consult local codes and the published cost and permit considerations for slab repair work to determine whether a permit or engineered plan is necessary (concrete slab crack repair permit cost).
Related Architecture Adrenaline Resources
- For preparing concrete and vibration techniques used when placing or repairing slabs, see the site guide on vibration and consolidation (how to perform vibrating concrete).
- If you will be patching or sealing the repaired slab surface, review the recommended sealants and adhesive choices that are appropriate for concrete repairs (best sealant for concrete cracks).
- For related joint and perimeter details where slabs meet siding or walls, consult the site guidance on sealing gaps between concrete and siding to avoid future water entry that can undermine subbases (how to seal a gap between concrete and siding).
Practical Risk Notes
Using low-quality consumer foams or attempting pressurized injection without trained equipment risks incomplete fills, irregular lift and new cracks. Authoritative technical guides and agency documents recommend trained crews and specified materials for pressurized under-slab injection, while DIY aggregate lifts and flowable fills remain valid small-area options when the problem source has been fixed (Iowa State University IPS Cement-Based Repair and Slab Stabilization guide).
Our Product Pick
17 Oz Clear Waterproof Sealant for is one option to look at if you want a ready-made tool for this job. As an Amazon Associate we earn from qualifying purchases.
How to Fix Erosion Under Concrete | PATIO MAKEOVER PART 2:
Filling the void under a concrete slab can prevent further deterioration and ensure the stability of your structure. It’s a manageable DIY project that can extend the life of your concrete, making it a worthwhile consideration for any homeowner. With the right materials and techniques, you can effectively address this issue yourself.
More from Architecture Adrenaline
For more practical advice and tips like this, check out our social media channels. You can find additional insights on our Instagram page. Engaging with our content can help you stay informed about various home improvement projects.