
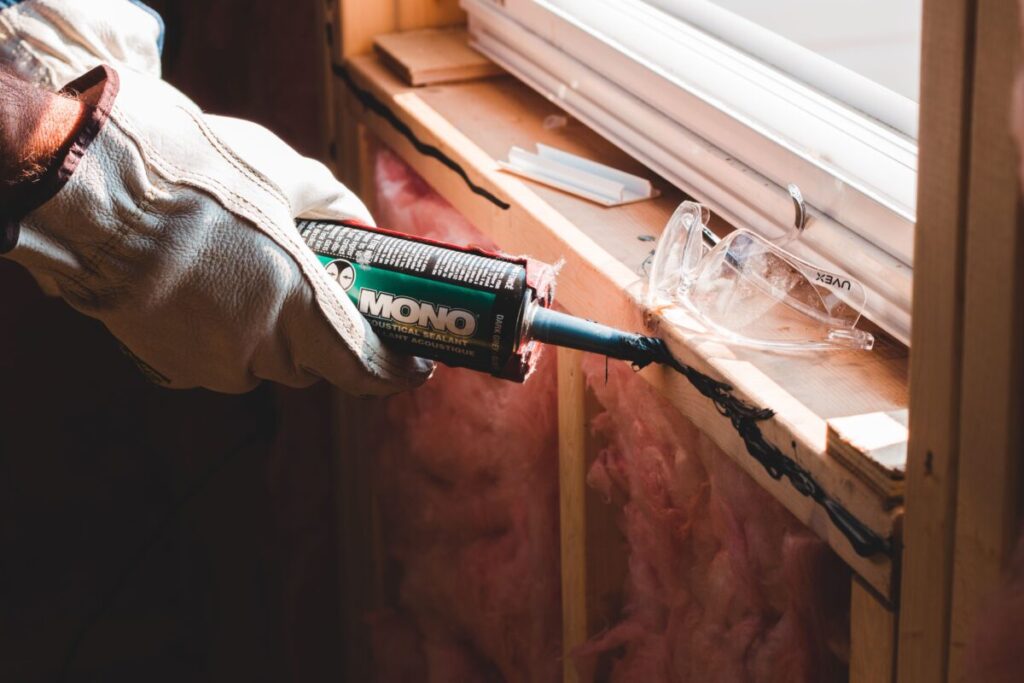
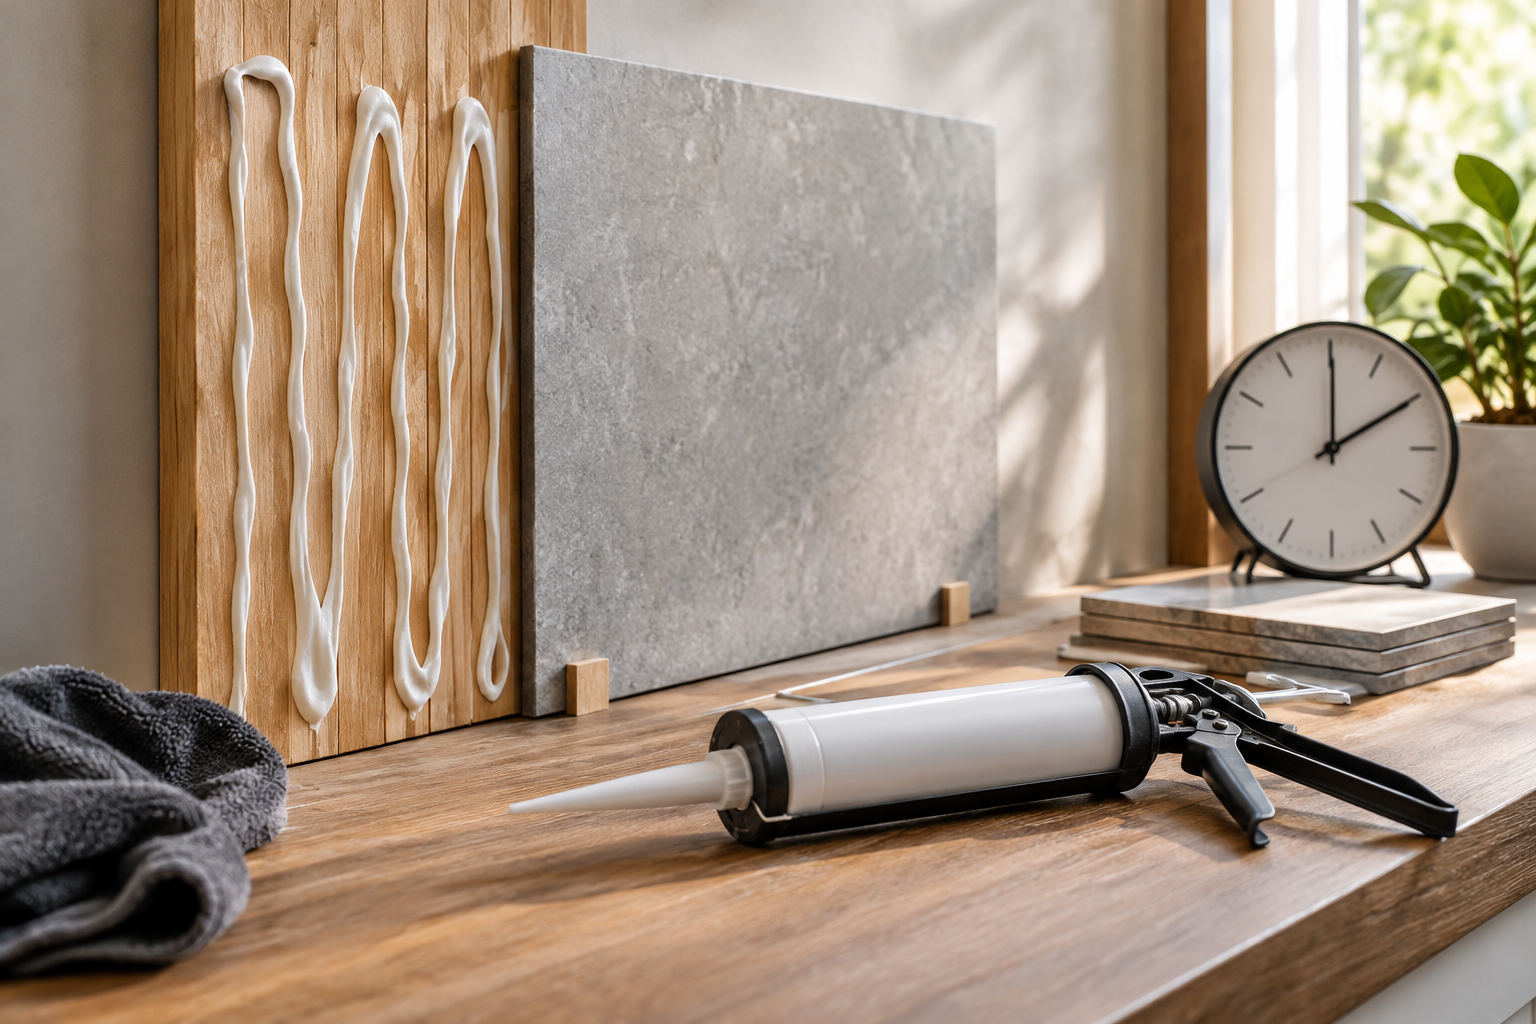
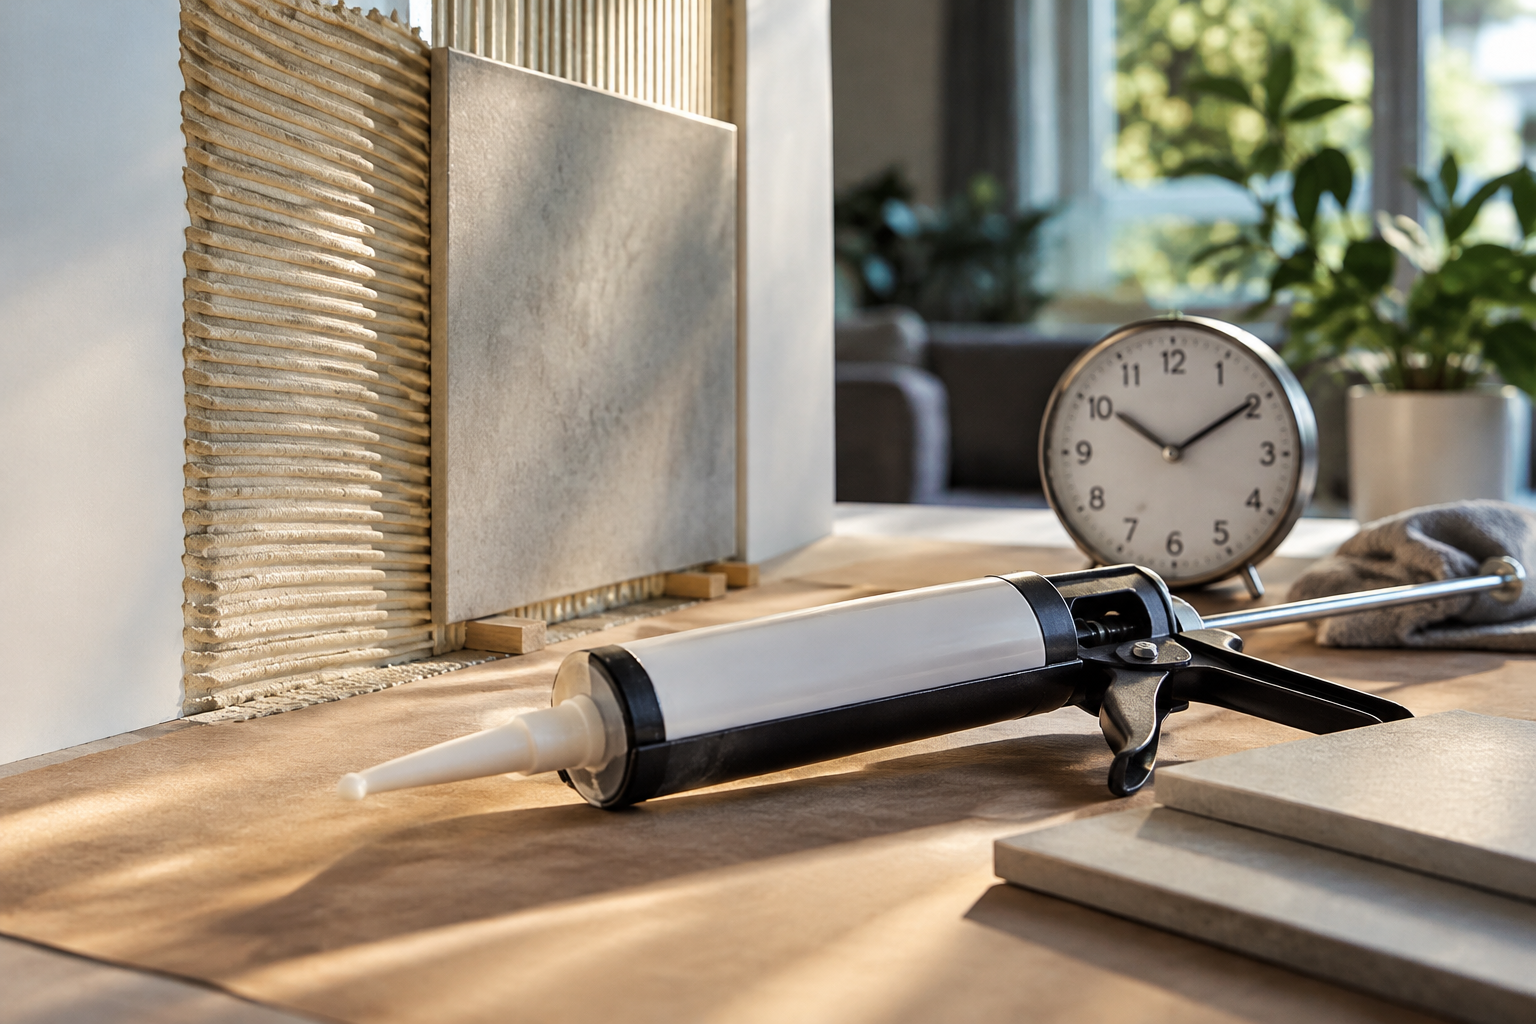
Most construction adhesives form a surface skin in under an hour, reach a practical bond for light loads in about 24 hours, and typically need 24 to 72 hours to reach rated strength depending on product, bead size, substrate and site conditions; this article explains what those stages mean, which job decisions they control, and how to plan work around the question of how long does construction adhesive take to dry.
What Manufacturers Mean by Skin Time, Handling Time and Full Cure
Skin or tack time is the moment the surface films over and no longer feels wet; handling or initial set is when temporary supports can be removed or light pressure applied without slippage; full cure is when the adhesive attains its published bond strength. These stages are distinct: a skin can hide uncured material beneath, and full strength depends on the chemistry completing its reaction through the bead.
Measured On‑Site Ranges and What They Control
Use these practical ranges for scheduling unless the product technical data sheet (TDS) specifies otherwise. Skin or tack: 15 to 60 minutes for most polyurethane and hybrid adhesives. Initial handling strength: 1 to 4 hours for many fast-grab formulas; slower in thick beads or cold conditions. Usable bond for light loads: around 24 hours under normal temperature and humidity. Full cure: commonly 24 to 72 hours; expect longer cures on non-porous substrates or where the bead is large.
How Cure Stages Affect Common Trades and Sequences
Trim carpentry, wainscoting and light casework can usually bear their own weight after the handling period, but finish flooring, tile or heavy millwork should not be loaded until the adhesive reaches full cure. When installing trim over drywall, follow surface-prep and fastening guidance in the wainscoting installation instructions to avoid relying solely on adhesive during the handling window. How to install wainscoting over drywall explains wall preparation and mechanical fastener placement that matter while adhesives are curing.
Why Polyurethane and Hybrid Adhesives Cure the Way They Do
Polyurethane and many hybrid adhesives cure by reacting with moisture. Ambient humidity and moisture in porous substrates supply the water the chemistry needs. Warmth and higher humidity accelerate molecular crosslinking; cold or dry air slows the reaction and can extend practical cure times from days to a week in extreme cases. If a product is formulated for non‑porous surfaces, the TDS will note alternative cure mechanisms or primers to improve speed.
Substrate Effects: Porous Versus Non‑Porous
Porous substrates such as unfinished wood, drywall and concrete absorb and provide moisture to the bond line and usually speed cure. Non‑porous substrates like metal, glass and many plastics rely on atmospheric moisture to diffuse into the adhesive and therefore cure more slowly. For metal-to-metal or plastic-to-metal joints assume the longer end of the cure window unless the manufacturer explicitly rates the product for those substrates.
Practical Steps to Control and Verify Cure Time
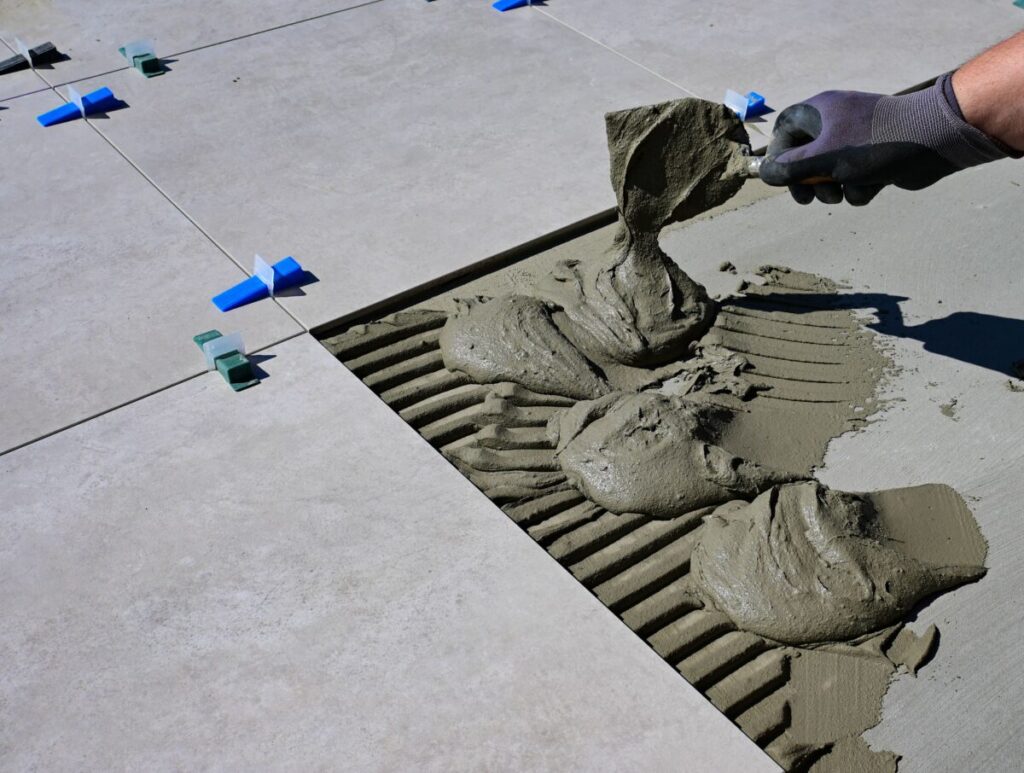
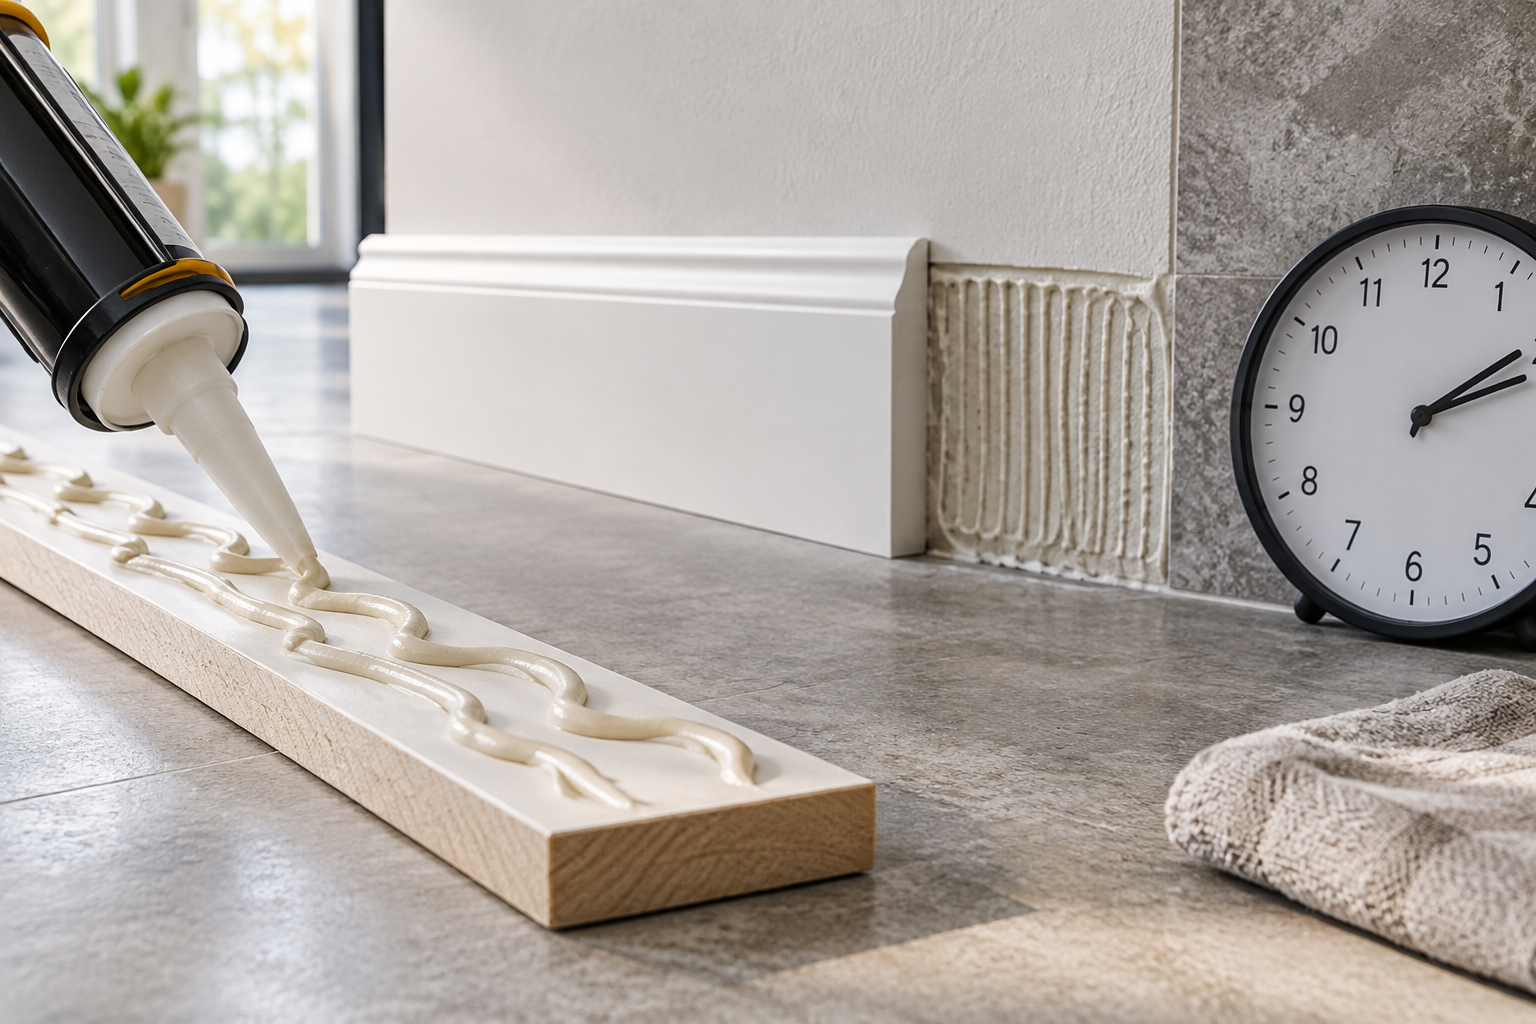
Follow these actions to achieve predictable results on site. Always read the TDS before purchase and application. Condition adhesive and substrates to the manufacturer’s recommended temperature range; use temporary heat sources when safe and required. Apply recommended bead thickness and avoid oversized beads that trap uncured material in the center. Support joints with clamps or mechanical fasteners while waiting for handling strength. For concrete or tile jobs where old adhesive must be removed, consult the concrete-adhesive removal methods to avoid residues that impede new bonds. How to remove construction adhesive from concrete gives mechanical and solvent options for cleaning the substrate before re-bonding.
Selecting Products When Cure Time Matters
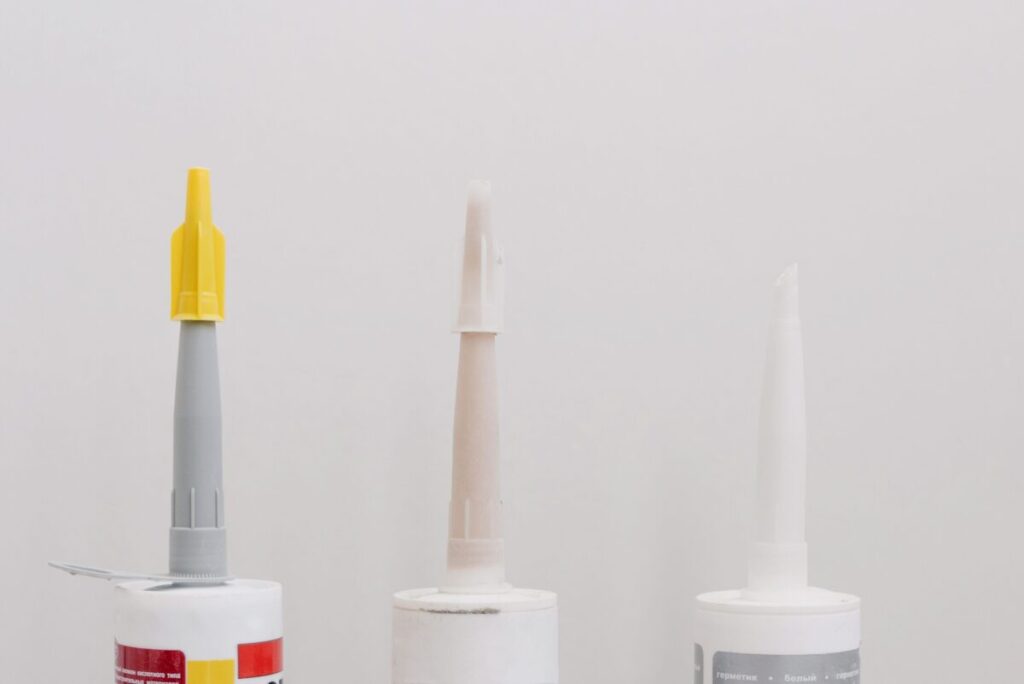
Choose a fast-grab or quick-setting formula when you need short skin and handling times, but confirm the full-cure window for sustained loads. When adhesion speed is a primary selection criterion, compare TDS values for skin time, open time and percent cure rather than relying on marketing language. Use the Amazon search for construction adhesive dry time to find quick‑setting primers, alternative chemistries and tools that manufacturers recommend when cure speed is critical.
Specialty Applications and Extended Cure Considerations
Subfloor adhesives, FRP adhesives and landscape block adhesives are tuned for their specific loading and exposure conditions and often include explicit timing rules. Subfloor adhesives frequently require a longer cure before foot traffic or installing finish flooring; consult the flooring-preparation and leveling guidance when planning sequencing. How to level a floor without removing existing flooring outlines approaches that reduce the risk of trapping moisture or uncured adhesive under new finishes.
Common Mistakes That Delay Cure or Weaken the Bond
Avoid these frequent errors: bonding unclean, oily or painted surfaces without proper abrasion and cleaning; applying beads that exceed the manufacturer’s recommended cross section; treating skin time as usable strength and loading joints early; and selecting a general-purpose adhesive for a specialized, non‑porous pairing without primer or testing. When an adhesive failure leads to a repair, check local repair-cost expectations to budget for removal and reinstallation. Flooring repair cost in Houston illustrates how removal and rework can change project economics in a typical market.
| Stage | Typical Time |
|---|---|
| Skin or Tack | 15-60 minutes |
| Initial Handling | 1-4 hours (fast-grab products may be quicker) |
| Full Cure | 24-72 hours; longer on non-porous substrates or thick beads |
How to Verify Drying Time for the Exact Product You Use
Always consult the product technical data sheet. Manufacturer pages list skin and cure expectations and explain how temperature and humidity affect results. For adhesive selection and compatibility with concrete, compare product recommendations in the concrete‑specific adhesive guide before finalizing a product. Best construction adhesive for concrete collects characteristics to check when you need a durable concrete bond.
Testing Methods You Can Use on Site
Perform a simple on‑site verification: apply a small test bead in the same orientation and thickness as the production bead, document ambient temperature and humidity, and check tack, initial set and load-bearing behavior at the TDS intervals. If the test fails to reach handling strength in the expected window, stop work and either increase temperature/humidity within safe limits or select an alternative adhesive or mechanical fastening strategy.

Is Liquid Nails as good as Loctite? Let's find out! Construction Adhesive Episode 2:
Construction adhesive typically takes 24 hours to cure fully, depending on factors such as temperature and humidity. Understanding the drying process helps ensure your projects achieve maximum bond strength. It's essential to follow manufacturers' recommendations for the best results, as some adhesives may have specific guidelines or varying drying times.
More from Architecture Adrenaline
For additional insights on construction techniques and materials, explore our posts on social channels. You can find more helpful information on our Instagram page.
