
The burnt smell from a microwave usually clears within a few hours after cleaning and airing, but residue bonded to the cavity or trapped in vents can keep an odor for 24-72 hours or longer. This article gives a safe cleaning order, realistic timelines for steam cleaning, absorbers, and room ventilation, and clear signs that a technician is required.
How Residue Makes Odor Persist
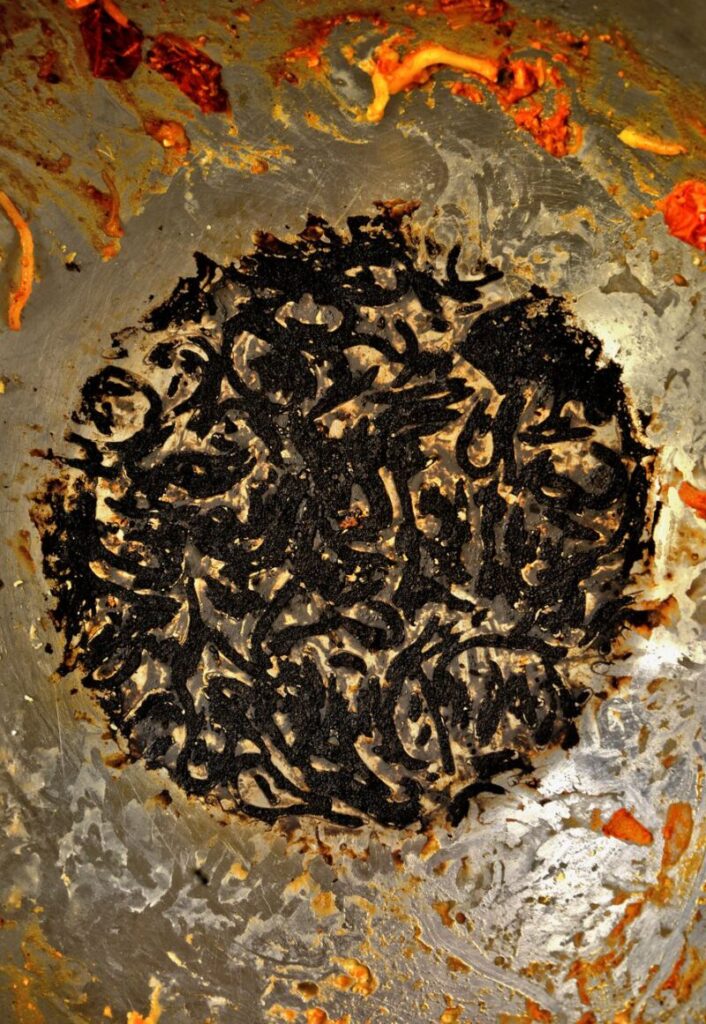
Sugary sauces, cooking oils and protein-based foods chemically bond to painted cavity surfaces, door seals and the turntable track; those residues release volatile molecules slowly when warmed. Vents and the internal fan assembly trap soot and vapors that re-release on each heat cycle. If the smell returns every time the microwave runs, internal residue or a contaminated vent path remains.
Immediate Safety Checklist
- Smell type. An acrid, chemical or burning-plastic odor indicates an electrical or plastic failure. Unplug the unit and stop further cleaning steps until inspected.
- Visible damage. Melted components, blackened interior spots, or evidence of sparking require repair rather than deodorizing.
- Extent. If the whole kitchen smells, plan cavity cleaning alongside room ventilation and air filtration.

Steam Cleaning Procedure and Expected Result
Fill a microwave-safe bowl with 1 cup water plus 1 to 2 tablespoons distilled white vinegar or 3-4 lemon wedges. Heat on high for 2-5 minutes until the interior is visibly steamy, then leave the door closed for 10-15 minutes to let condensation loosen residues. Wipe with a soft microfiber or nonabrasive sponge, working seals and the inner door glass last.
Expectation: light scorch or burnt-food odors often drop within an hour after one steam-and-wipe cycle. For moderate odors repeat the steam cycle once or twice the same session. If the smell remains, repeat the full steam-and-wipe sequence once daily for up to 48 hours before escalating to absorbers or service.
Absorbers: Selection and Timelines
Place absorbers inside the cooled, unplugged cavity with the door closed. Baking soda and coffee grounds absorb simple food odors within 12-48 hours. For stronger, oil-based smells, activated charcoal usually performs better but can require 24-72 hours. Replace or refresh the absorber material after its marked interval and combine with a steam cycle between changes.
| Absorber | Typical Time |
|---|---|
| Baking Soda | 12-48 hours |
| Coffee Grounds | 12-24 hours |
| Activated Charcoal | 24-72 hours |
Room Ventilation and Air Cleaning
Open windows and run the kitchen exhaust fan immediately after a burn. For small incidents, 2-6 hours of cross-ventilation and a running fan usually clears most airborne odor. If smoke traveled through the house expect 12-48 hours of ventilation and consider a HEPA or activated-charcoal air purifier to reduce volatile organic compounds faster.
For advice on general home odor control and room-level approaches, see how to make your home smell good.
Combined Strategy When Smell Reaches the House
When the kitchen and adjoining rooms retain the odor, combine cavity steam-cleaning, absorbers inside the microwave, and room filtration. Steam then wipe the cavity, then set fresh absorbers around the kitchen and run a purifier overnight. Replace absorbers and repeat for up to 72 hours if needed for persistent popcorn, fish, or oil-derived smells.
When Professional Service Is Required
- Electrical smell. An odor like overheated wiring or burning plastic requires immediate unplugging and professional inspection.
- Visible internal damage. Sparking, continuous smoking, melted plastic, or broken internal parts indicate the unit needs repair or replacement.
- Stubborn odor after 72 hours. If repeated cleaning, steam cycles and absorbers do not remove the scent, contamination could be in vents, insulation or the fan assembly and a technician should check internal components.
Step-by-Step Cleaning Sequence
- Unplug and cool. Remove the turntable and roller ring; wash them in warm soapy water and dry thoroughly.
- Clear loose debris with a damp cloth. Keep liquid away from vents, seams and control panels.
- Steam-clean as described, then wipe all interior surfaces, door seals and inner door glass with a clean damp cloth. Dry seals completely before reassembly.
- Place absorbers inside the cooled cavity and around the kitchen for 12-72 hours as required, refreshing material between cycles.
- Ventilate the room for several hours and run an air purifier if available.
Practical Time-Saving Tips
- Use distilled white vinegar for steam. The vinegar scent usually dissipates within an hour after wiping and the acidity helps break down sugar and oil residues.
- Boil coffee grounds briefly in a cup of water when fighting popcorn or burned-oil smells, then leave the cup inside the cooled oven for 12-24 hours.
- Avoid abrasive scrubbing pads; scratches on cavity finishes trap odors and accelerate staining.
- Clean the turntable track and underside of the roller ring; trapped debris there commonly causes a recurring smell.
- For post-cleaning deodorizing products, try this selection of Microwave odor removal deodorizer products to find odor absorbers, sprays and microwave-safe deodorizers that match your situation.
- If your model includes an odor-removal or steam-clean mode, consult the manufacturer guidance before using those features; some models specify removable parts and cleaning limits. See model recommendations in the site’s microwave roundup at best microwave convection ovens.
Why Some Smells Persist for Days
Oils and sugars form thin polymerized films when exposed to high heat; those layers off-gas as they warm, so odors can reappear each time the cavity heats. Repeated, timed combinations of steam, mechanical cleaning of seals and tracks, and absorbers remove both surface residue and slow off-gassing sources more reliably than a single treatment.
Related Technical Notes and Diagnostics
If a microwave fails to heat or produces electrical smells alongside odors, the problem may be a component failure such as a magnetron or diode rather than residue. Distinguishing a malfunction from a cleaning issue avoids wasted deodorizing steps; for diagnostic context see why is my microwave not heating up.
Evidence Behind the Tips
Recommended steps are supported by consumer-tested steam-and-absorber sequences and reader-collected tips for household odor removal. A practical example and tested home methods for coffee grounds and steam cleaning are summarized in this external how-to guide: Remove Burned Smell From Microwave.
Final Practical Judgment
Start with a steam-and-wipe cycle and a targeted absorber; most light to moderate burnt-food smells resolve within 24-72 hours using that regimen plus room ventilation. Stop and consult a technician immediately for electrical smells, visible damage, or odors that persist after 72 hours, because those indicate internal component contamination or failure rather than surface residue.
Related Video
Cleaning a microwave that has absorbed a burnt smell can take varying amounts of time depending on the method used. One effective approach involves using a mixture of water and vinegar, which can help break down stubborn odors. The process typically involves letting the mixture sit in the microwave for a few minutes before wiping down the interior. If the smell persists, multiple treatments may be necessary.
More from Architecture Adrenaline
For further tips and insights, you can find additional posts on our social channels. Follow us on Instagram for regular updates and useful information.