
Yes. Most leaky shower heads can be fixed on the spot using thread seal tape, a replacement washer or O-ring, or a simple descaling; persistent dripping after shutoff usually indicates a valve or cartridge and often requires a licensed plumber.
This guide walks through a quick diagnostic, three repair paths that cover roughly 80 percent of shower-head faults, and clear signs that the problem is behind the wall. Use the step lists to choose a low-cost DIY repair or to decide when to replace a cartridge or call a pro.
Quick Diagnose and Test Before Disassembly
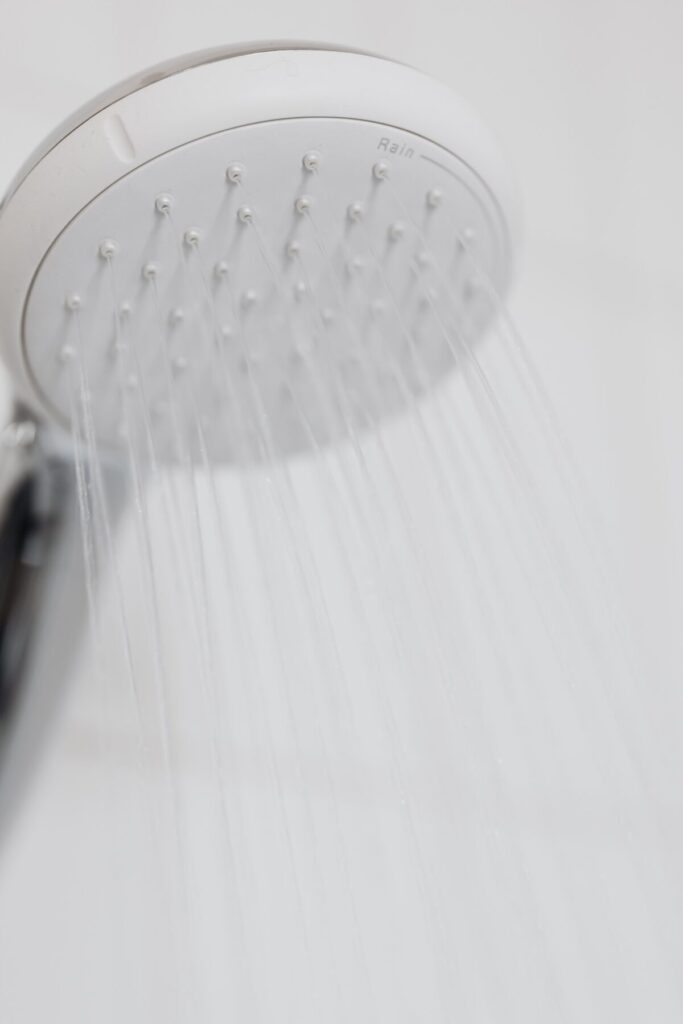
Run the shower on full, then watch where water appears while running and for two minutes after shutting it off. A visible drip at the joint between head and arm indicates a thread or washer issue. Continuous seepage after shutoff points to the cartridge inside the valve.
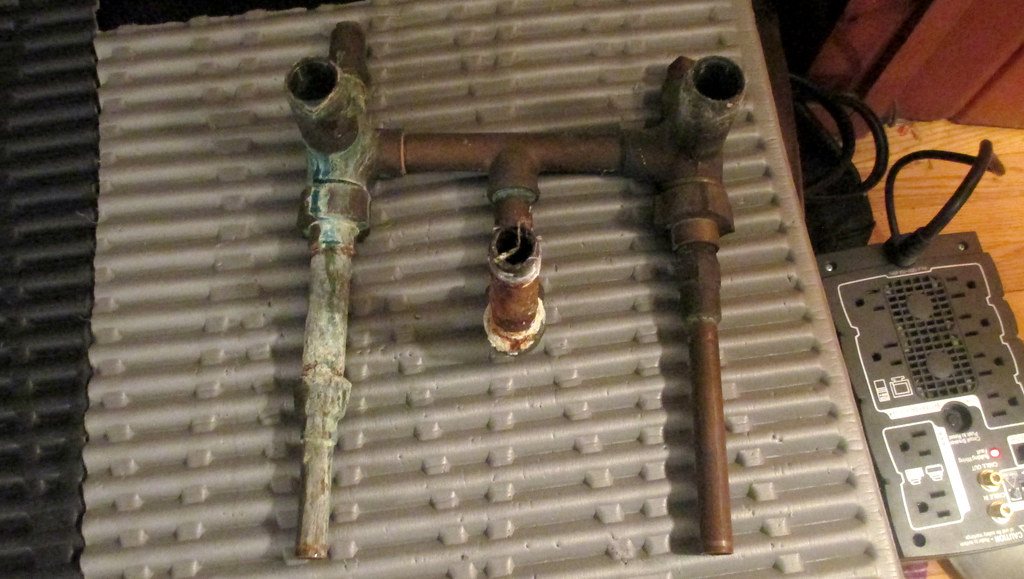
To separate head leaks from valve leaks, remove the shower head and cap the exposed arm with a short hose adapter or threaded cap. If the arm still leaks at the wall penetration, the problem is the valve or behind-wall plumbing and not the head.
Three Simple Repair Paths That Solve Most Leaks
Pick the path that matches your diagnosis. Thread sealing, replacing a washed-out rubber seal, or clearing mineral scale will stop most leaks and restore spray performance.
- Seal Threads. Use 3 to 5 turns of PTFE tape applied clockwise to the male threads so the tape does not unwind during installation.
- Replace Seals. Swap the flat washer or O-ring inside the head or swivel nut with a matched replacement; cheap kits contain the common sizes.
- Descale the Face. Soak the face in white vinegar or secure a vinegar bag over fixed rain heads to dissolve mineral deposits, then clear ports with a nylon brush.
Step-by-Step: Seal Threads and Reinstall Correctly
Tools: adjustable wrench, rag, PTFE tape, spare washer or gasket. Protect finishes with a rag whenever using a wrench.
- Unscrew the head counterclockwise and inspect the inlet for a flat washer; replace if missing or flattened.
- Clean threads on the arm and head with a brush until free of grime and old tape.
- Wrap PTFE tape 3 to 5 times clockwise around the male threads so it will not unwind when you thread the head on.
- Thread the head by hand and finish snugly; avoid over-tightening to prevent thread damage or crushed washers.
- If seepage persists, add one additional wrap of tape rather than increasing torque, then retest.
For a longer how-to that covers full removal and replacement of common shower heads, see How to Replace a Shower Head.
Step-by-Step: Replace Washers and Hose O-Rings
Handheld units most often drip at the swivel nut. A brittle O-ring will leak even when fittings are tight, and a corroded swivel coupling can hide damage that a new gasket will not fix.
- Unscrew the swivel nut by hand and remove the old O-ring with a pick; compare against a new O-ring for size and cross-section.
- Install the matched-size O-ring or flat gasket from a generic kit or manufacturer parts list and hand-tighten the swivel.
- Replace the hose if fittings show corrosion, cracking, or if the hose interior has hardened where it seats into the head.
If you want a compact parts option, a generic shower head repair kit supplies common washers, O-rings and small gaskets used in most brands.
Step-by-Step: Descale Mineral Clogs Properly
Hard water deposits force water out around seals and plug nozzle ports, producing dribbling or inconsistent spray patterns.
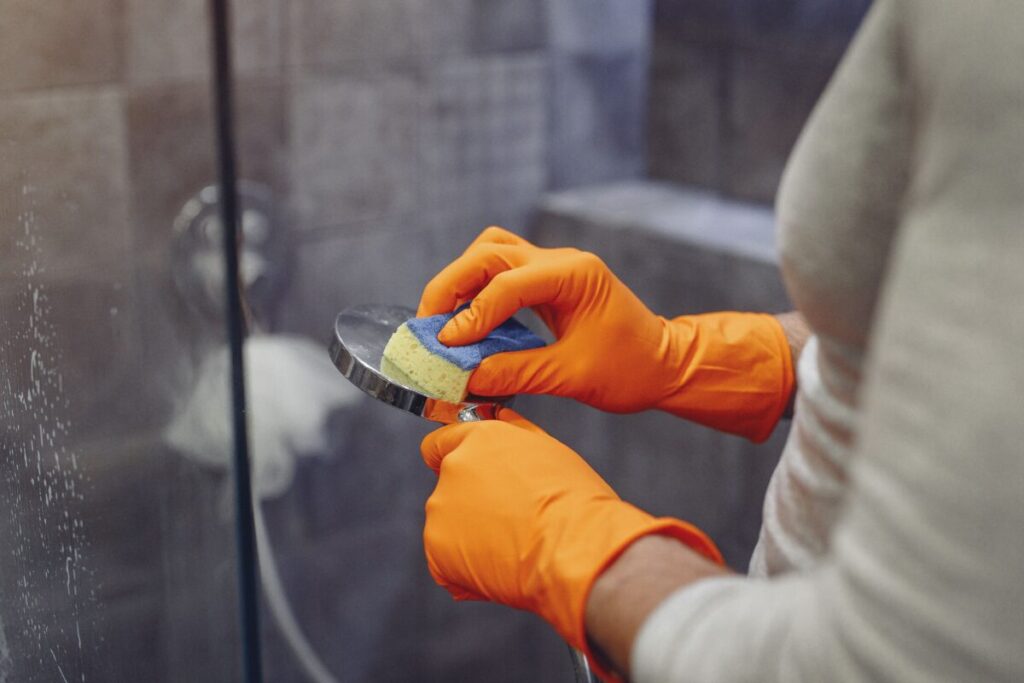
- Remove the head and soak it in white vinegar for 30 minutes to several hours depending on scale. Scrub with a nylon brush and rinse thoroughly.
- For fixed rain heads, suspend a vinegar-filled bag over the face and leave it to soak, then clear ports with a toothpick or nylon brush.
- Reinstall and run hot and cold cycles to confirm even spray and no leaks at the joint.
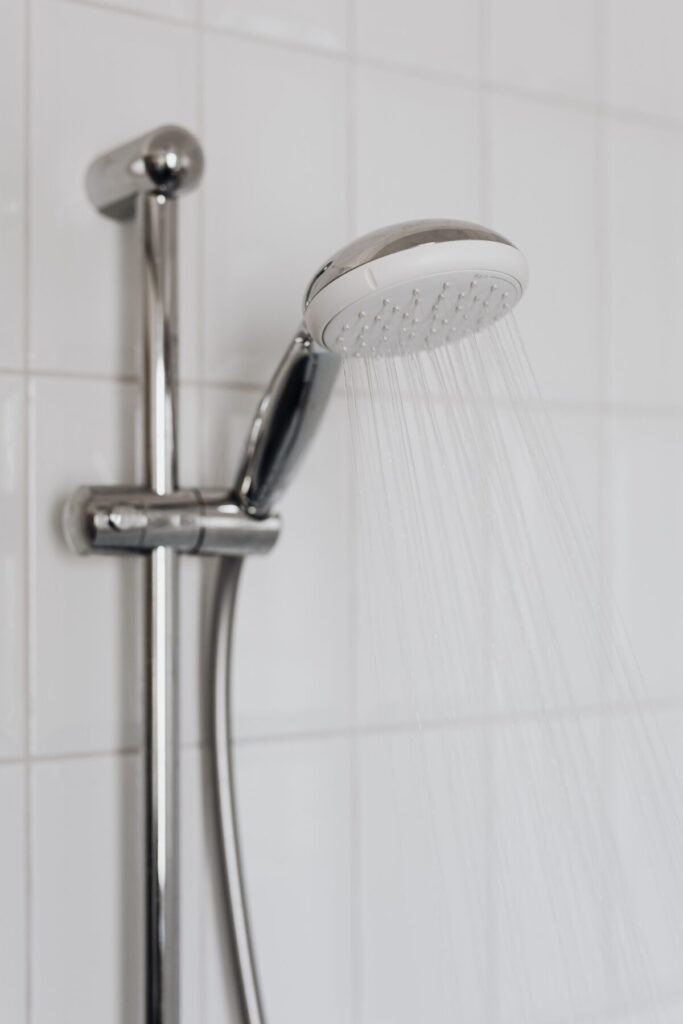
University guidance on water-efficiency and fixture upgrades explains why switching to WaterSense-rated shower heads and keeping fixtures descaled reduces household water use: see Stanford University - Water Conservation Tips.
When the Cartridge or Valve Is the Problem
Persistent dripping after the handle is off indicates an internal cartridge or diverter failure. Replacing the cartridge is a common remedy but requires the correct brand and model to ensure seal faces and ports align.
If the cartridge is accessible behind the trim, shut off water, remove the handle and trim, extract the cartridge per the manufacturer instructions, then install a matching replacement and test. If the cartridge is inaccessible or the leak tracks behind tile, stop and call a licensed plumber to avoid concealed water damage.
For broader guidance on scope and typical costs when the work extends beyond a simple fixture swap, consult the site’s overview of bathroom plumbing repair costs: Bathroom Plumbing Repair Cost.
Tools, Parts and Typical Costs to Budget
| Repair Item | Typical Cost |
|---|---|
| Washer, O-ring, gasket | $3 to $15 |
| PTFE thread tape, small tools | $5 to $15 |
| Replacement cartridge | $25 to $150 |
Expect plumber labor and call-out fees to add $150 to $450 or more for cartridge or valve work, depending on region and complexity. For planning beyond fixture-level repairs, see the site’s plumbing leak estimate guidance: Plumbing Leak Repair Estimate.
Common Mistakes That Cause Repeat Leaks
Avoid these errors that either fail to stop leaks or create new problems.
- Over-tightening metal fittings. Excess torque strips threads or crushes washers; tighten snugly by hand then a quarter-turn with a wrench if necessary.
- Using incompatible pastes on rubber seats. Use PTFE tape on male pipe threads only and avoid sealants that swell or degrade gaskets.
- Replacing only the head when the valve leaks. If the drip continues after head repairs, the cartridge or diverter is likely at fault.
Detecting Household Leaks and Water Savings
Small leaks add up. Municipal and university fact sheets quantify savings from fixing household leaks and from installing low-flow fixtures.
For practical leak-detection steps and estimates of water saved by repairing common household leaks, see Water Link Fact Sheet - Sleepy Hollow, NY. For local programs that distribute water-conservation devices and encourage low-flow fixtures, review the example program in Saving Water Indoors - Concord, MA.
Reporting Persistent Issues and When to Call Facilities
If DIY fixes fail and the leak persists or is inside the wall, filing a non-emergency plumbing request provides a documented path to professional repair. Campus or building facilities often use a service portal; for example, a standard reporting workflow is shown here: Metro State - Non-Emergency Plumbing Request.
If you want a checklist of user-friendly conservation steps that also reduce wasted water while you wait for repairs, the ENMU Roswell resource Turn off the Tap! - ENMU Roswell Water Conservation lists immediate actions such as shutting off supply at the trim or replacing leaky fixtures.
Final Test and Prevention
After any repair, run hot and cold cycles for at least five minutes and inspect repaired joints and the area behind trim for moisture. If you see moisture behind tile, or if a cartridge replacement does not stop continuous dripping, stop further DIY work and hire a licensed plumber to prevent concealed water damage.
For step-by-step guidance on fixing leaky faucets that share many of the same detection and sealing techniques, see the detailed faucet troubleshooting guide: How to Fix a Leaking Faucet: A Step-by-Step Guide.
Our Product Pick
XBVV 32 Size 258 PC Faucet and Plumbing Rubber Washers is one option to look at if you want a ready-made tool for this job. As an Amazon Associate we earn from qualifying purchases.
Related Video
Fixing a leaky shower head may seem daunting, but with the right tools and steps, you can tackle it effectively. Begin by identifying the cause of the leak, which might be due to a worn washer, a loose connection, or mineral buildup. Addressing these issues will not only save water but also improve your shower experience. Regular maintenance can prevent future leaks, ensuring that your shower remains functional.
More from Architecture Adrenaline
For more posts like this, check out our social channels for additional tips and insights. Visit our Instagram for ideas and inspiration on home repairs and projects.