
Yes. Install cement backerboard over a plywood floor by preparing a stiff, flat subfloor, bedding each panel in a latex-modified thinset, fastening with corrosion-resistant cement-board fasteners to the manufacturer pattern, leaving 1/8"-1/4" gaps at seams and walls, and embedding alkali-resistant mesh with a skim coat before tiling; this sequence prevents hollow-sounding tiles, distributes loads, and preserves the thinset bond.
Key Facts You Need First
Cement backerboard creates a tile-ready, moisture-tolerant surface but does not correct subfloor deflection or replace structural plywood. Confirm the tile and backer manufacturer’s minimum subfloor thickness and joist span limits before proceeding; for guidance on backerboard thickness choices see the cement board thickness comparison on Architecture Adrenaline. 1/4 or 1/2 cement board comparison
Use product installation documents for screw patterns and approved fasteners rather than generic rules; many manufacturers publish distinct spacing and edge-fastener requirements for floor applications. For brand-specific instructions reference James Hardie and USG Durock installation literature as the controlling specifications.
Inspect and Prepare the Subfloor
Start by repairing or replacing any soft, delaminating, or water-damaged plywood and by securing loose subfloor fasteners. Measure flatness with a 6' straightedge and mark any deviations; shim only where the backerboard manufacturer permits, because added local shims can break the mortar bed.
Typical minimum subfloor thickness that tile installers aim for is at least 5/8" exterior-grade plywood or equivalent, with joist spacing and deflection meeting the tile system limits. If the floor has perceptible bounce, strengthen joists or add blocking rather than relying on backerboard to hide movement.
Selecting Board Type and Thickness
Choose 1/4" backerboard when the layout and adjacent threshold heights permit the lower build-up. Choose 1/2" when you need a thicker finished floor to match adjacent rooms or when the tile and subfloor stiffness require it. For decisions about cutting methods and handling, consult the Architecture Adrenaline guide to tools for cutting cement board. Best tool for cutting cement board
Match panel choice to the tile size and expected loads; larger-format tile and natural stone are less forgiving of minor substrate movement, so plan for the stiffer assembly the tile manufacturer recommends.
Thinset Bedding Procedure
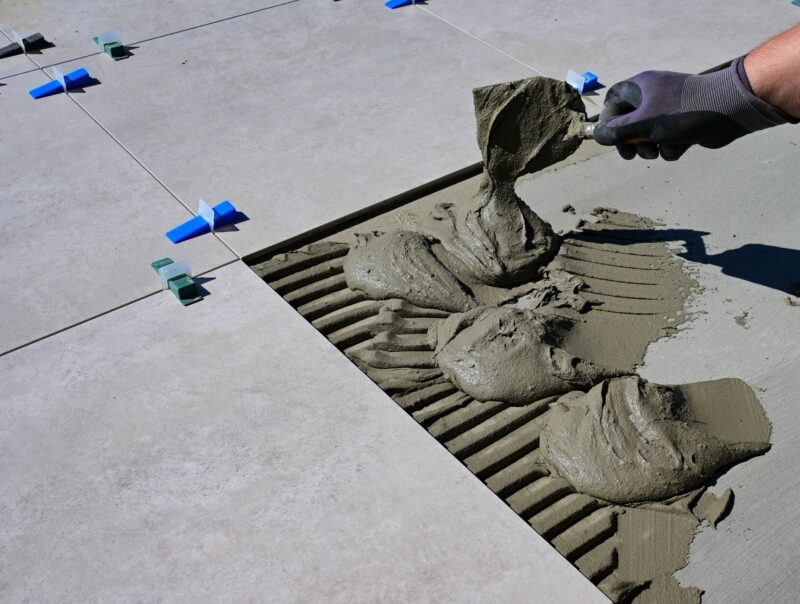
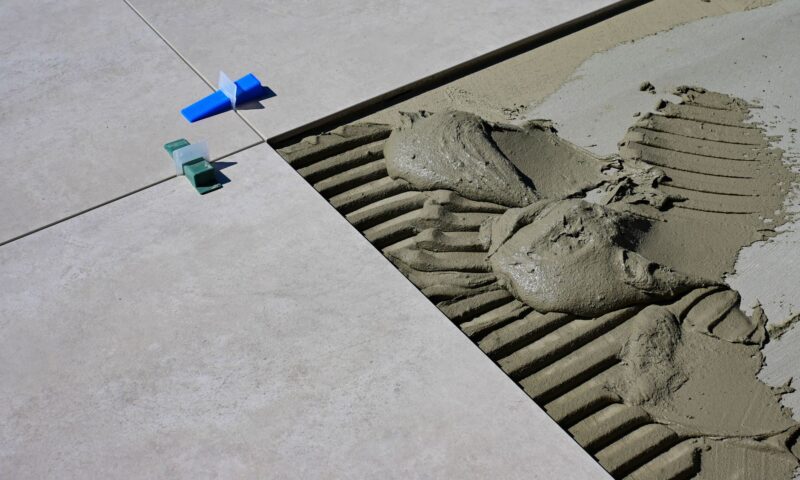
Use a latex-modified thinset rated to ANSI A118.4 or the type the backerboard manufacturer approves. Mix to a stiff, peanut-butter consistency, notch with a 1/4" square-notched trowel, and spread a continuous bedding layer where the panel will sit. Back-butter panel edges when necessary so the board contacts mortar across its full plane before fastening.
Continuous mortar beneath panels removes air gaps that later show up as cracked grout or hollow-sounding tiles and prevents point loads on screw heads. For authoritative guidance on when and why cement board is used behind wet-area tile, consult the BASC resource on cement board for shower enclosures. BASC resource: cement board behind tile and shower enclosures
Fastening, Screw Pattern, and Seams
Fasten with corrosion-resistant cement-board screws specified by the board manufacturer. A common pattern is roughly 8" on-center in the field and 3/8"-5/8" from panel edges, but always use the exact pattern in the product install guide. Drive screws flush or just below the surface without crushing the face paper or fiber layer.
Stagger panel joints in a running-bond pattern and leave 1/8"-1/4" gaps at panel edges, walls, and fixed objects. Do not align backerboard seams with underlying subfloor seams, and avoid four-corner intersections at one point.
For typical fasteners and where to source them, consider a cement-board screws product category for matching corrosion-resistant fasteners and lengths appropriate to your plywood thickness. Cement board screws
Taping, Skimming, and Final Flatness
Embed alkali-resistant fiberglass mesh tape into a skim coat of the same latex-modified thinset used for bedding, then apply a second thin coat and feather it so the seam is nearly flush with the panel surface. Allow the joint compound to cure per thinset instructions before setting tile.
After joint cure, recheck flatness with a straightedge; correct any deviations outside the tile manufacturer's tolerance with a leveling mortar or thinset screed. If you intend to install a decoupling membrane such as Schluter-DITRA, follow the membrane manufacturer’s flatness and substrate-compatibility instructions rather than improvising.
Cutting, Dust Control, and Fitting Around Obstacles
Score-and-snap works for many fiber-cement panels: score the face, invert the board and snap, then trim mesh. For tight circular cuts use a carbide-grit blade in an angle grinder or a jigsaw fitted with a carbide-grit blade. Always wear an N95 respirator and eye protection; cement board dust contains silica and is abrasive.
Dry-fit every panel and check gaps around fixtures before spreading thinset. Avoid forcing panels onto shims that will break the mortar bed continuity once tiled.
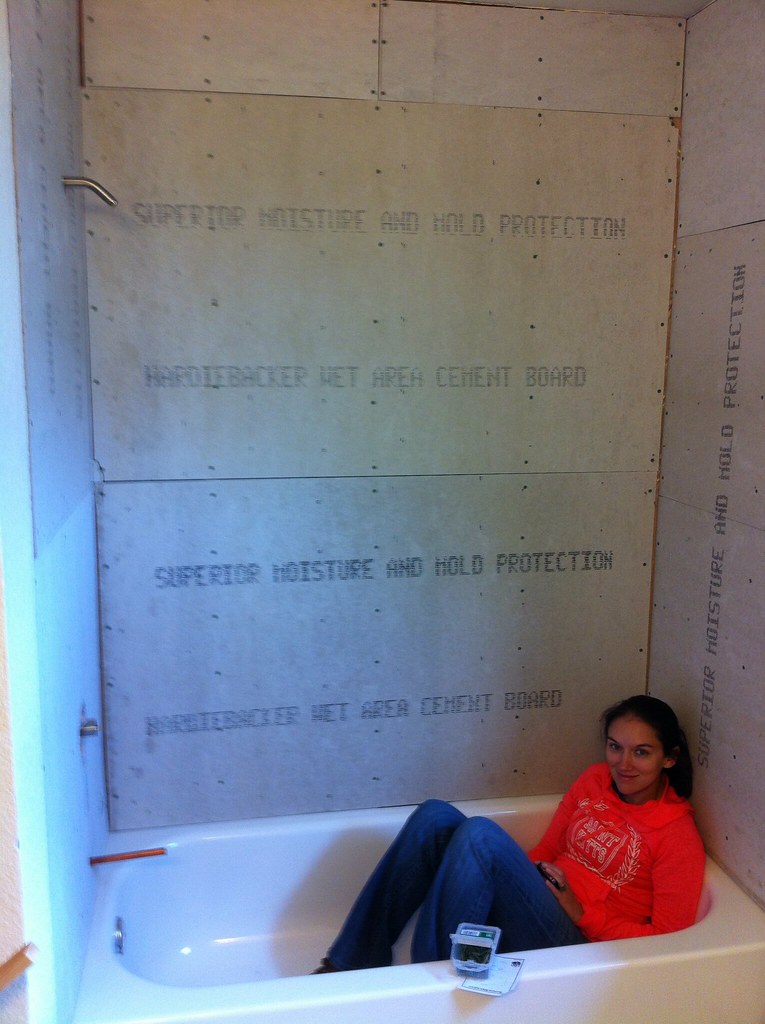
For a visual reference of proper backerboard placement behind wet-area finishes, view the BASC illustrative image of cement board installed behind a tub and shower surround. Image of cement board behind tub/shower surround
Tools, Materials, and Quantities
Assemble: cement backerboard panels, latex-modified thinset rated to ANSI A118.4, cement-board screws, 1/4" square-notched trowel, flat trowel for joints, alkali-resistant mesh tape, and carbide-grit cutting blades. Allow 5%-10% waste for offcuts and irregular layouts and dry-lay panels to minimize waste.
| Condition | Recommended Practice |
|---|---|
| Subfloor stiffness | Minimum 5/8" exterior plywood or equivalent; correct deflection before installing backerboard |
| Underlayment bedding | Latex-modified thinset spread with 1/4" square-notched trowel under each panel |
| Fastening | Cement-board screws at roughly 8" on-center; edge screws 3/8"-5/8" from edge |
Common Mistakes and How They Fail
Skipping mortar under backerboard creates hollow spots that lead to cracked grout and tile failures. Using drywall screws risks corrosion and fastener withdrawal. Aligning seams with the subfloor concentrates movement and increases the risk of grout cracking.
Installing backerboard over a flexible subfloor without correcting deflection transfers movement into brittle finishes; the correct fix is to stiffen the structure or add an appropriate engineered underlayment rather than relying on backerboard stiffness alone.
Where to Read Manufacturer Rules
Manufacturer install guides remain the controlling documents for allowable subfloor types, fastening patterns, and approved mortars. For practical planning and layout tips that relate to tiling sequence and substrate choice, see the Architecture Adrenaline primer on how to lay tile correctly. How to lay tile correctly
Our Product Pick
Warming Systems - 140 Sqft 120V Electric Radiant Floor Heating is one option to look at if you want a ready-made tool for this job. As an Amazon Associate we earn from qualifying purchases.
Related Video
Installing cement board on a plywood floor can enhance the durability and water resistance of your space. Following the right steps will ensure a strong foundation for tile or other finishes. Proper preparation and attention to detail will lead to successful results, making your project more efficient.
More from Architecture Adrenaline
For further insights and tips, check out our social media channels for more posts like this. You can follow us on Instagram for updated content and helpful resources.