
Yes. Remove drywall anchors reliably by first unloading the screw, identifying the anchor type, and choosing one of four extraction methods that minimize face tearing and reduce patching work.
Identify the Anchor Type Quickly and Why It Matters
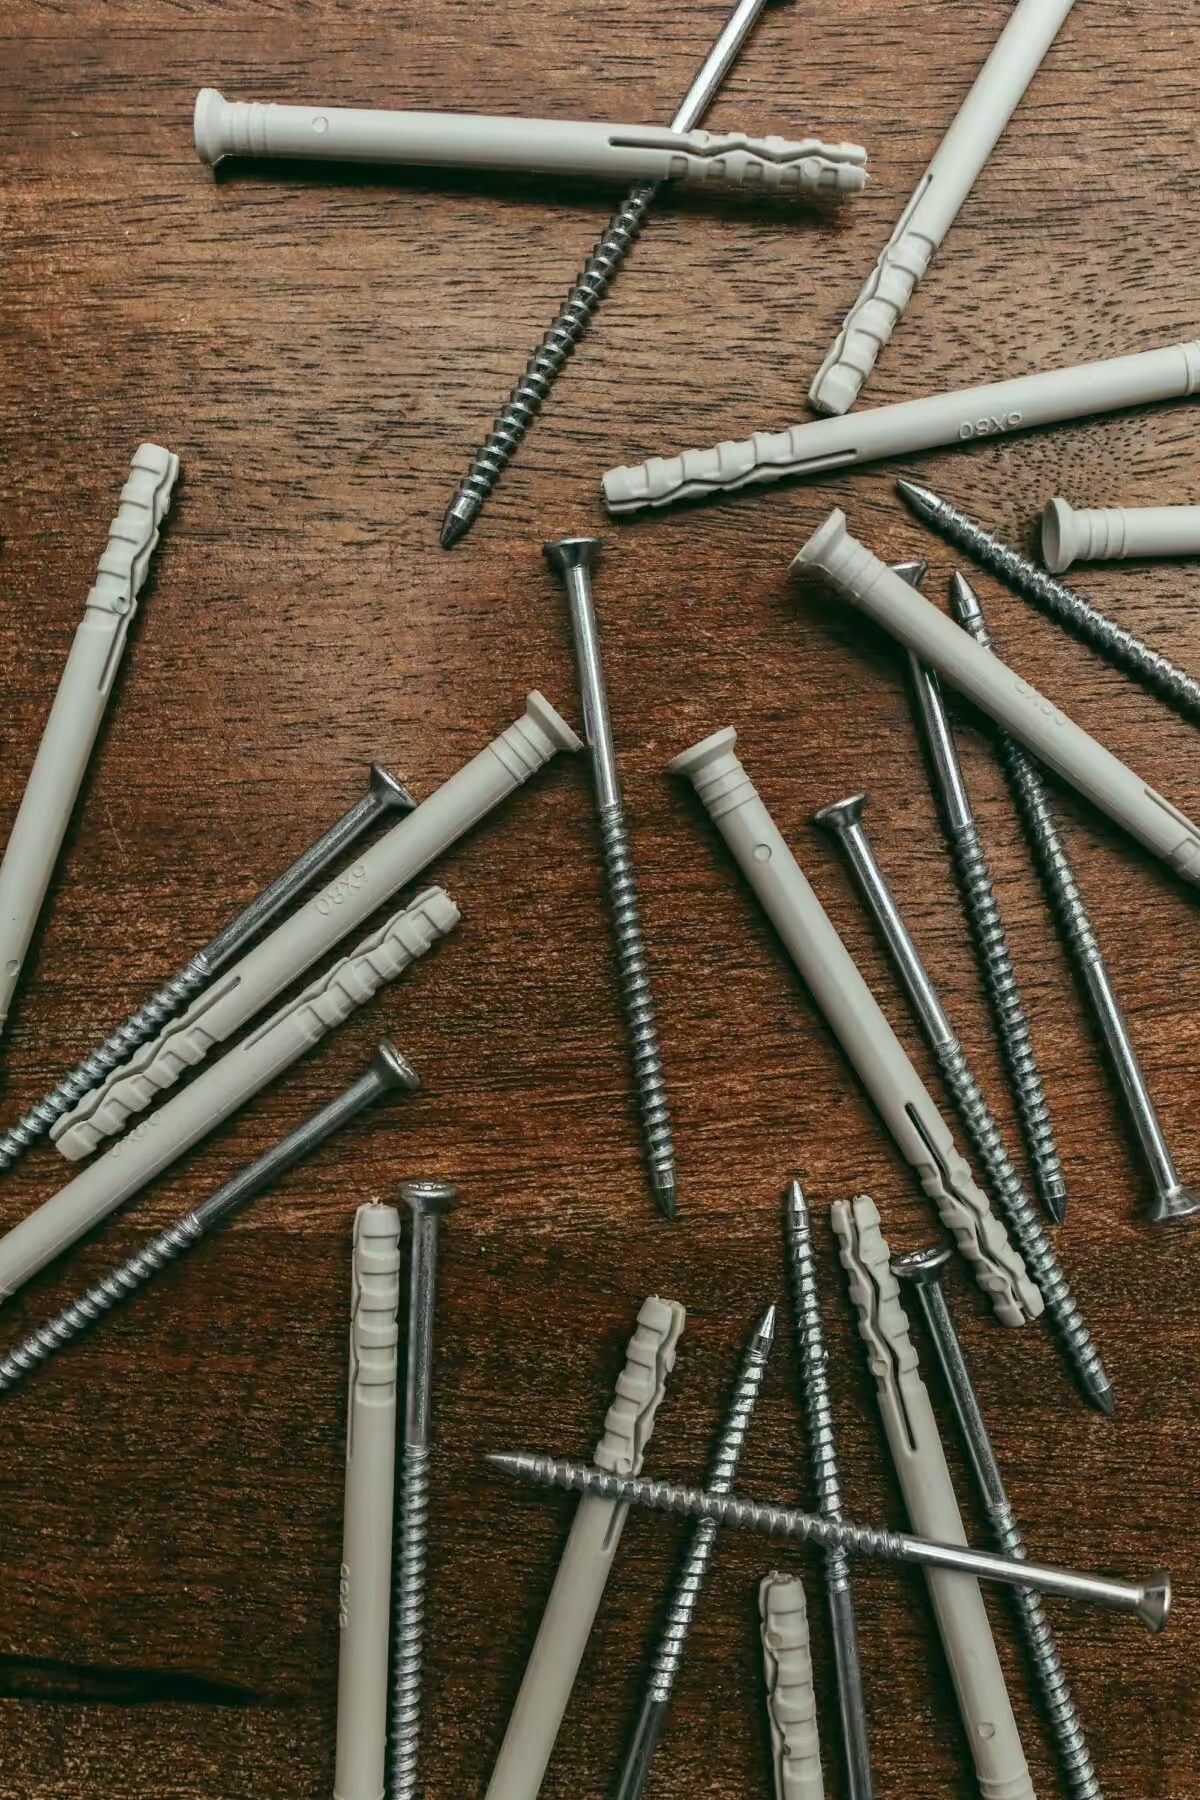
Distinguish plastic expansion plugs, molly bolts, and toggle bolts before you start; each demands a different extraction strategy and produces a predictable hole size. A short ribbed plastic plug generally pulls out with steady axial force. A molly bolt will show a metal sleeve and collar and can be collapsed or pulled. A toggle bolt has hidden wings and leaves a larger void when the wings drop into the cavity. Matching method to anchor reduces repair area and the number of compound layers you will need.
Essential Tools To Have Ready
- Needle-nose and slip-joint pliers for gripping and steady extraction
- Pocket screwdrivers plus a wider-head driver to tap screws back in when needed
- Utility knife and a small pry bar to trim lifting paper and clean edges
- Hammer and a drill with a small metal bit for seized metal sleeves
- Drywall patch supplies: setting compound, premixed joint compound, mesh or paper patch, 120-220 grit sandpaper, primer, paint
Four Simple Extraction Techniques, Step by Step
Unload the screw completely when possible. Removing the screw first relieves clamping pressure and often lets the anchor collapse or spin free with less surface damage. Pull straight out with pliers while rocking slightly. Use this for short plastic expansion anchors that do not deform the board. Use the screw as a purchase when the anchor spins. Back a screw partway in so its head protrudes, then grip the screw head or use pliers to pull the screw and anchor together. Cut flush and push into the cavity when pulling would tear the paper. Trim loose paper with a utility knife, cut the anchor flush, and push the remainder into the cavity before patching.
Manufacturer-Style Fixes For Molly Bolts And Toggle Bolts
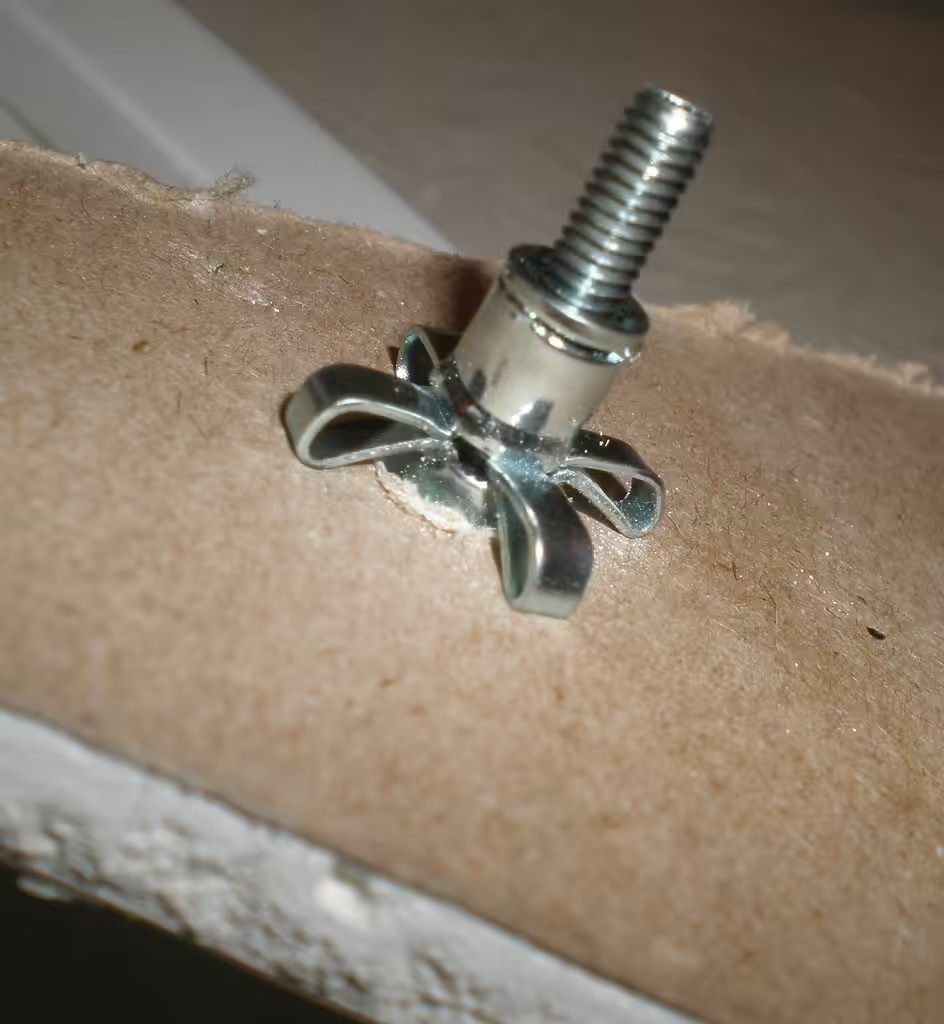
For a molly bolt, unscrew and try to pull the sleeve; if it is seized, tap the screw inward to collapse the sleeve so it drops behind the panel. For toggle bolts, remove the screw and push the wings through the cavity; expect a larger void that requires a mesh patch and setting compound. For practical guidance on extraction methods and illustrations, consult How to Remove Drywall Anchors From Walls (Bob Vila).
When Pushing An Anchor Into The Cavity Is The Best Option
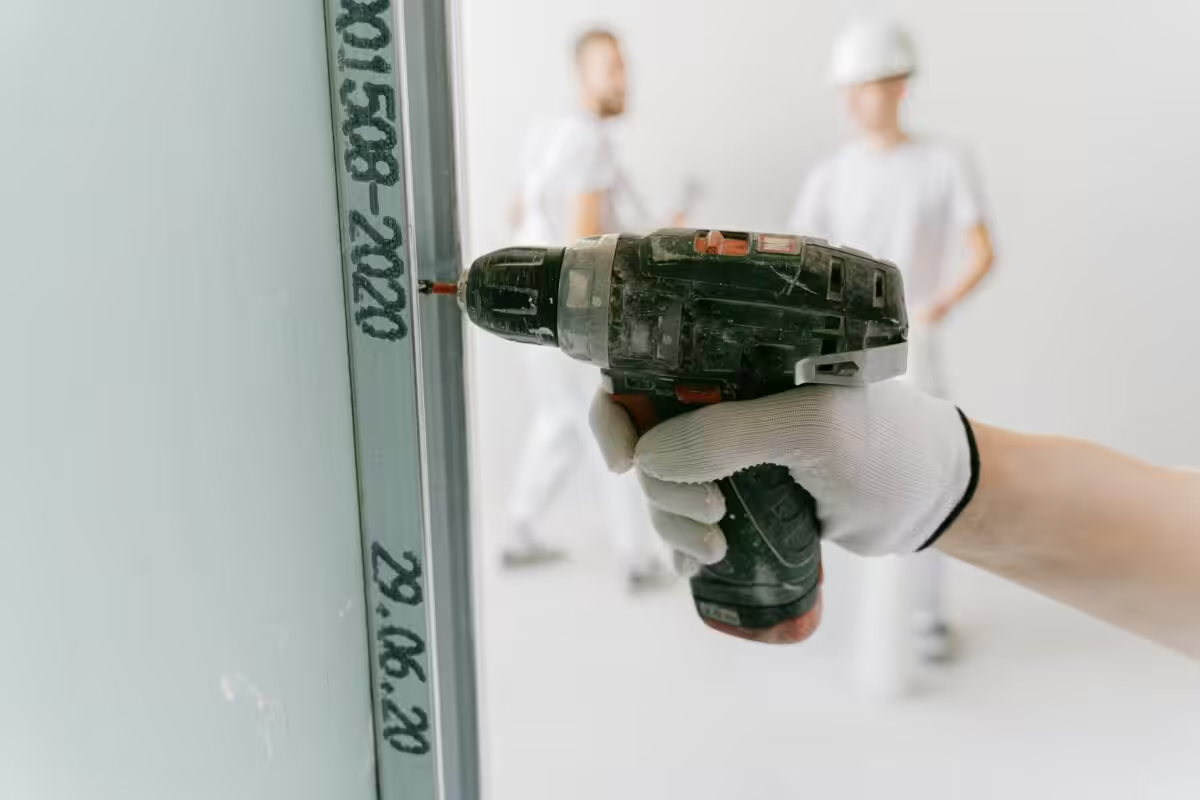
Push-through is preferable when the drywall paper is lifting or the anchor head is broken. Trim loose paper, cut the remaining anchor flush, and push the piece into the cavity. This prevents a ragged, oversized tear that would need a drywall square repair.
Patching After Removal: Practical Order And Material Choices
- Clean edges. Remove loose paper and dust with a utility knife so the compound bonds to intact paper or gypsum.
- Small holes (under 1/2 inch). Use premixed joint compound or spackle, let dry fully, sand, prime, then paint.
- Larger holes. Use a mesh or paper-backed patch with a setting-type compound to reduce shrinkage; apply thin layers and let each cure before sanding.
- Deep voids. Fill with setting compound in thin coats rather than lightweight spackle to avoid sinking and repeated repairs.
A Quick Repair Decision Table
| Situation | Recommended Repair |
|---|---|
| Plastic anchor removed cleanly | Spackle, sand, prime, paint |
| Molly bolt left larger hole | Paper patch or small drywall square with setting compound |
| Toggle wings behind wall | Mesh patch and setting compound; expect more sanding |
How To Avoid Texture And Paint Mismatch
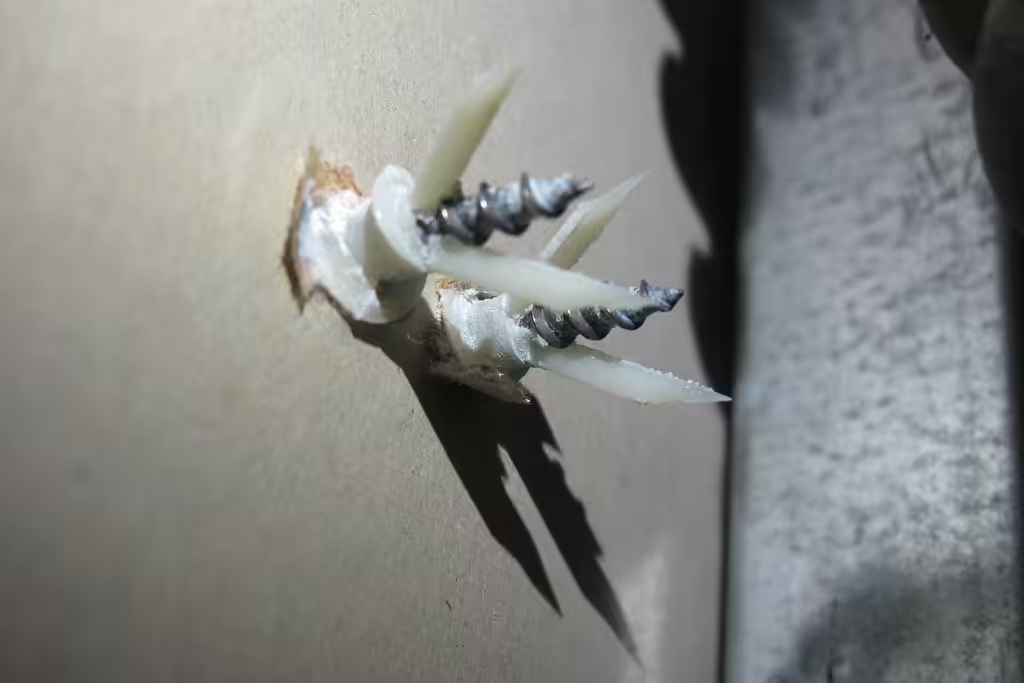
Match wall texture while the final coat of compound is still wet using a stippling brush, comb, or damp sponge that reproduces the pattern. Always prime patched areas before painting; primer equalizes porosity and reduces sheen and color differences that otherwise reveal the repair.
Choosing A Replacement Anchor Or Fastener
When reusing the same spot, prefer a stud-mounted screw for heavy loads. If no stud is available, use a rated hollow-wall solution such as a heavy-duty toggle, snaptoggle, or a rated hollow-wall anchor sized to the load. For guidance on screw sizes when you plan to anchor into studs, see the Architecture Adrenaline screw-length guide: what size screws for 1/2 drywall. For installing hooks or similar hardware, review the stepwise hook installation tips at Architecture Adrenaline: how to put screw hooks in wall.
Common Mistakes That Increase Repair Work
Do not yank a stuck anchor; aggressive pulling rips paper and multiplies sanding and compound coats. Avoid using lightweight spackle to fill the large void left by toggles. Do not re-anchor heavy loads into a patched spot unless you have a stud or use an appropriate heavy-duty hollow-wall anchor.
When To Hire A Contractor
Call a contractor if anchors have compromised multiple drywall layers, if the repaired area must support heavy loads, or if you suspect wiring or plumbing behind the panel. For routine anchor removal and cosmetic patching, follow the procedures above to keep the repair minimal and paint-ready.
Additional Resources For Removal Techniques And Tools
For anchor-type specific extraction techniques and finish recommendations see Lowe’s illustrated instructions on removal: How to Remove Unwanted Wall Anchors (Lowe’s). If you want a handheld option to speed extraction consider Drywall anchor removal tools. For guidance on trimming and finishing under a decorative application such as wainscoting, consult the Architecture Adrenaline installation guide: how to install wainscoting over drywall.
DIYs my dad taught me: how to remove a drywall anchor:
Removing drywall anchors can seem daunting, but with the right techniques, it becomes manageable. Start by choosing the appropriate tool and follow through with care to avoid damaging the wall. Understanding the types of anchors you are dealing with is crucial for an efficient removal process.
More from Architecture Adrenaline
For more tips and techniques like this, check out our social channels. Find us on Instagram for additional insights and updates. We cover a variety of home improvement topics to help you tackle your projects with confidence.