
Unplug the dryer and start with a clear, controlled sequence: blot wet ink, work from mild cleaners to stronger solvents, and always avoid products or abrasives that will scratch or dissolve drum finishes.
Immediate Actions to Limit Transfer and Damage
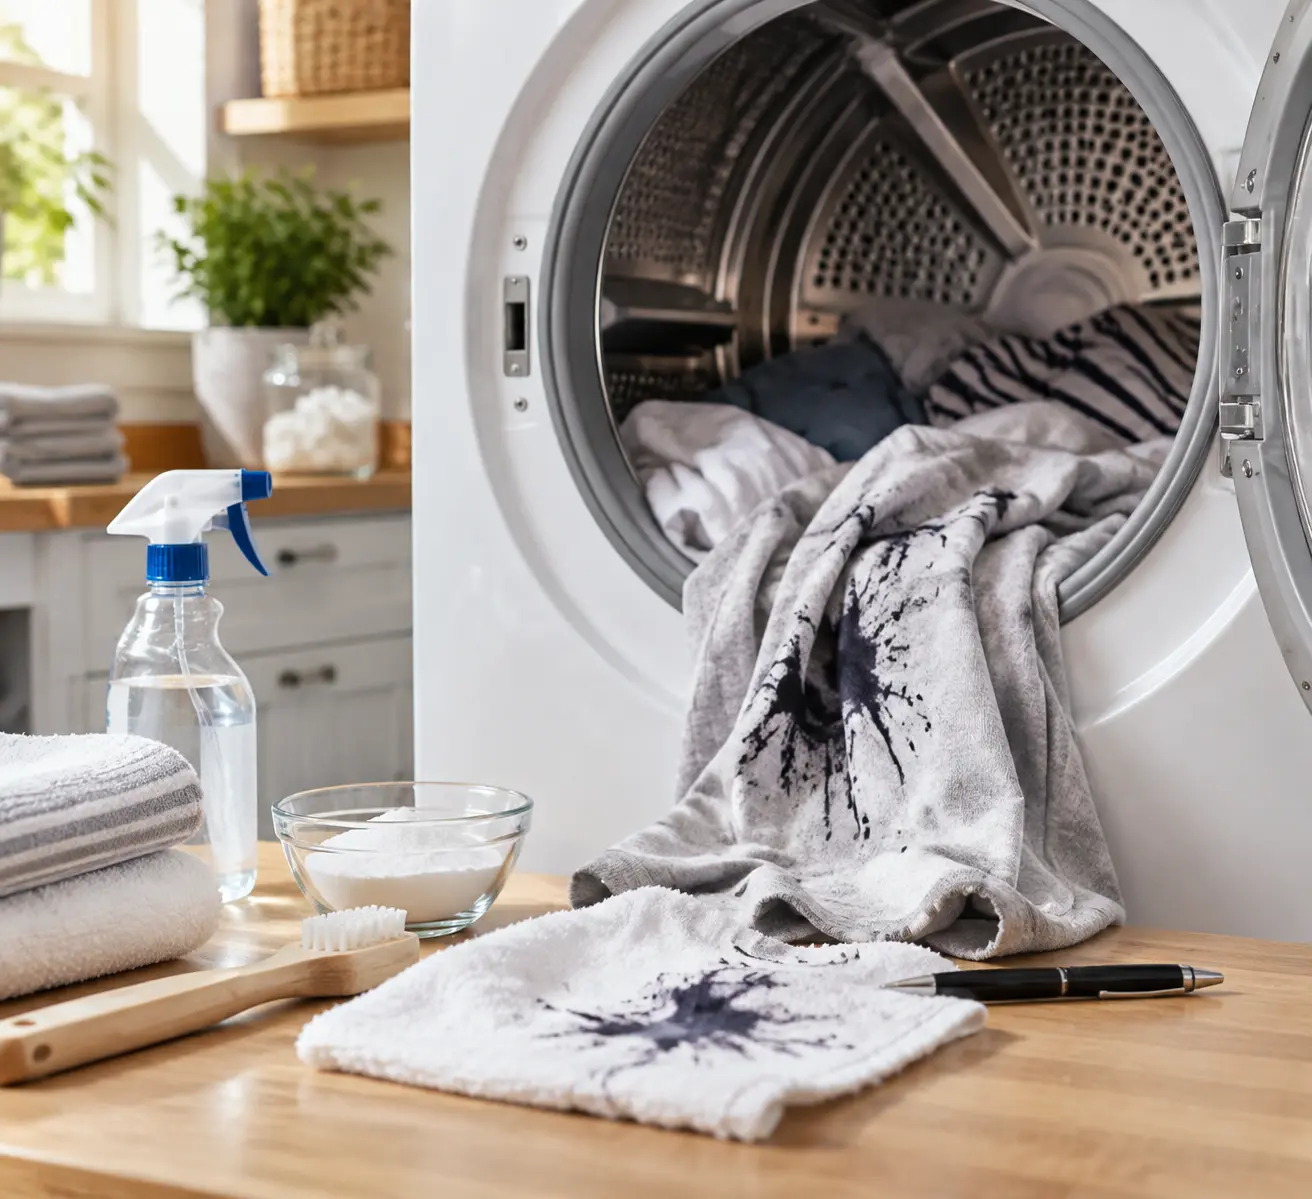
Cut power at the plug or circuit before opening the door. Remove stained garments and set them aside for solvent pretreatment. Blot fresh ink with paper towels; pressing and lifting pulls pigment away without smearing. Do not run another load until the drum is inspected.
Why Surface Type Changes Your Approach
Most drums are stainless steel or porcelain-coated steel; these accept alcohol and light abrasion. Plastic paddles, painted trims and rubber gaskets react poorly to acetone and citrus solvents, so always test a hidden edge first. If your dryer is a compact stacked or kitchen-style unit, check manufacturer care notes for solvent limits; discussions of layout and appliance fit can be found in guidance on washer and dryer in kitchen.
Five Proven Methods That Work
- Warm soapy water: A mix of dish soap and warm water is safe for initial cleaning and removes oils that bind ink.
- Isopropyl alcohol: Use 70 percent or higher for ballpoint and gel ink; apply with a cloth and blot outward from the stain to avoid spreading.
- Melamine sponge: Use after solvents to gently lift residual pigment; apply light pressure and stop if finish appears dulled.
- Citrus-based adhesive remover: Products like Goo Gone remove sticky, ink-laden residue without strong flammability, but rinse thoroughly to remove residue.
- Acetone (nail-polish remover): Reserve for bare metal and persistent printer or permanent ink; keep away from rubber and painted parts and ventilate the room.
How to Apply Each Cleaner Safely
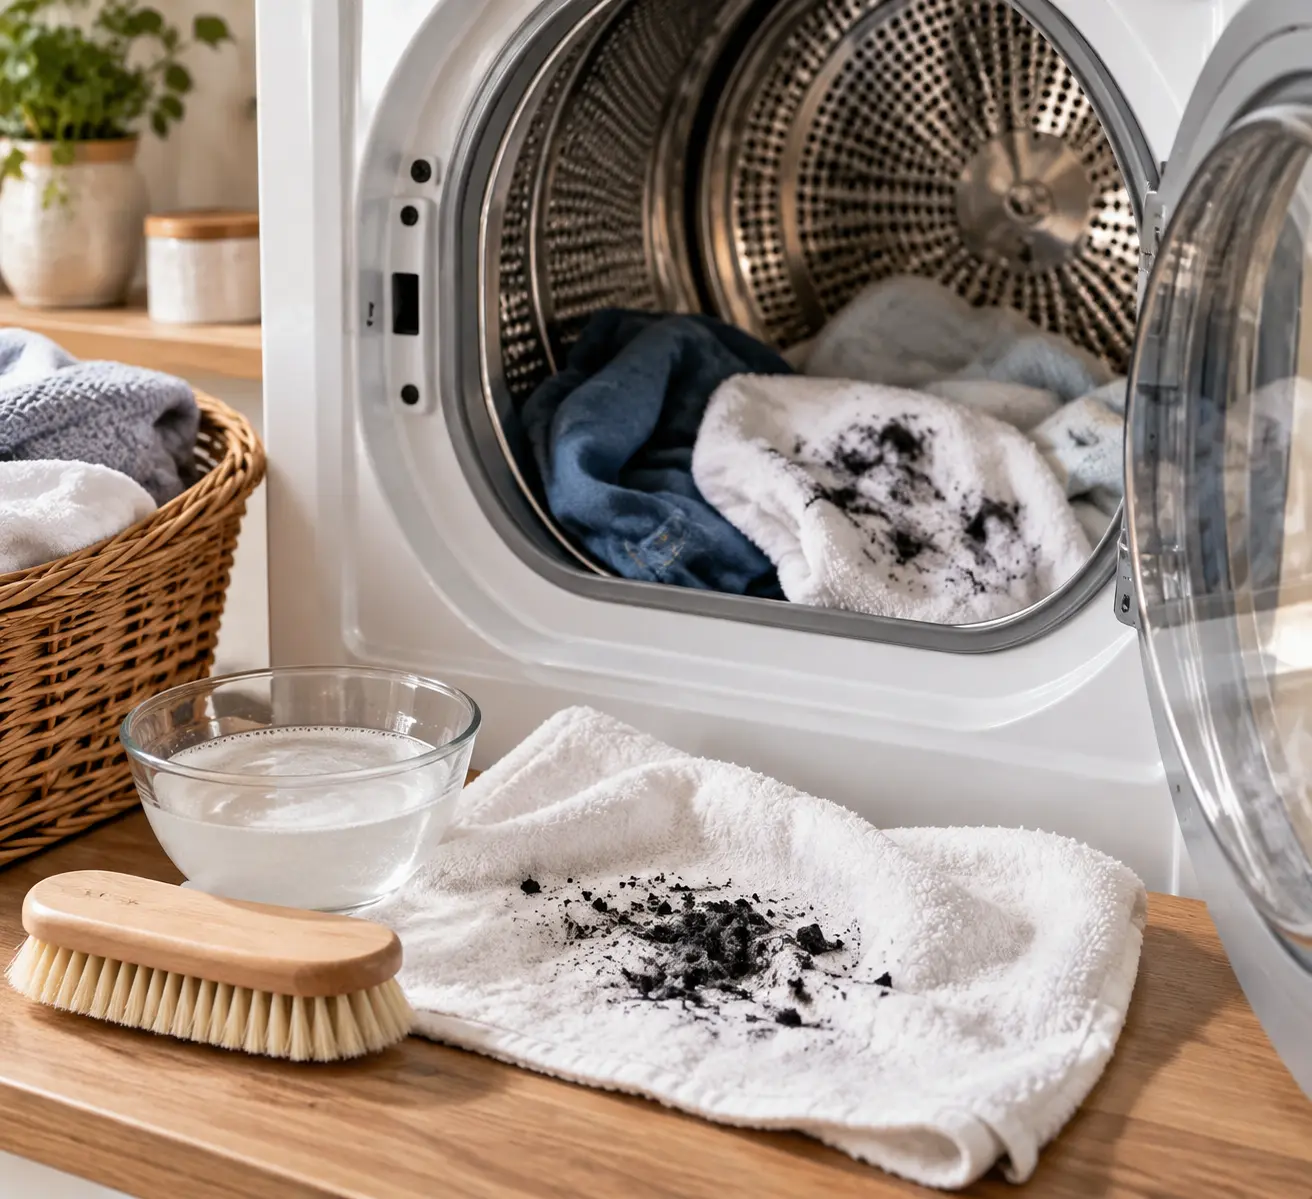
Work with gloves and eye protection, and open windows or run an exhaust fan. Never pour solvents into the drum; apply them to a lint-free cloth and work in small, overlapping circles. Replace or flip the cloth as it picks up pigment to avoid redepositing ink. After using a solvent, wipe with a damp cloth and let the surface dry before trying a stronger product.
Step-by-Step Cleaning Sequence
Follow this order: unplug and remove garments, blot excess ink, run a short empty warm cycle to loosen dried pigment, clean with warm soapy water, apply isopropyl alcohol if marks persist, use a melamine sponge for remaining spots, then use citrus remover or acetone only when earlier steps fail. Rinse between types of cleaners to prevent chemical interactions.
| Cleaner | Best For | Key Precaution |
|---|---|---|
| Warm soapy water | Fresh smears, oily residue | Safe on all finishes; rinse well |
| Isopropyl alcohol | Ballpoint and gel inks | Flammable; apply with cloth and ventilate |
| Acetone | Printer or permanent ink on bare metal | Use only on bare metal; avoid plastics and painted areas |
Removing Ink from Clothes That Ran Through the Dryer
Heat can set ink, so treat garments before reheating. Blot with isopropyl alcohol, working from the stain edge outward, then launder per the care label. For shoppers, consider Ink stain remover products for clothes as a practical purchase when planning solvent pretreatment at home.
Finishing Steps to Prevent Future Transfer
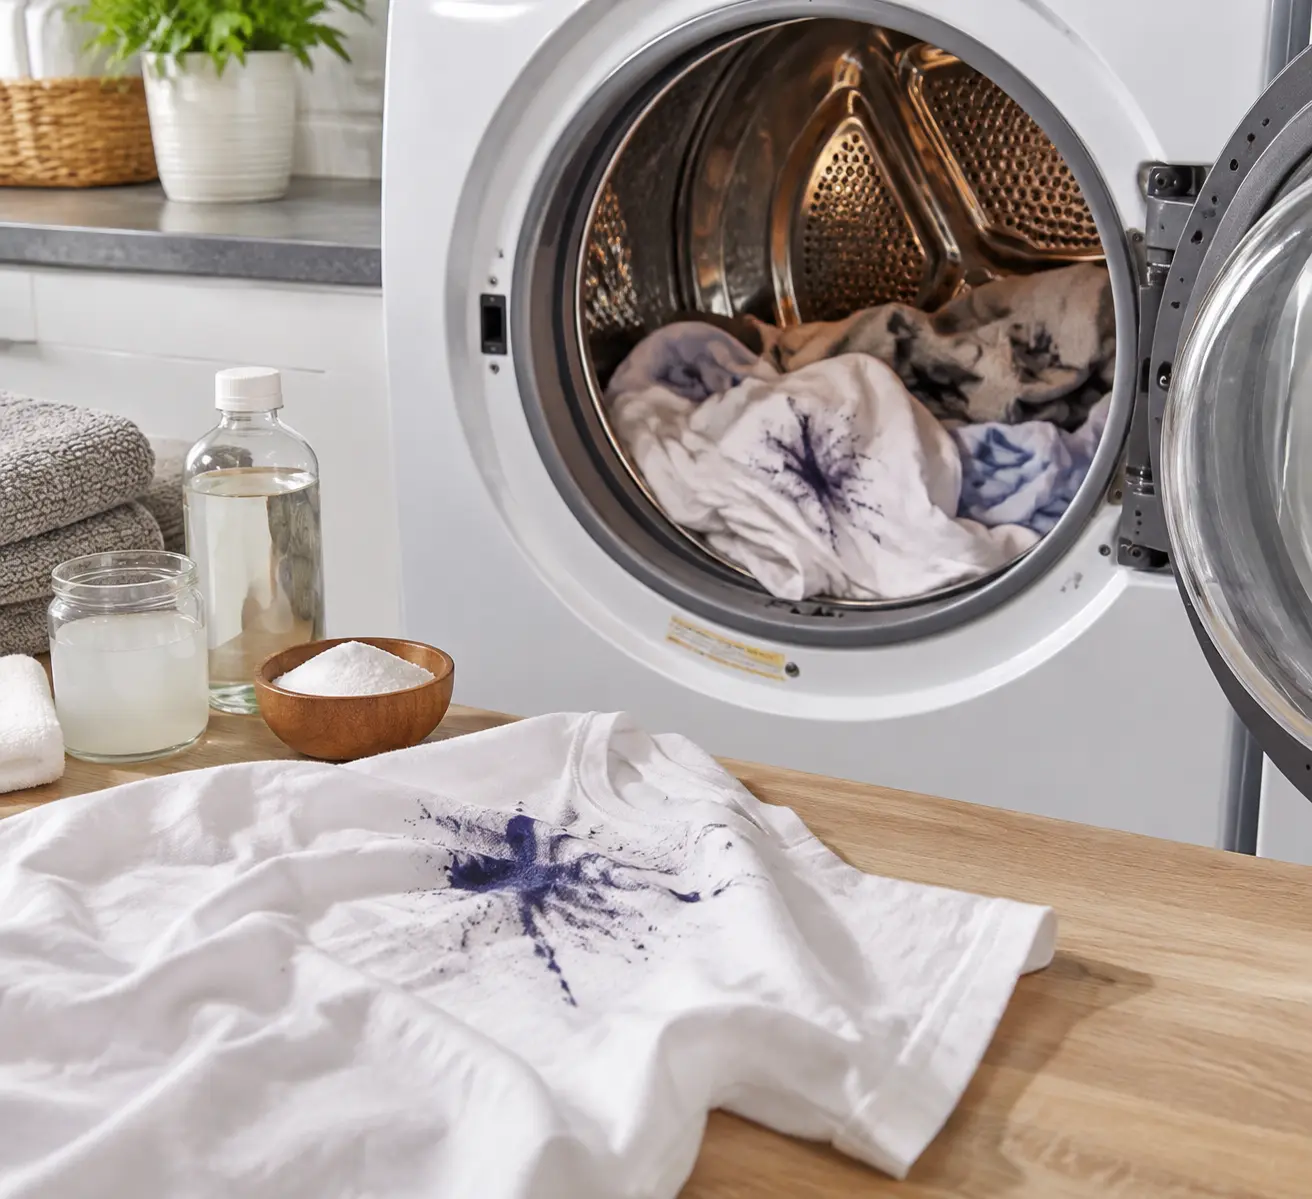
After the drum is clean, run the dryer empty on a short hot cycle with two old towels to pick up any remaining pigment. Inspect the towels; if ink appears, repeat spot cleaning and rinse the drum with a damp cloth until transfer stops. Follow routine maintenance suggestions such as clean dryer lint trap practices to reduce trapped debris that can collect pigment.
What to Avoid
- Never use WD-40 or petroleum-based sprays inside the drum because they are highly flammable and leave residues that transfer to clothes.
- Avoid steel wool, metal scrapers and coarse abrasives that scratch finishes and create rough pockets that trap ink.
- Do not mix solvents; fully remove and rinse one product before applying the next to prevent reactions and finish damage.
When to Call a Technician or Consider Replacement
Call a qualified appliance technician when ink has soaked into textured panels, seals, or internal components that require disassembly. If electrical components smell of solvent or the dryer has wiring issues, consult guidance about proper electrical service and choose the correct outlet based on the model and local code; see advice on the best 240v outlet for dryer when electrical changes are under consideration. If the drum finish is permanently etched or large areas remain discolored, compare repair estimates to replacement cost and expected remaining service life. For venting-related concerns after a contamination event, professional cleaning such as documented approaches to dryer vent repair in Cary, NC can prevent lint build-up and reduce fire risk.
Quick Checklist to Follow After a Pen Explodes
- Unplug the dryer and remove stained clothing.
- Blot wet ink with paper towels; do not rub.
- Warm the drum briefly, then clean from mild to stronger solvents.
- Use a melamine sponge gently for remaining marks.
- Rinse residues, then run an empty short cycle with towels and inspect.
- Call a technician if seals, textured panels or internal parts are affected.
Further Reading and Source
Practical solvent sequencing and safety recommendations follow consumer-tested guidance in the This Old House guide, which emphasizes unplugging, beginning with mild cleaners and avoiding flammable products inside a dryer.
How to remove ink from your dryer:
Getting ink out of your dryer can be a straightforward task if you act quickly. Start by using rubbing alcohol or a commercial stain remover to treat the ink stains. Clean the dryer drum with a soft cloth soaked in the solution and run a damp cloth over it afterward to remove any residue. Regular checks and maintenance can help prevent ink transfers in the future.
More from Architecture Adrenaline
For additional tips and insights, exploring our social channels can be beneficial. Check out our posts on Instagram for more information on home maintenance and other useful topics.
